

Before you begin
You need:- A Telnyx account with access to the Mission Control Portal.
- An existing AI assistant. To create one, follow the Voice Assistant Quickstart.
- Your MCP server’s endpoint, transport, and authentication requirements.
- Permission to access the tools and data exposed by the server.
About the example
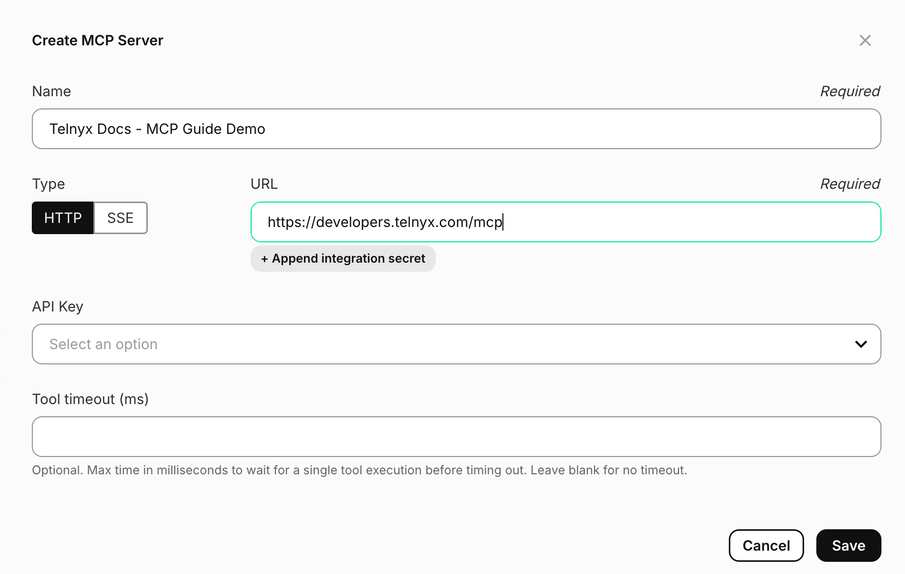
The screenshots use Telnyx Docs - MCP Guide Demo, connected tohttps://developers.telnyx.com/mcp, and an assistant named MCP Documentation Demo. The selected tool, search_telnyx, searches Telnyx documentation.
The public documentation MCP endpoint does not require authentication. A dedicated secret named my-assistant-mcp-api-key was created with a nonfunctional demonstration value solely to illustrate secret-reference selection. For this public endpoint, you can leave API Key empty. For an authenticated MCP server, store and select a valid credential from that server’s provider. Do not use a demonstration value for a real authenticated integration.
Connecting a server to an assistant is different from connecting an external AI client to Telnyx’s API tools. For the latter, see Telnyx MCP Server.
1. Store your API key as a secret reference
Skip this step if your MCP server does not require an API key. Open Integration Secrets and select Create New Integration Secret. Enter:- Identifier: a recognizable name, such as
my-assistant-mcp-api-key. - Secret Value: the API key supplied by your MCP provider.
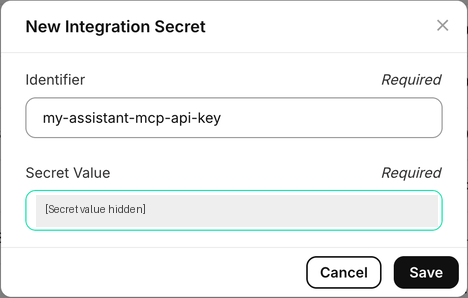

You cannot retrieve a secret’s value after storing it. Keep the original credential in your approved secret manager. Never put raw keys in assistant instructions, greetings, screenshots, or documentation examples.
2. Open MCP Servers
In the portal’s AI Assistants sidebar section, select Tools, then the MCP Servers tab. You can also open MCP Servers directly. Select Create MCP Server.
3. Configure the server connection
Enter the connection details supplied by your MCP provider:
For the documentation example, use HTTP and
https://developers.telnyx.com/mcp.
Connecting over VXC: If your MCP server connects to Telnyx through a Virtual Cross Connect (VXC), contact Telnyx Support or your Telnyx sales representative to obtain the IP addresses to use when configuring the MCP server URL.
4. Select the API-key reference
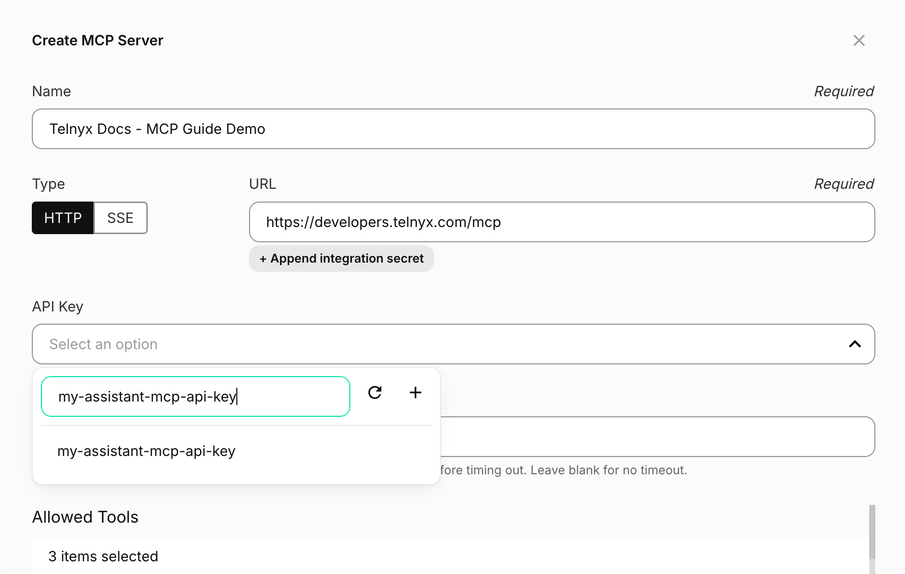
For an authenticated server, open the API Key selector and search for the identifier created in step 1. Selectmy-assistant-mcp-api-key, or the identifier you chose.
The selector displays the reference name without exposing its stored value.
5. Choose allowed tools and save
Once the server’s tools are listed, review their names and descriptions. Select only the tools this assistant needs. For a first test, prefer a read-only tool. In this example, select search_telnyx. Leave unrelated tools unselected, then select Save.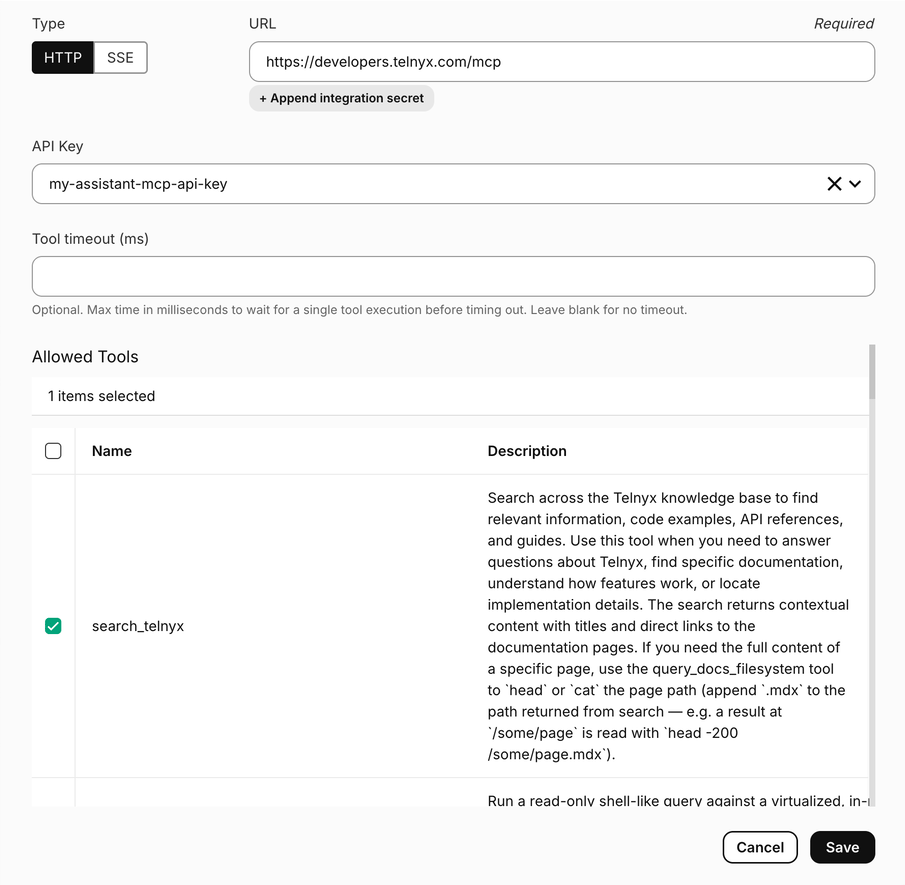

Tool selection limits what you expose to the assistant. It does not replace authorization enforced by the MCP server and the external application.
6. Attach the server to an assistant
Open AI Assistants and select your test assistant. In the assistant editor’s section selector, choose Integrations.

- AI Assistants → Tools → MCP Servers manages the server configuration.
- An individual assistant → Integrations → MCP Servers attaches that server to the assistant.
7. Explain when to use the tool, then save
Return to the assistant’s Agent section. Update Instructions to describe when the assistant should call the tool, how to use its response, and what to do if the tool fails. For the documentation-search example:

8. Test the MCP connection with the play button
In the assistant’s Integrations → MCP Servers section, click the play button on the server entry. This initiates the MCP connection and discovers its tools without starting an assistant conversation.
Connection and tool discovery are not the same as executing a tool. A successful play-button test does not prove that the assistant can complete a particular task or that the credential has every permission needed by that task.
9. Test the assistant’s use of the tool
Open Test assistant in the assistant editor and choose an appropriate testing option. The captured menu shows Inbound call and Outbound call. For voice testing setup, see the Voice Assistant Quickstart.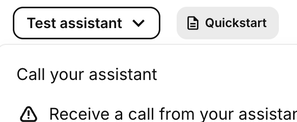
- Confirm the assistant actually invokes the intended tool; a plausible answer alone is not proof.
- Review the conversation in Conversation History and inspect MCP-server logs if you operate the server.
- Compare the answer with the documentation returned by the tool.
- Check that errors are handled honestly rather than reported as successful actions.