Prerequisites
- Access to the Telnyx Mission Control Portal.
- At least one AI Assistant configured (recommended for testing).
Accessing AI Insights
- Log in to the Mission Control Portal.
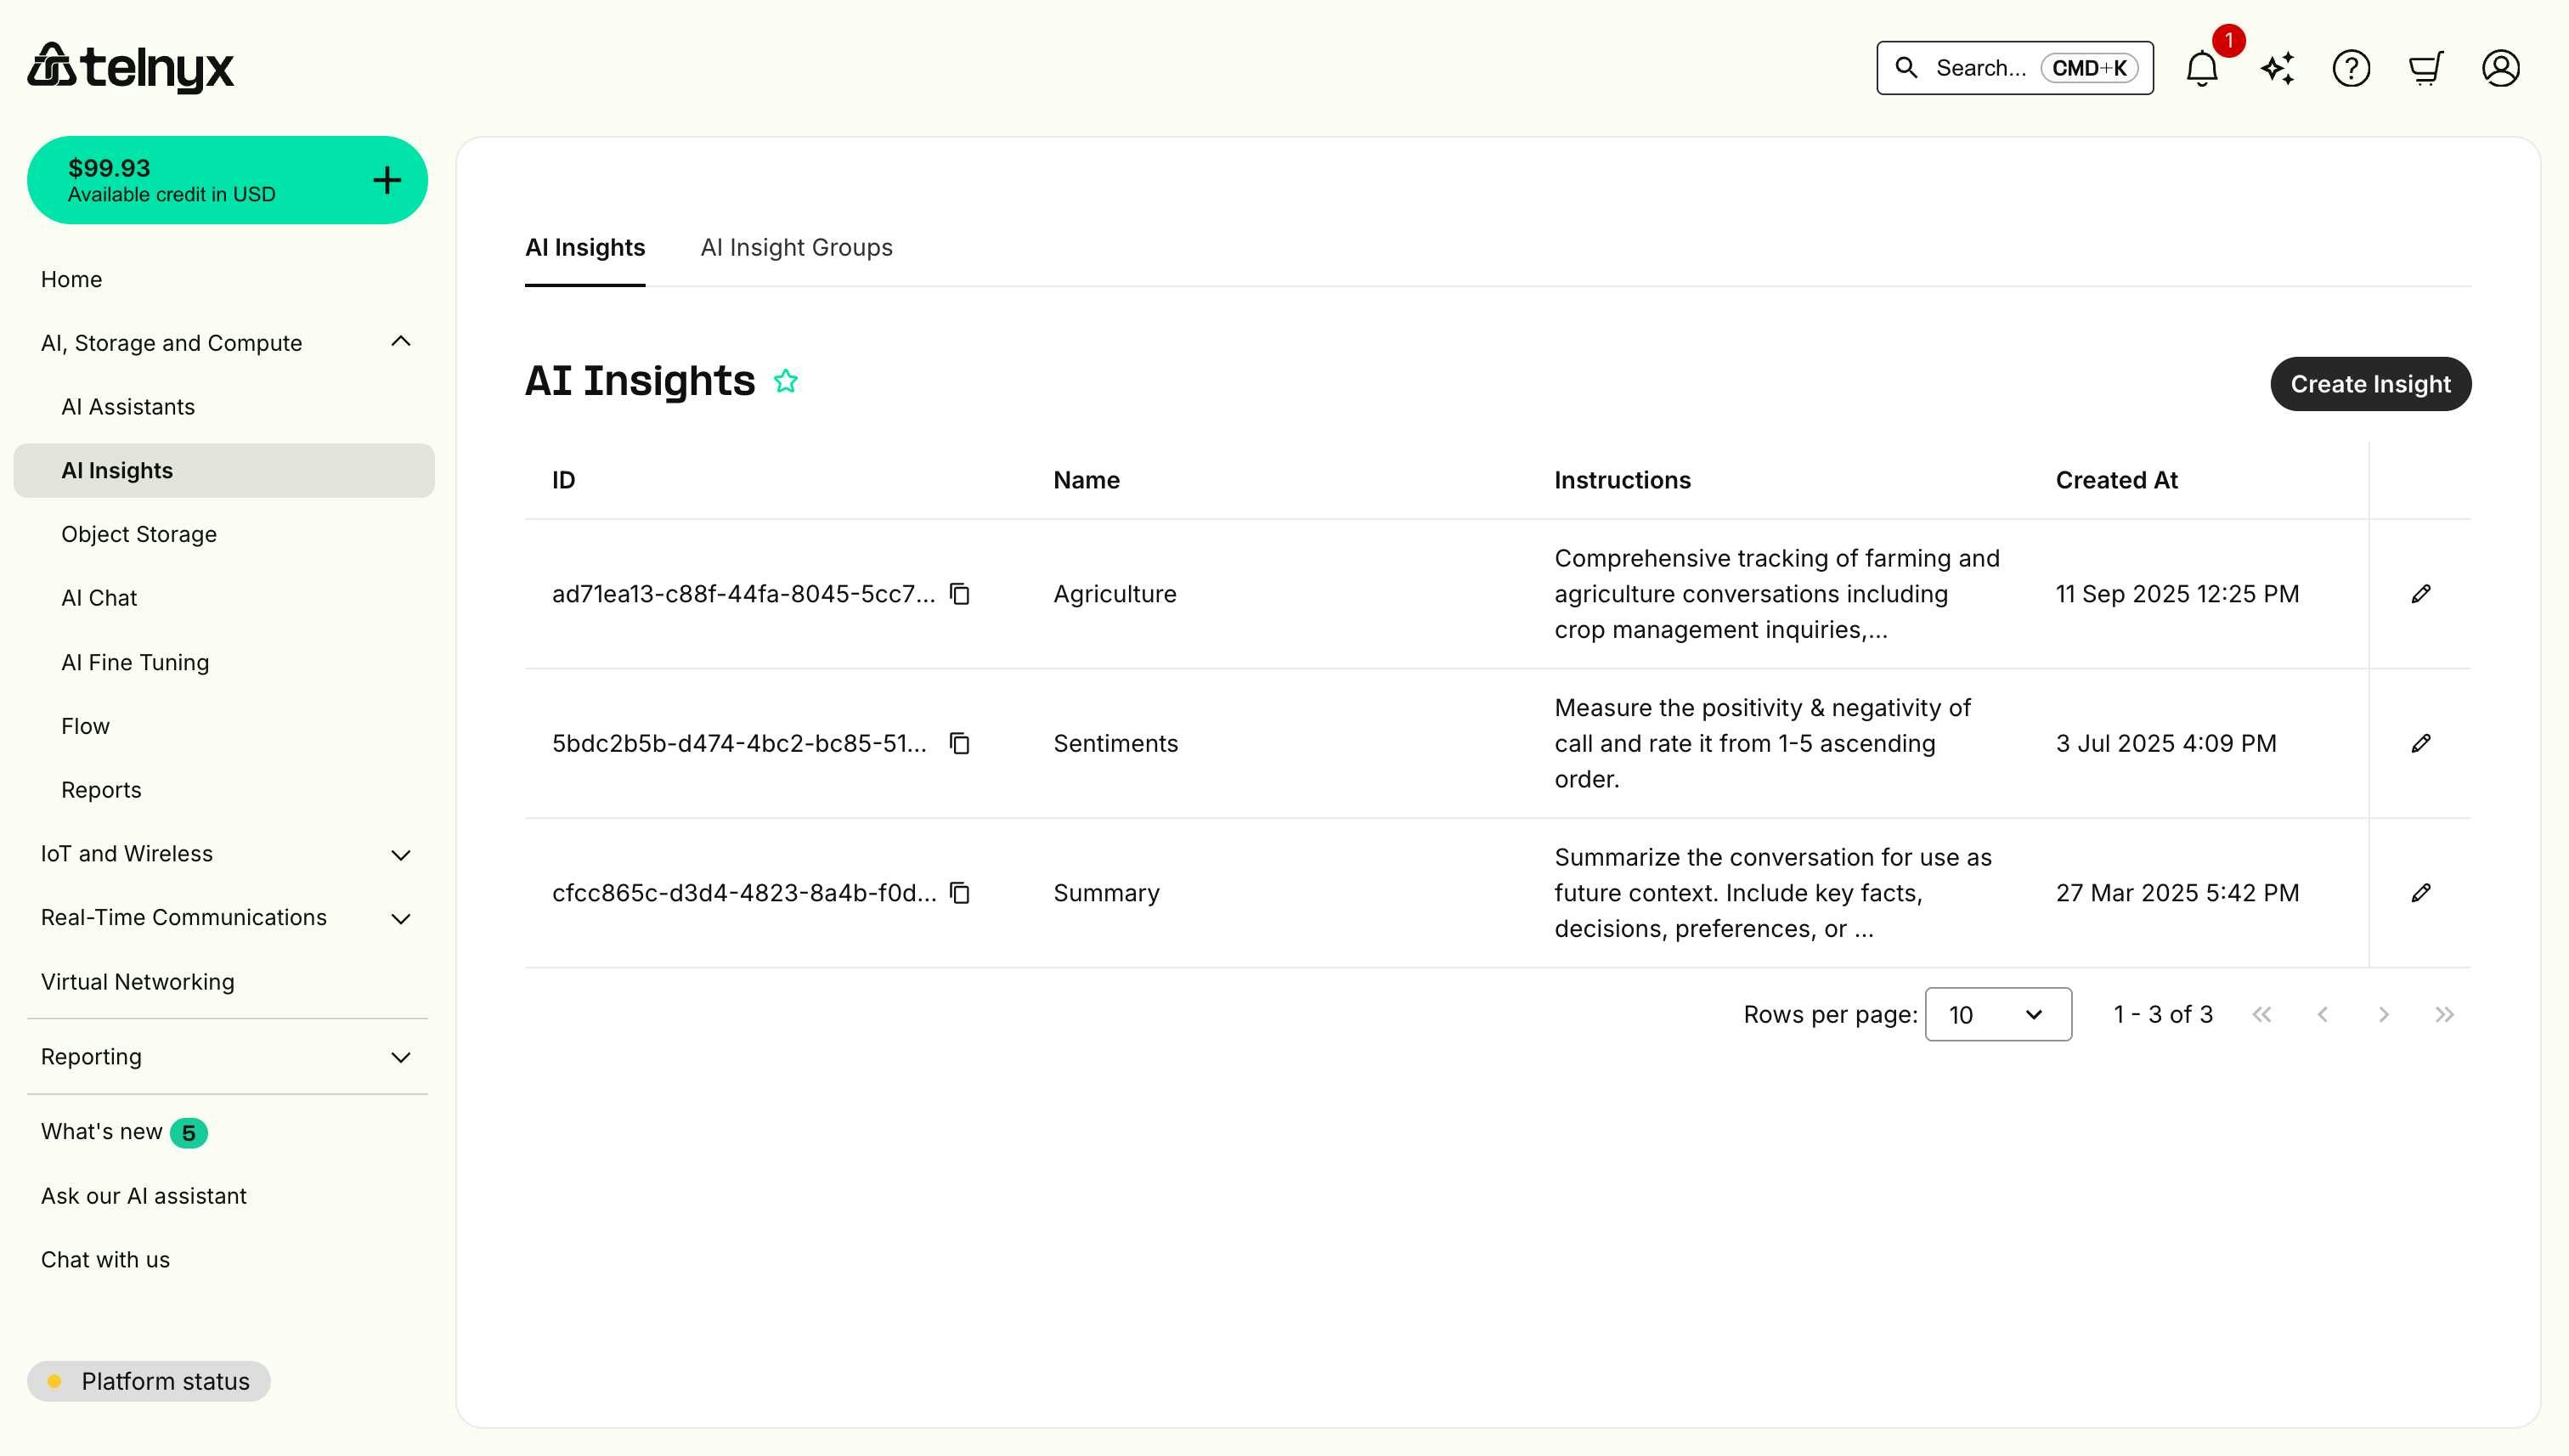
- Navigate to AI, Storage and Compute > AI Insights.
- You’ll see a list of existing insights with their IDs, names, instructions, and creation dates.
Creating an insight
Insights return free-form text responses based on your instructions.Step 1: Open the create dialog
Click the Create Insight button in the top-right corner of the AI Insights page.Step 2: Configure basic settings
In the Create Insight modal, you’ll see:
-
Name (Required) - A descriptive identifier for your insight.
- Example: “Conversation Summary”, “Customer Sentiment”, “Issue Classification”.
-
Instructions - Detailed prompt describing what to analyze and extract.
- Be specific about what information you want.
- Include output format expectations.
- Reference conversation elements (transcript, metadata, etc.).
Step 3: Write effective instructions
Good instructions are clear, specific, and actionable. Here are some examples: Example 1: Conversation summaryStep 4: Use variables (optional)
You can include dynamic variables in your instructions to provide context about the specific conversation. Click the Add a variable dropdown to see available options. System variables:{{telnyx_current_time}}- Date and time of the conversation.{{telnyx_conversation_channel}}- Channel type (phone_call, web_call, sms_chat).{{telnyx_agent_target}}- Assistant’s phone number or identifier.{{telnyx_end_user_target}}- User’s phone number or identifier.
Step 5: Save the insight
- Review your configuration.
- Click Save.
- The insight will appear in your insights list.
Managing insights
Editing an insight
- Find the insight in the list.
- Click the edit icon (pencil) on the right side of the row.
- Modify the name or instructions.
- Click Save.
Copying an insight ID
Each insight has a unique ID that you can use with the Memory API or for programmatic access:- Click the copy icon next to the insight ID.
- The ID will be copied to your clipboard.
- Use this ID in API calls or memory queries.
cfcc865c-d3d4-4823-8a4b-f0df57d9f56f
Configuring webhook delivery
You can configure webhook URLs to automatically receive insight results when conversations complete.Via Insight Groups
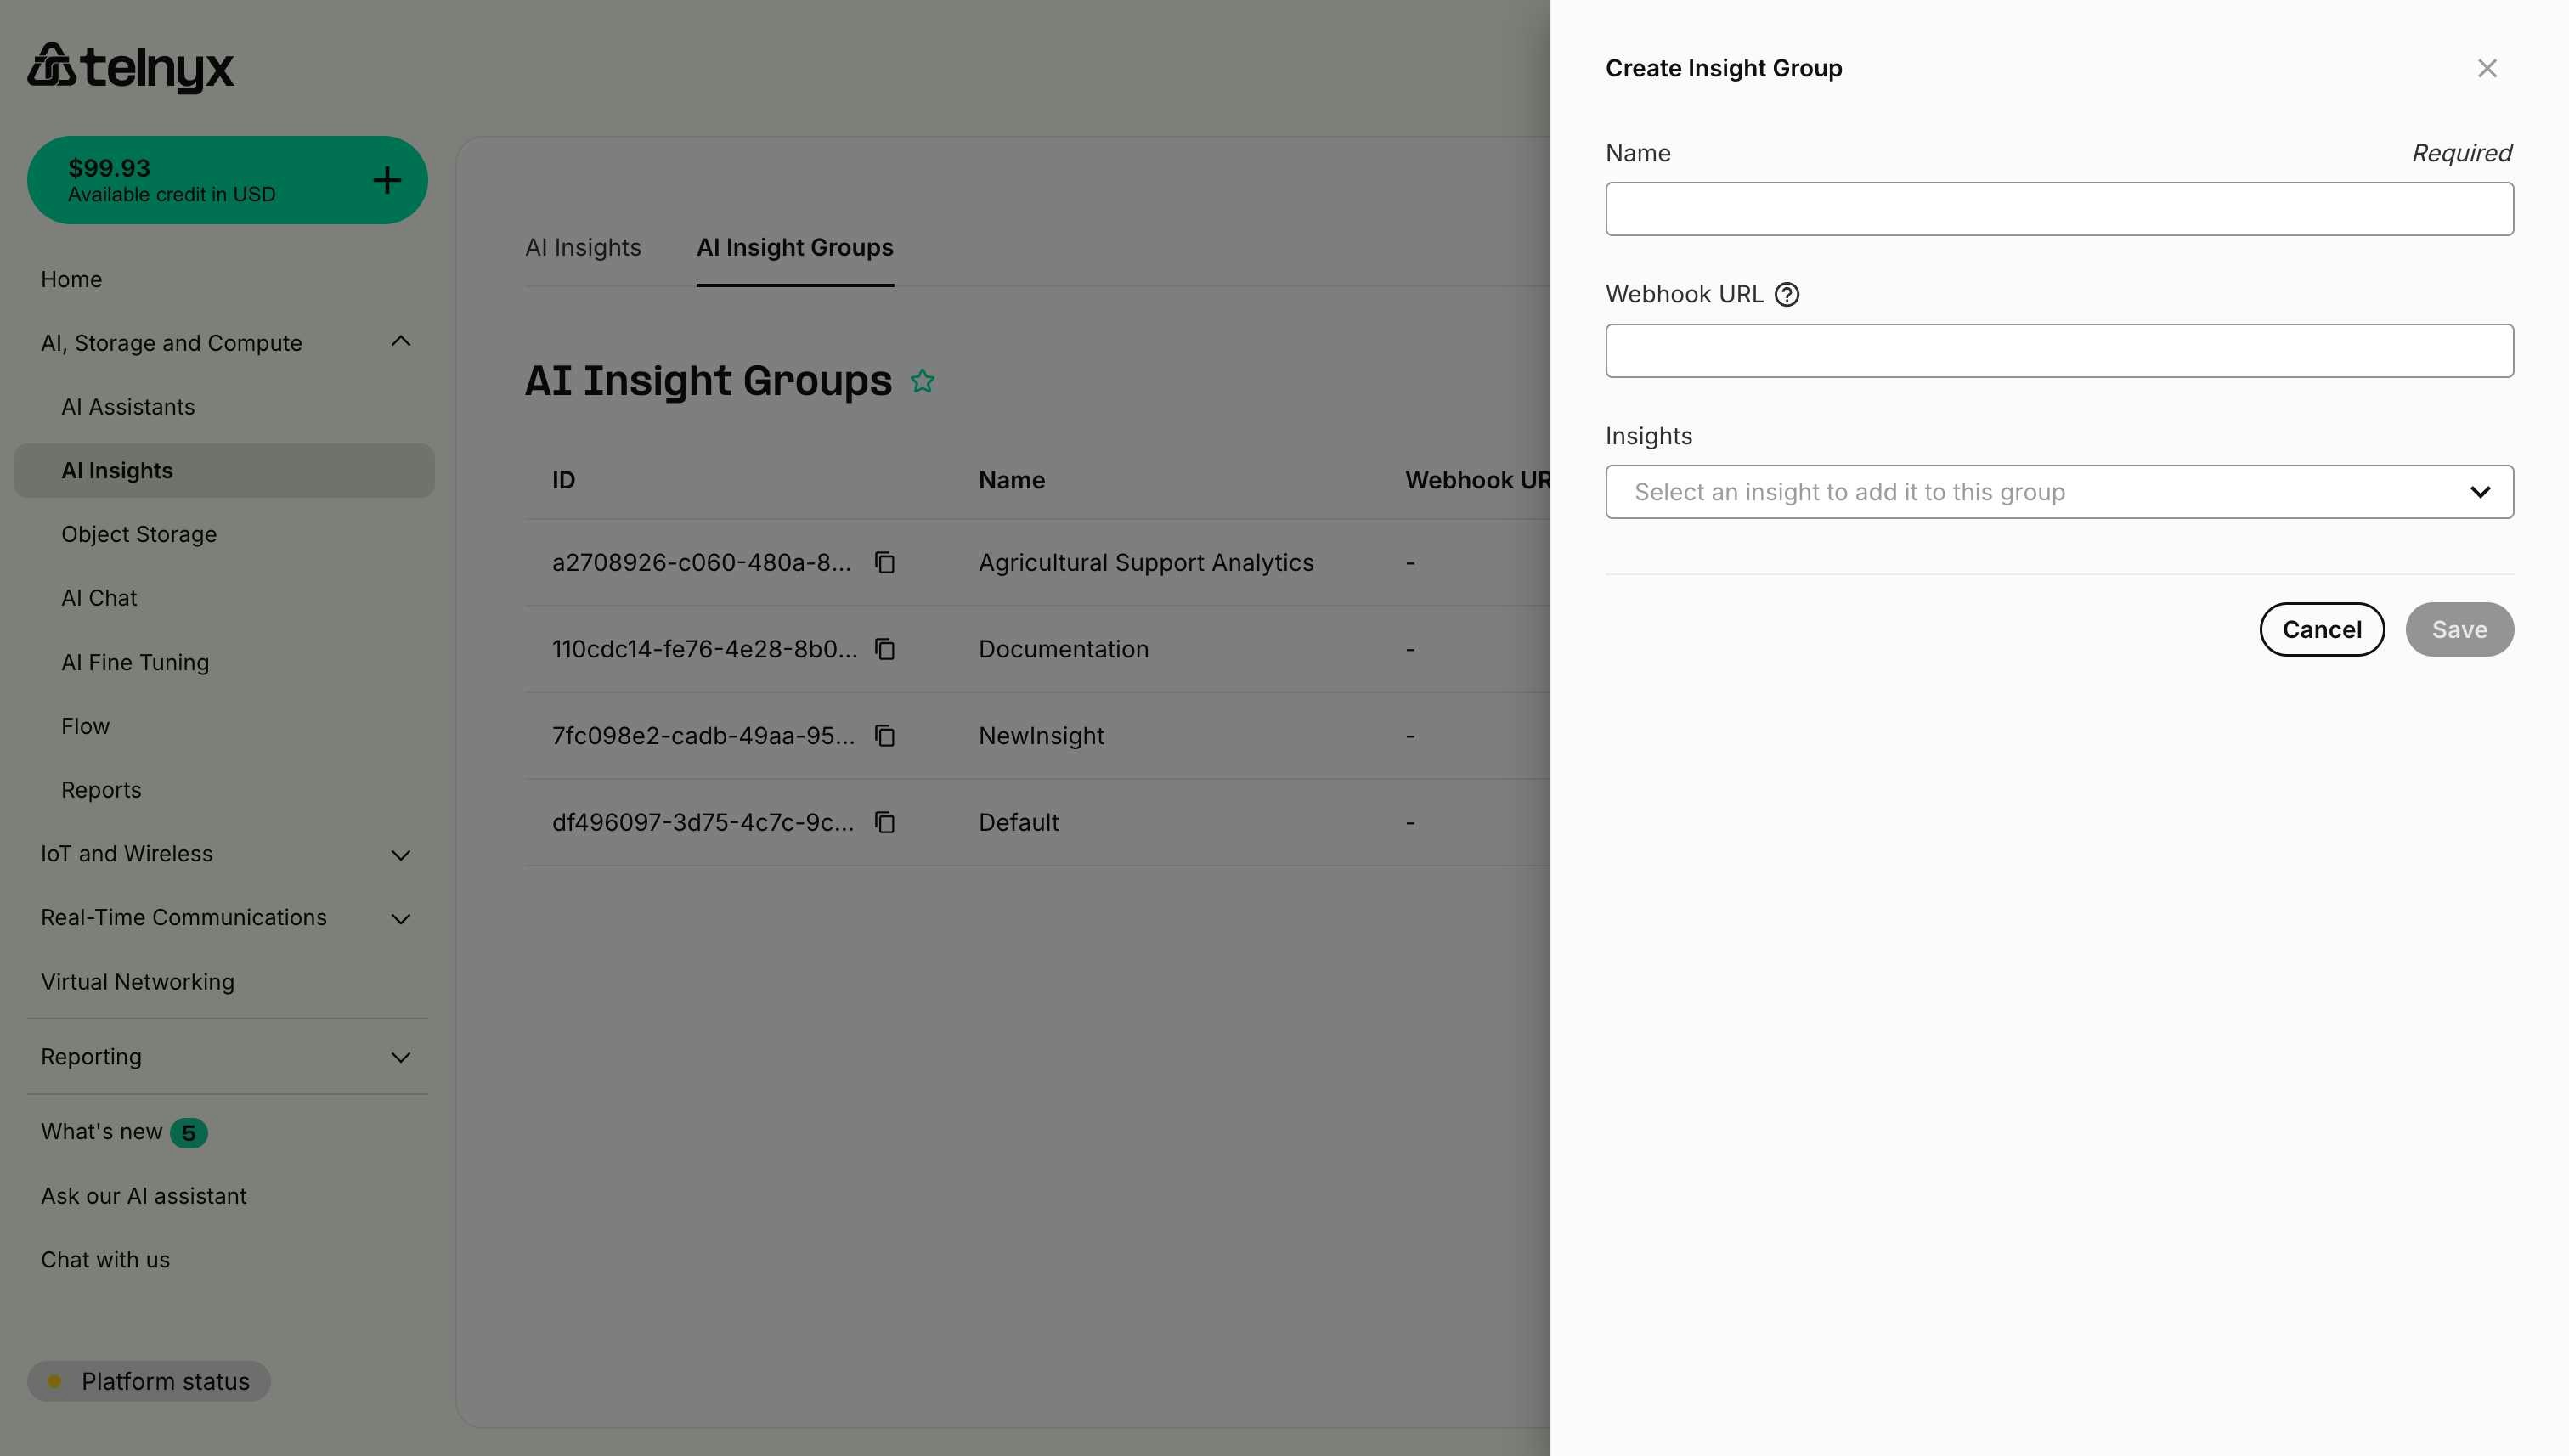
Set a webhook URL when creating or editing an Insight Group:- Navigate to AI Insight Groups.
- Click Create Insight Group or edit an existing group.
- Enter your webhook URL in the Webhook URL field.
- Save the group.
Per assistant override
Override the group’s webhook URL for a specific assistant:- Navigate to your AI Assistant configuration.
- Go to the Analysis tab and select Insights.
- Select an Insight Group.
- Click Edit selected to modify the group settings.
- Enter a different webhook URL for this assistant.
- Save the assistant configuration.
Best practices
Writing clear instructions
-
Be Specific - Clearly state what you want to extract.
- ❌ “Analyze the call”.
- ✅ “Identify the customer’s main complaint and rate the urgency from 1-5”.
-
Define Output Format - Specify how you want the response structured.
- ❌ “Tell me about sentiment”.
- ✅ “Rate sentiment from 1-10 and provide a one-sentence explanation”.
-
Provide Context - Explain why the information matters.
- ❌ “List products mentioned”.
- ✅ “List products the customer showed interest in purchasing, noting their budget concerns”.
-
Use Examples - Show the format you expect
Testing your insights
- Start with Test Conversations - Try your insight on a few sample conversations first.
- Review Results - Check if the extracted information matches your expectations.
- Refine Instructions - Adjust wording based on the results.
- Validate Accuracy - Ensure consistent, reliable extraction across different conversation types.
Naming conventions
Use clear, descriptive names that indicate:- What is being analyzed: “Customer Sentiment”, “Product Interest”, “Issue Type”.
- Why it matters: “Escalation Needed”, “Follow-up Required”, “Compliance Check”.
- Scope: “Healthcare Compliance”, “Sales Qualification”, “Support Quality”.
Next steps
- Use Structured Data - Create insights with consistent JSON schemas.
- Create Insight Groups - Organize insights for your assistants.
- Explore Use Cases - Industry-specific examples.
Related resources
- Dynamic Variables - Custom variables for your insights.
- Memory - Using insight IDs in memory queries.
- Voice Assistant Configuration - Assigning insights to assistants.