Original location: Wireless > IoT > mikrotik-wap-lte
Prerequisites to Set Up Mikrotik wAP LTE kit
- An active Telnyx SIM card
- Mikrotik LTE kit router
- A computer
- Latest routerOS firmware, which you can obtain here.
Setting Up Mikrotik wAP LTE kit
Note: Please insert the SIM card into router only when instructed to do so.Part I: Firmware Update
- We will begin by updating the routerOS firmware to the latest version (6.48 as of 2.4.21).
- Remove the SIM card from the device.
- Connect your computer to the device via either the WiFi or the Ethernet interface and log into the default gateway at 192.168.88.1. The default username and password are shown below.
- Username: admin
- Password: (blank)
- Once you log in, you will see the admin console as shown below.
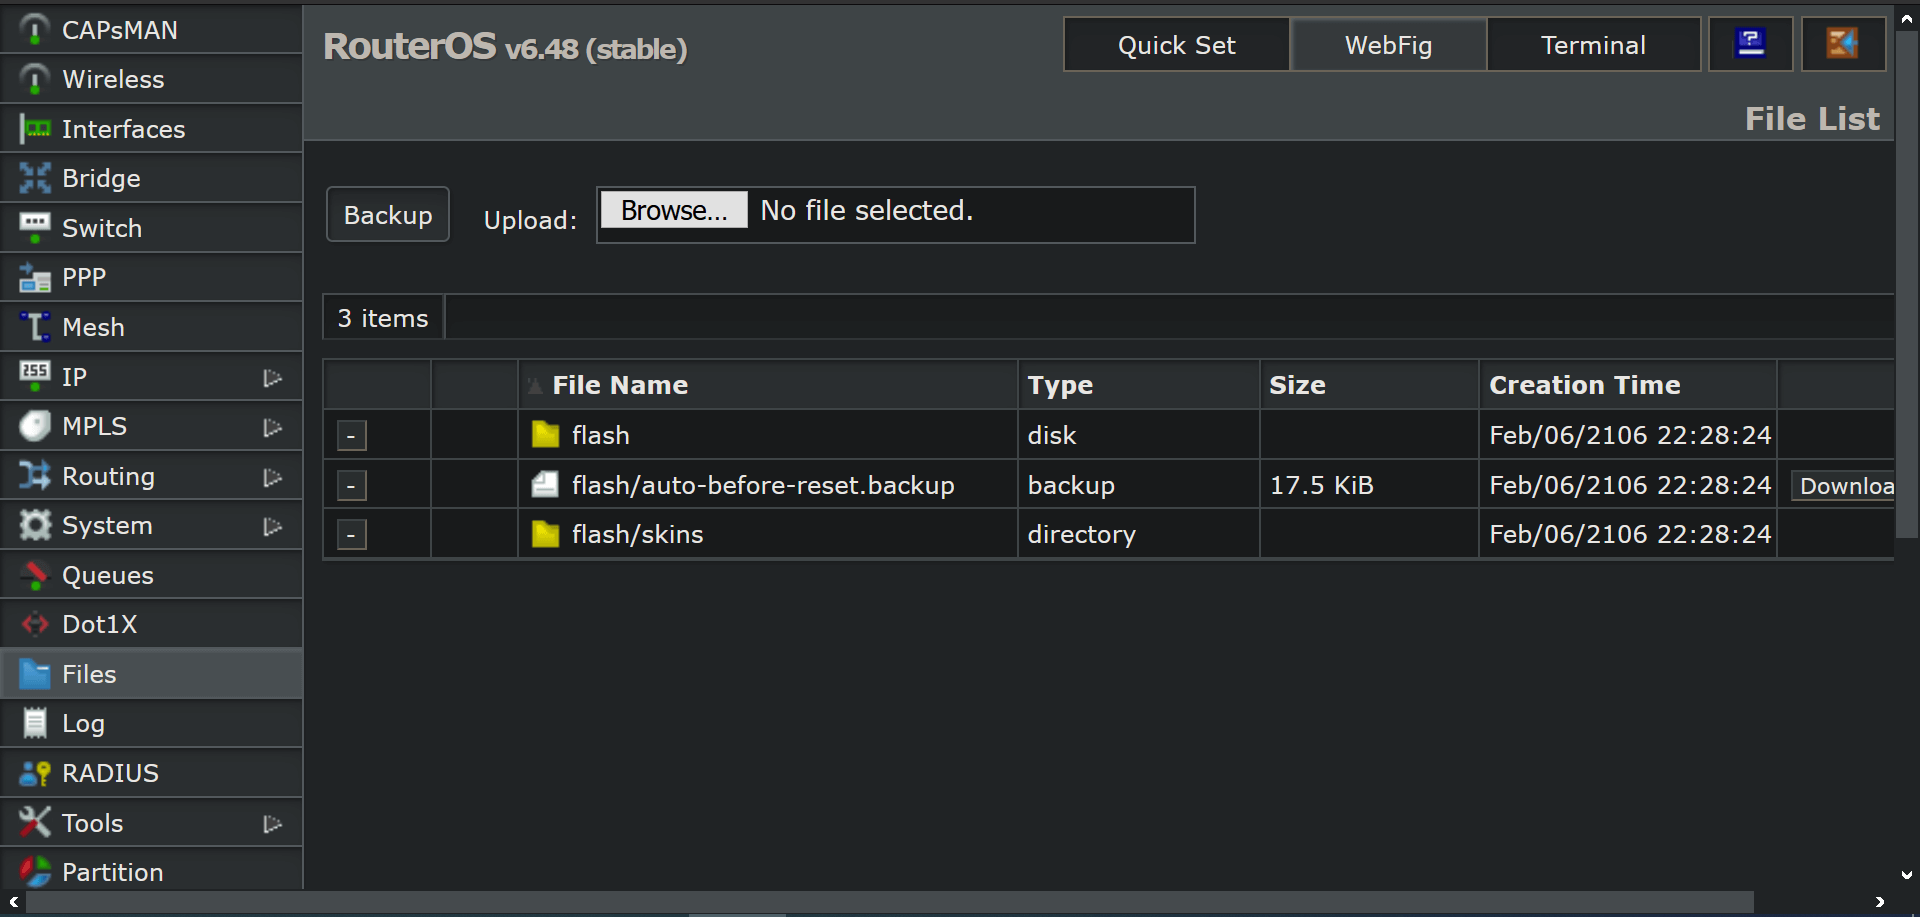
- Click on Files → Browse and upload the .npk firmware file.
- Reboot the device by clicking System → Reboot.
- The device will apply the latest firmware automatically during the booting procedure.
Part II (Router Configuration)
- Navigate to Interface → LTE.

- Click LTE APNs → Add New.
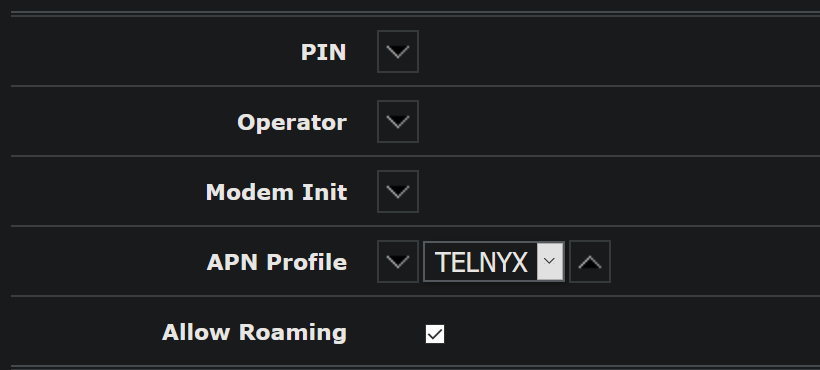
- Name: Telnyx
- APN: data00.telnyx
- IP Type: IPv4
- Use Peer DNS: Check
- Add Default Route: Check
- Leave all other settings as their default values.
- Click Apply then OK.
- Go back to the LTE tab under Interfaces and click on the LTE module. Apply the APN created above using the dropdown menu and enable roaming by checking the Allow Roaming box.
- Press Apply then OK.
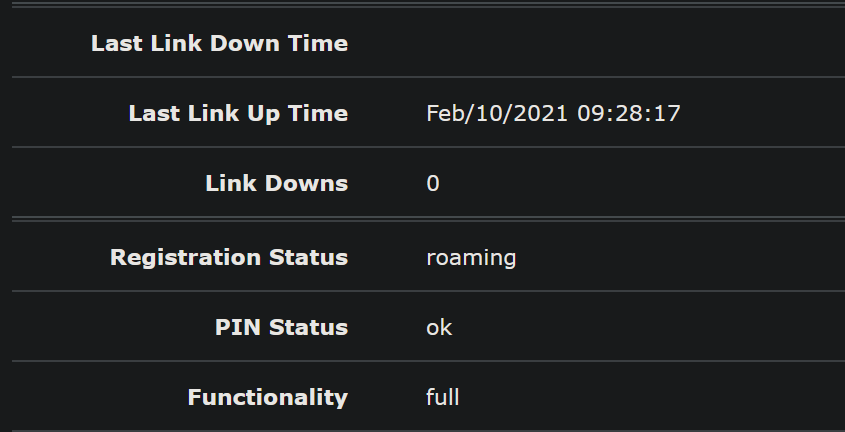
- Insert the Telnyx SIM card. After roughly 45 seconds, the device will attach to the network. You can verify connectivity by going to Interfaces → LTE → Click on the LTE module then scroll down to registration status. It will display “roaming”.