This is currently supported for buckets located in the US and APAC (ap-southeast-1).
1. Validate availability of bucket
You must ensure the subdomain is available as a bucket name. If so, you may create the bucket. In this example, we created asset.gardening-homes.com.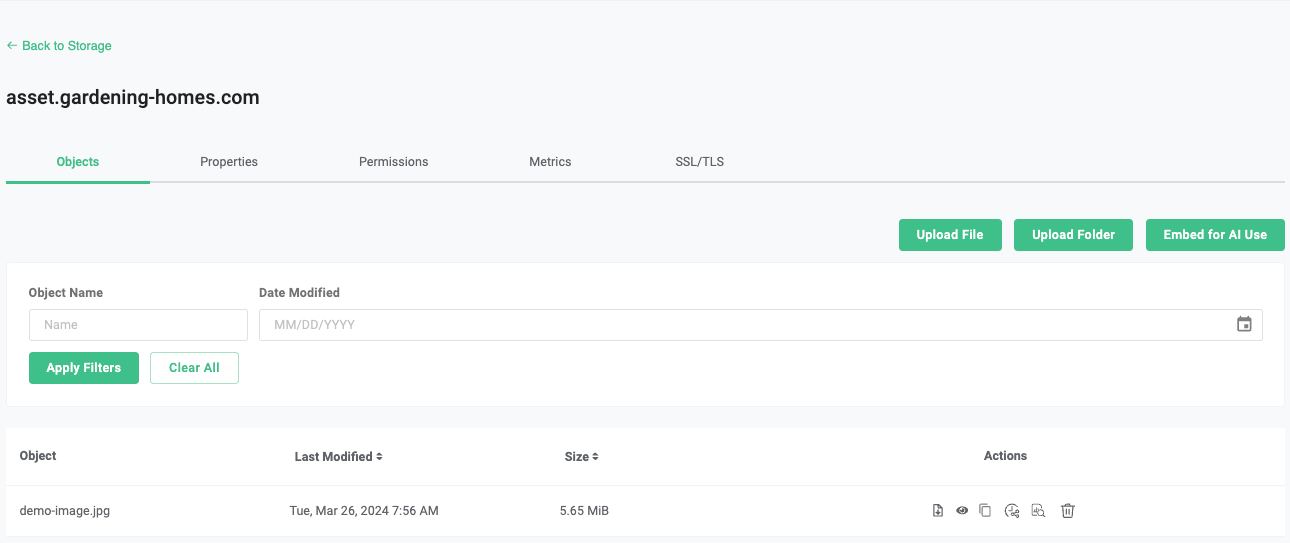
2. Make the bucket public
Since the content of this bucket will be publicly accessible, you need to apply a public read policy to it. Follow the instructions here: Put Bucket Policy
3. Configure DNS
Through your domain/DNS provider, you need to set up an alias to the bucket with virtual addressing style (Bucket Addressing)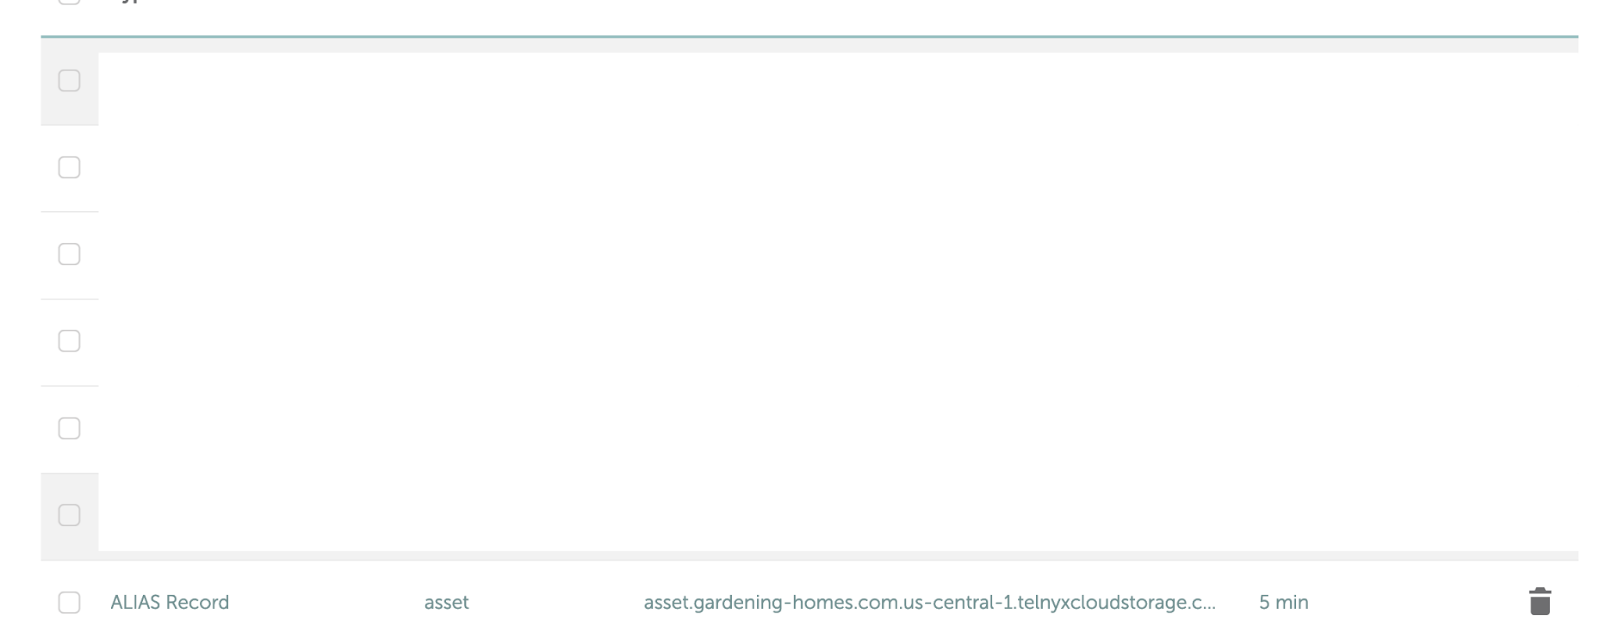
4. Upload Certificate and Matching Key
Select the bucket you created, under SSL/TLS, upload the certificate and matching key.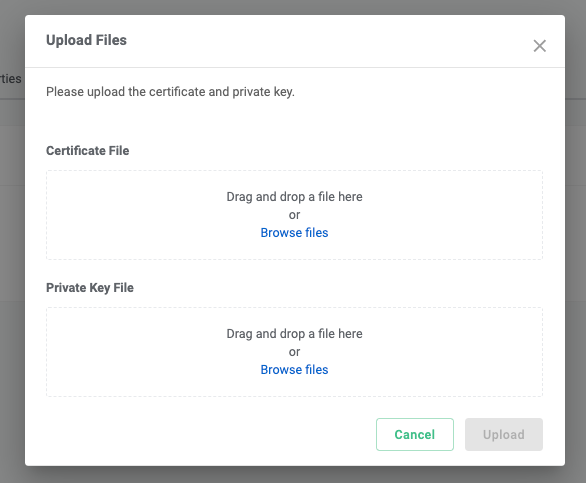
- The bucket name must match one of the certificate SNIs (Server Name Indication) exactly. If you have a wildcard SNI *.example.com, help.example.com will work, but example.com will not work.
- If you have intermediate certificates, you must include them in the certificate file with the leaf certificate being at the top.
- You may omit the root certificate, as we will verify known root certificates automatically. However, if you’d like to guarantee that your certificate will be accepted, it is better to include it.
5. Test
Assuming all of the above is successful and there is an object named demo-image.jpg in the bucket, you may put https://asset.gardening-homes.com/demo-image.jpg in your browser and expect the following- The image shows up in your browser, and
- Your browser will show “Connection is secure” and “Certificate is valid”
