Part A: Mobile Demo Application (Android & iOS)
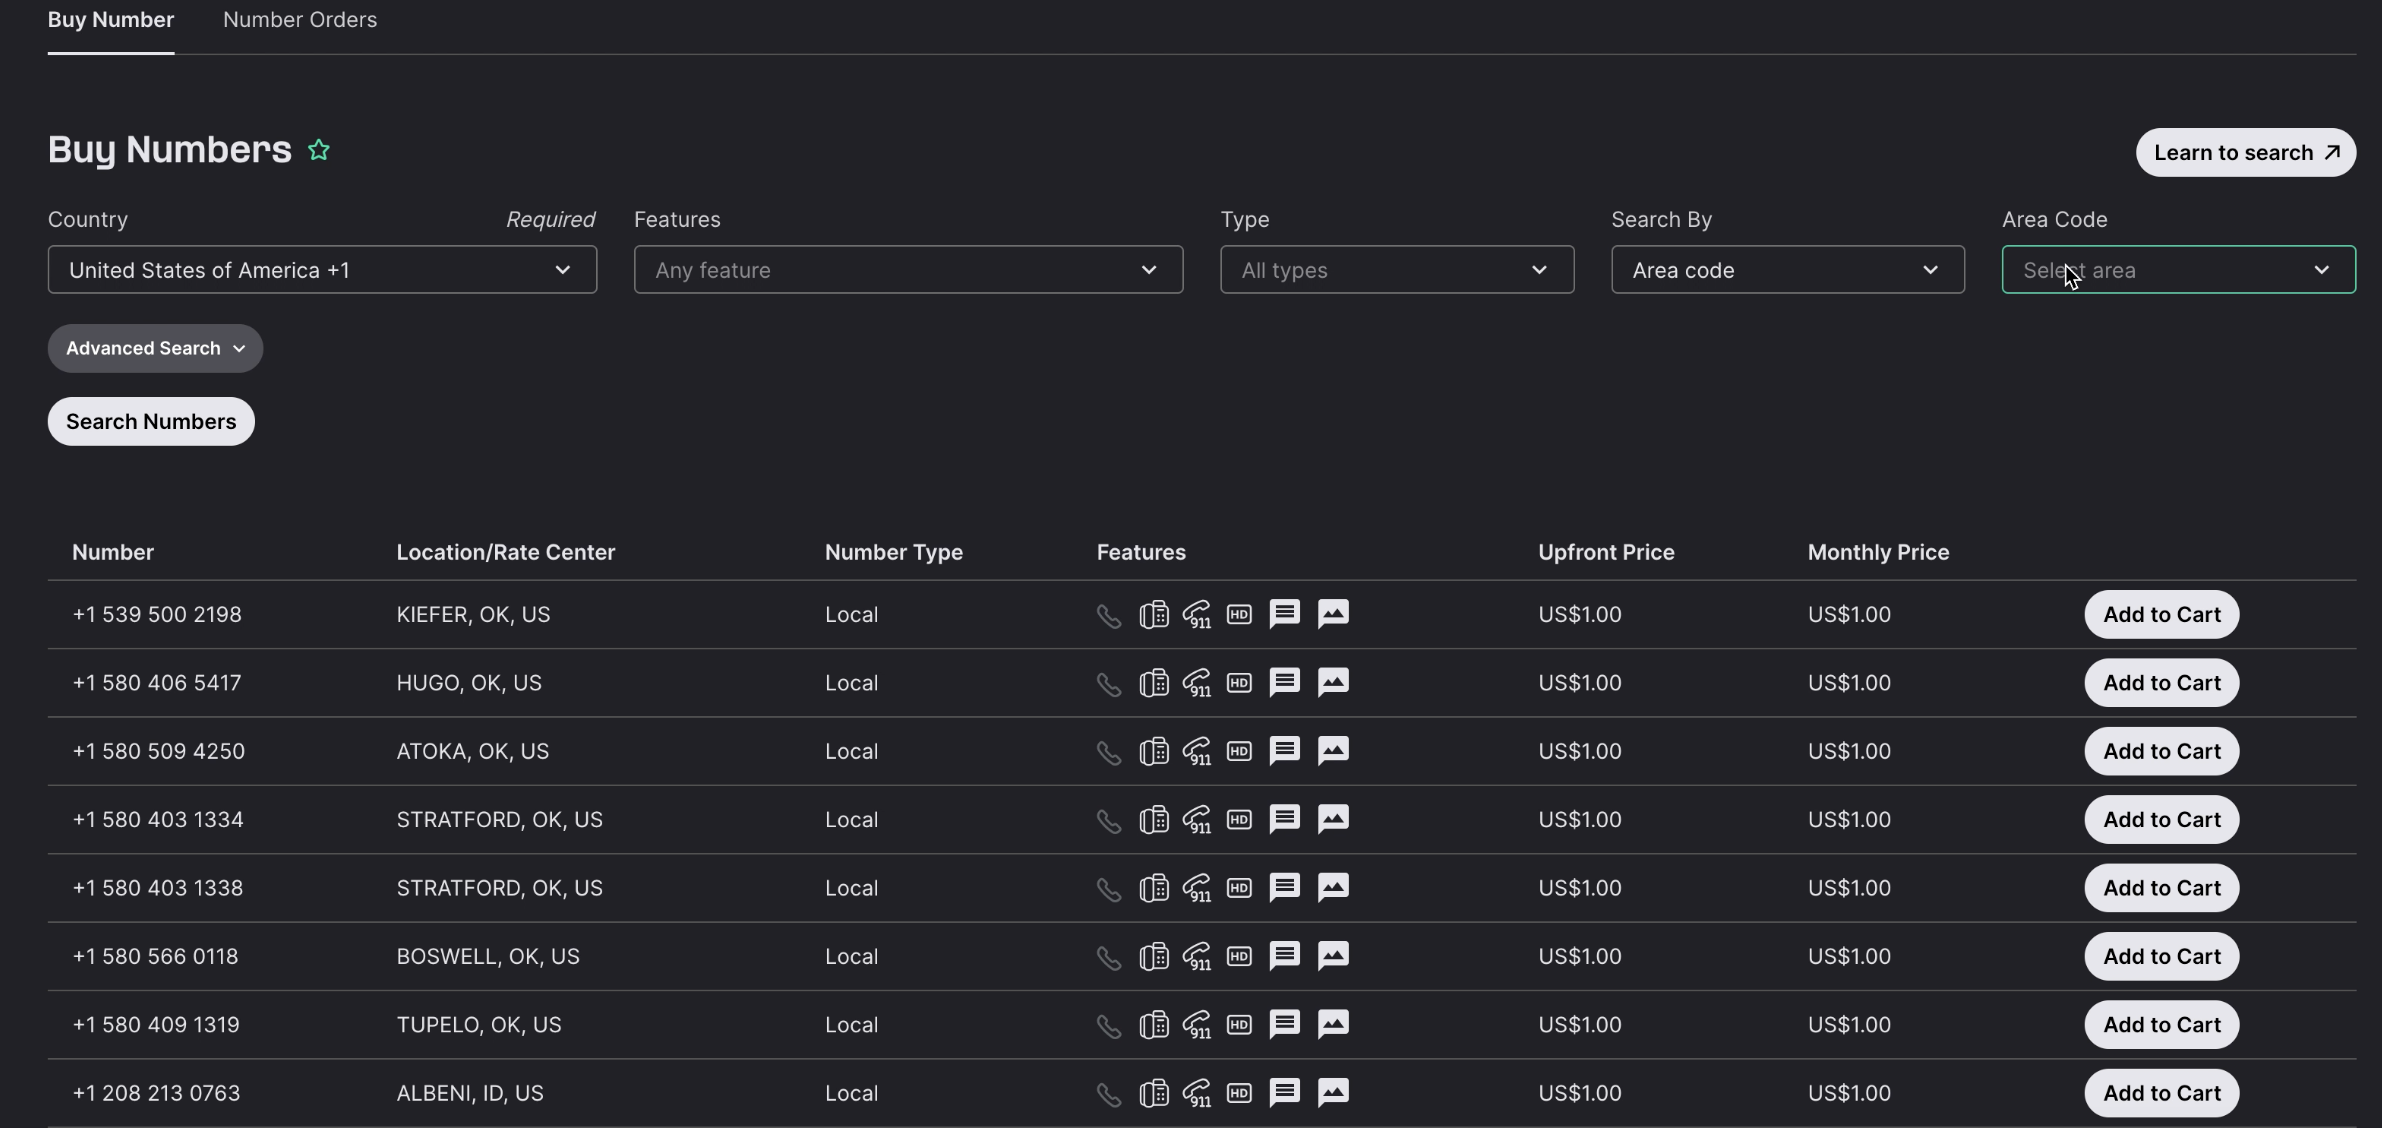
1. Buy a Phone Number
- Sign in to your Telnyx account.
- Navigate to Numbers → Search & Buy Numbers.
- Select and purchase a phone number suitable for voice calls. (You will use this number as Caller ID.)
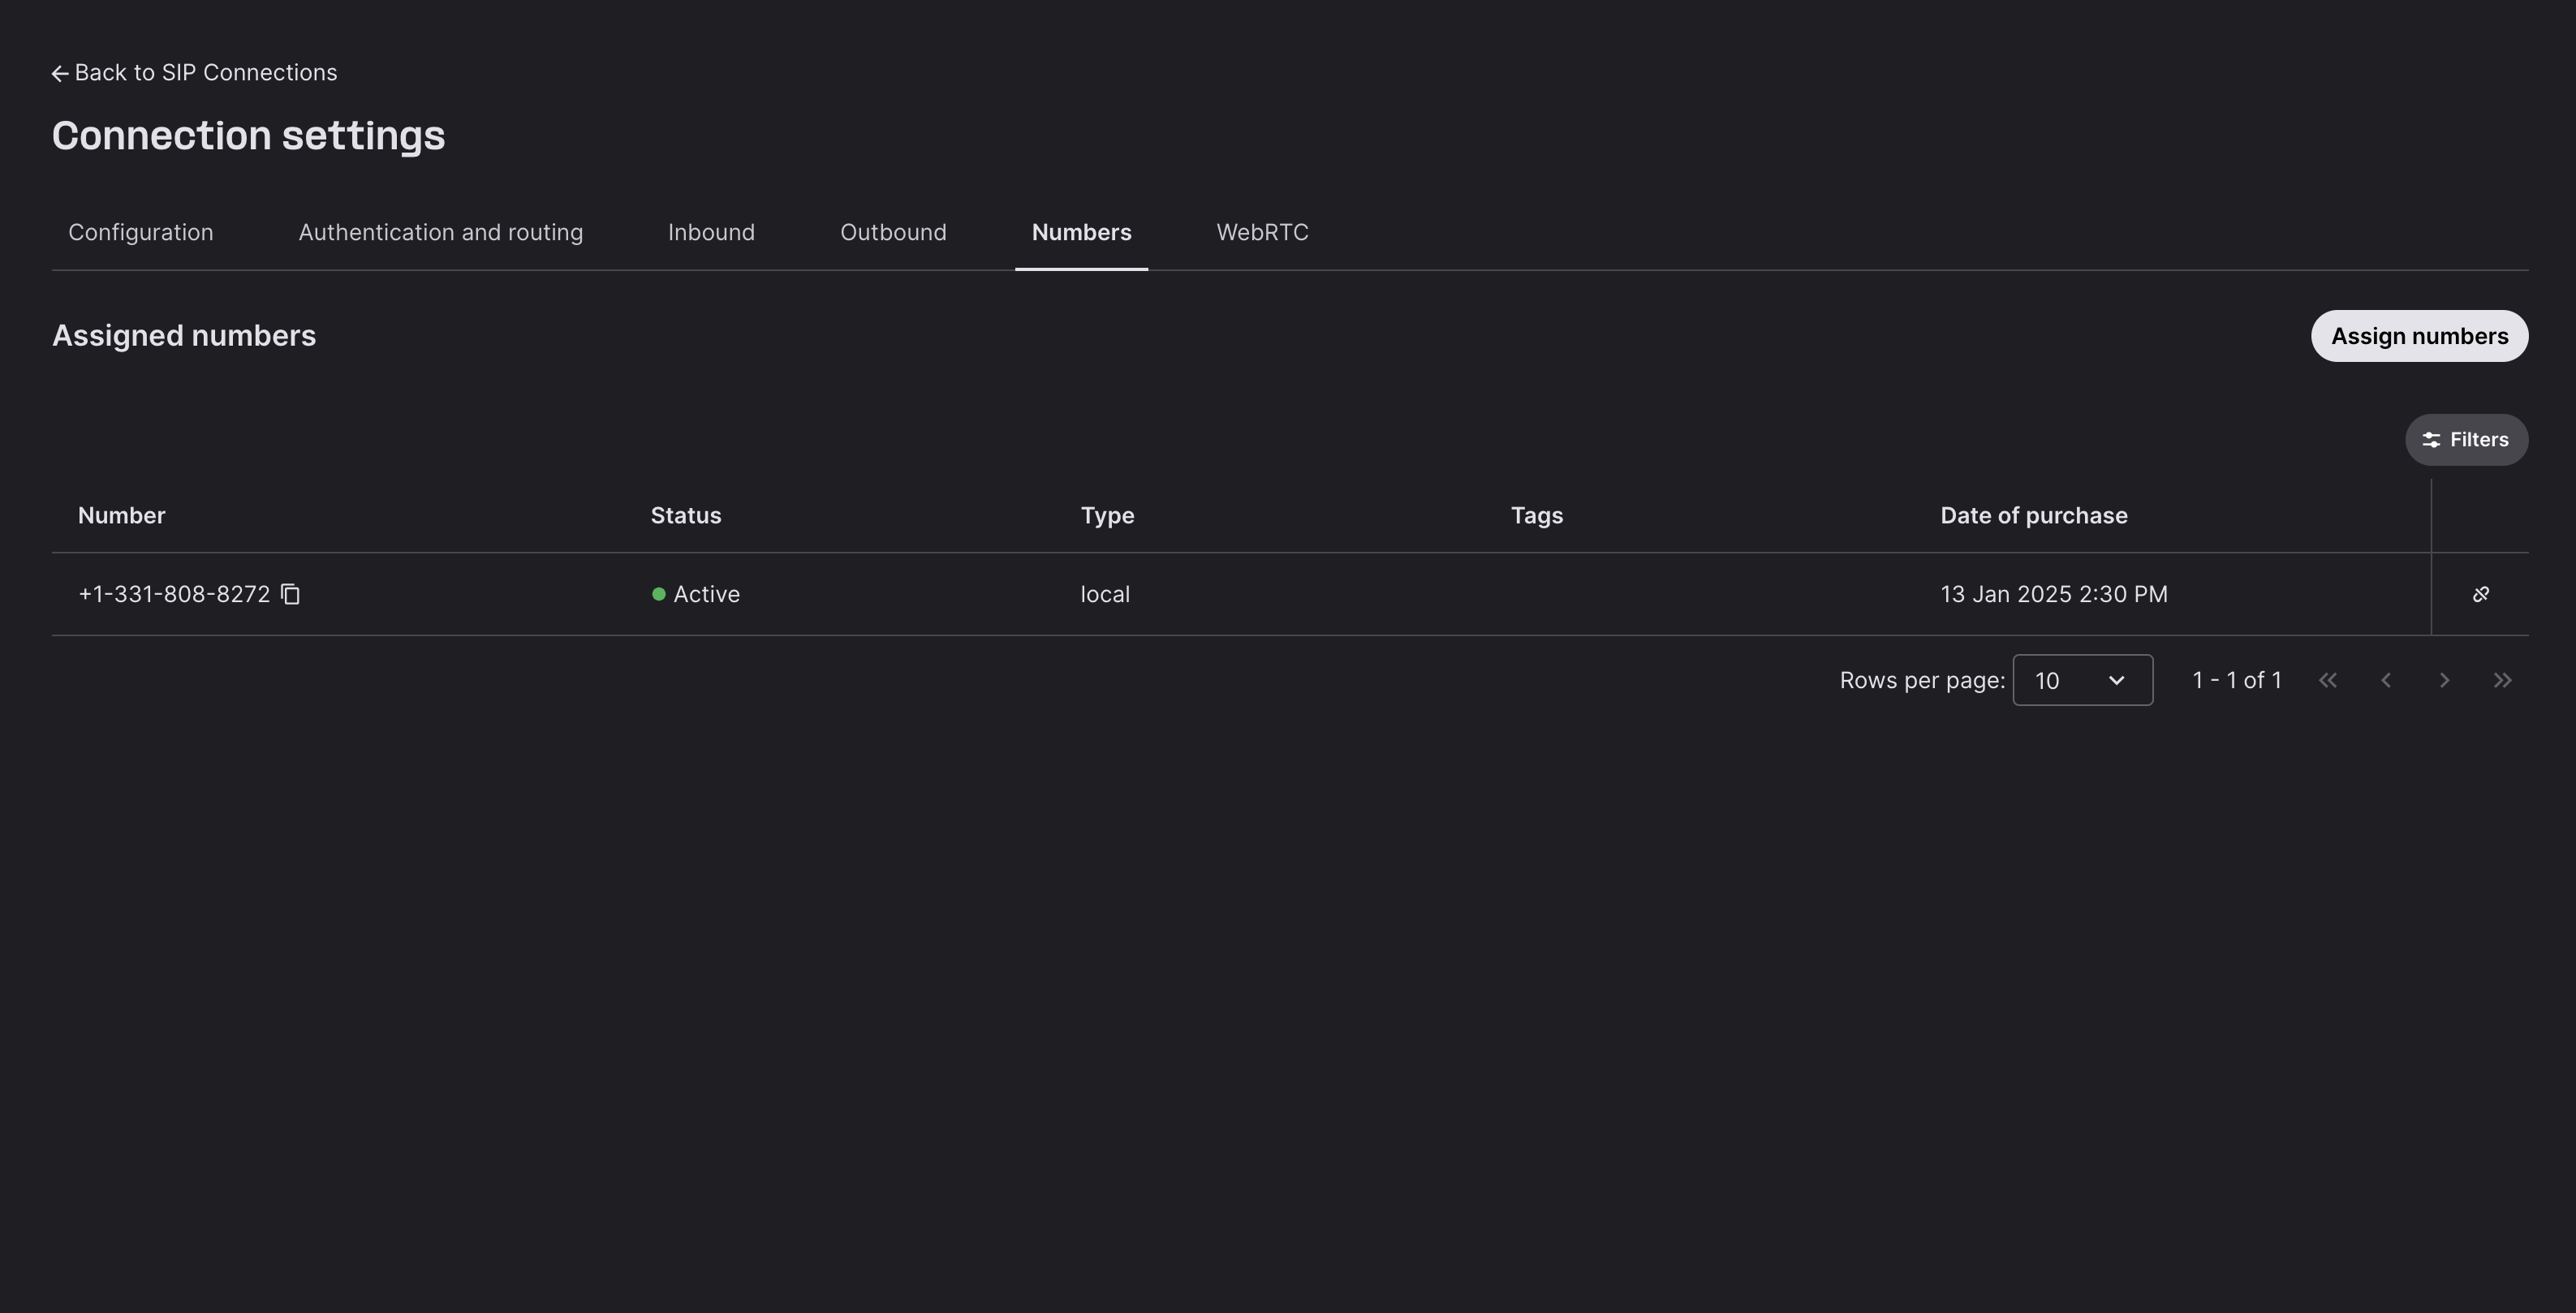
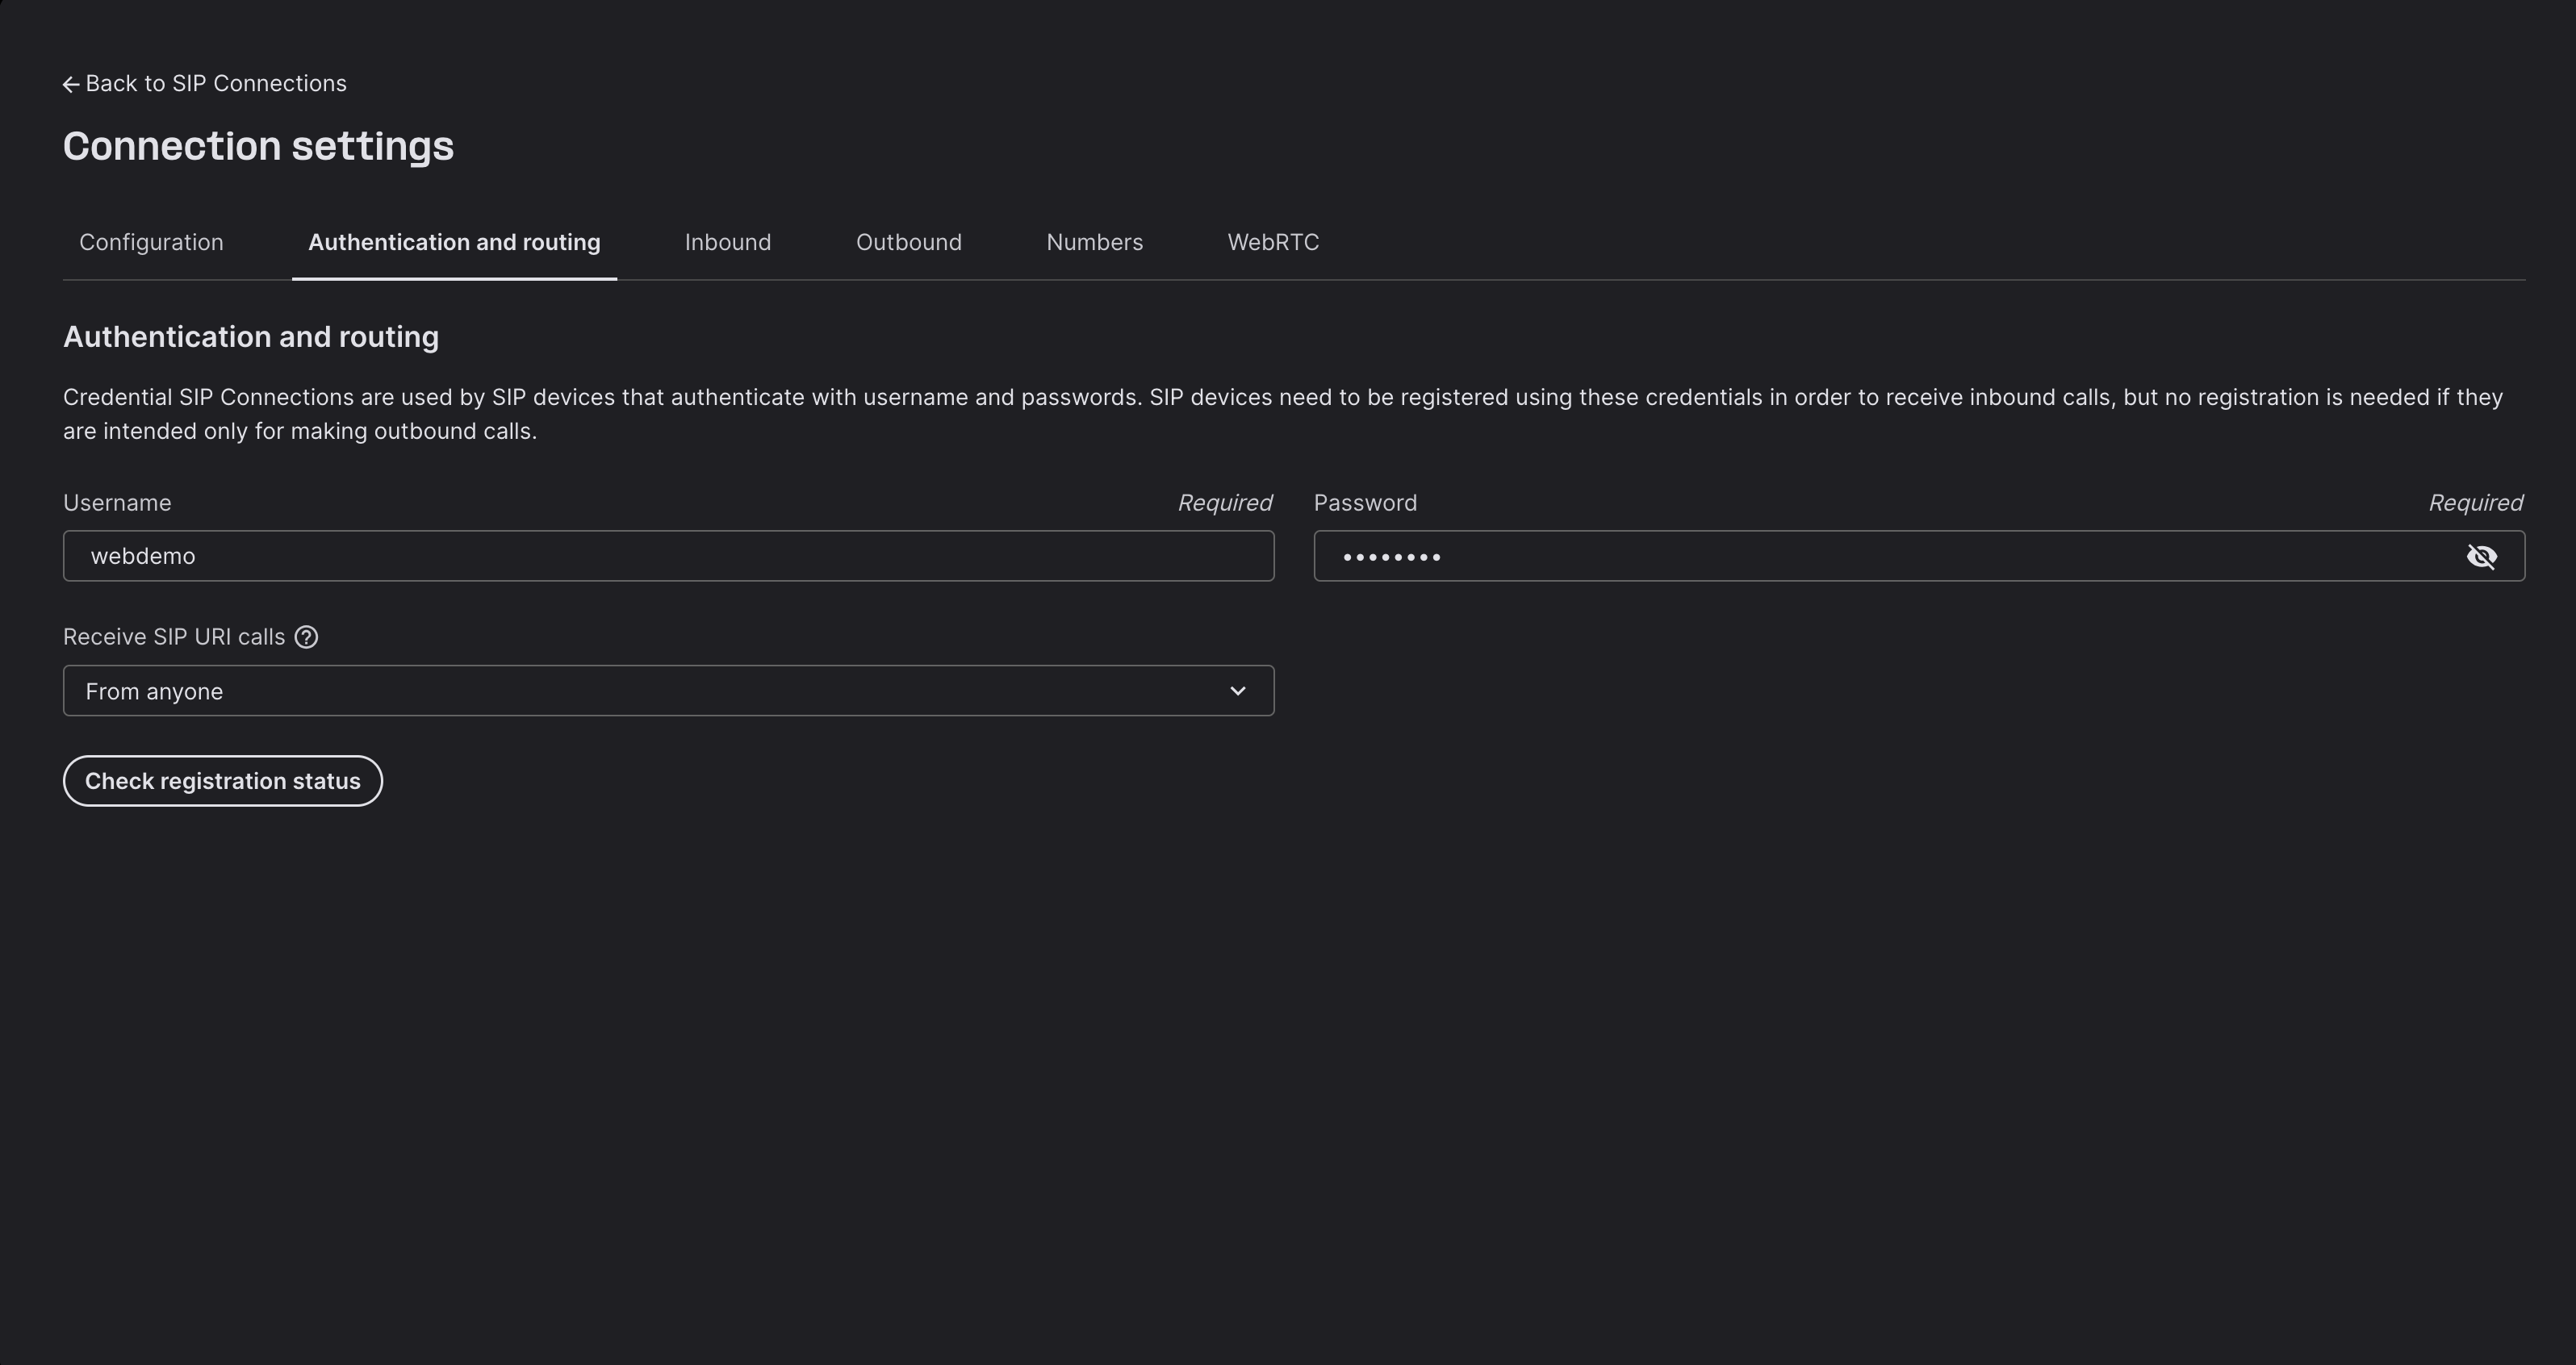
2. Create and Configure a SIP Connection
- Go to Voice → SIP Connections in Telnyx Mission Control Portal.
- Click Add SIP Connection and select Credentials-based authentication.
- Choose your desired Username and Password.
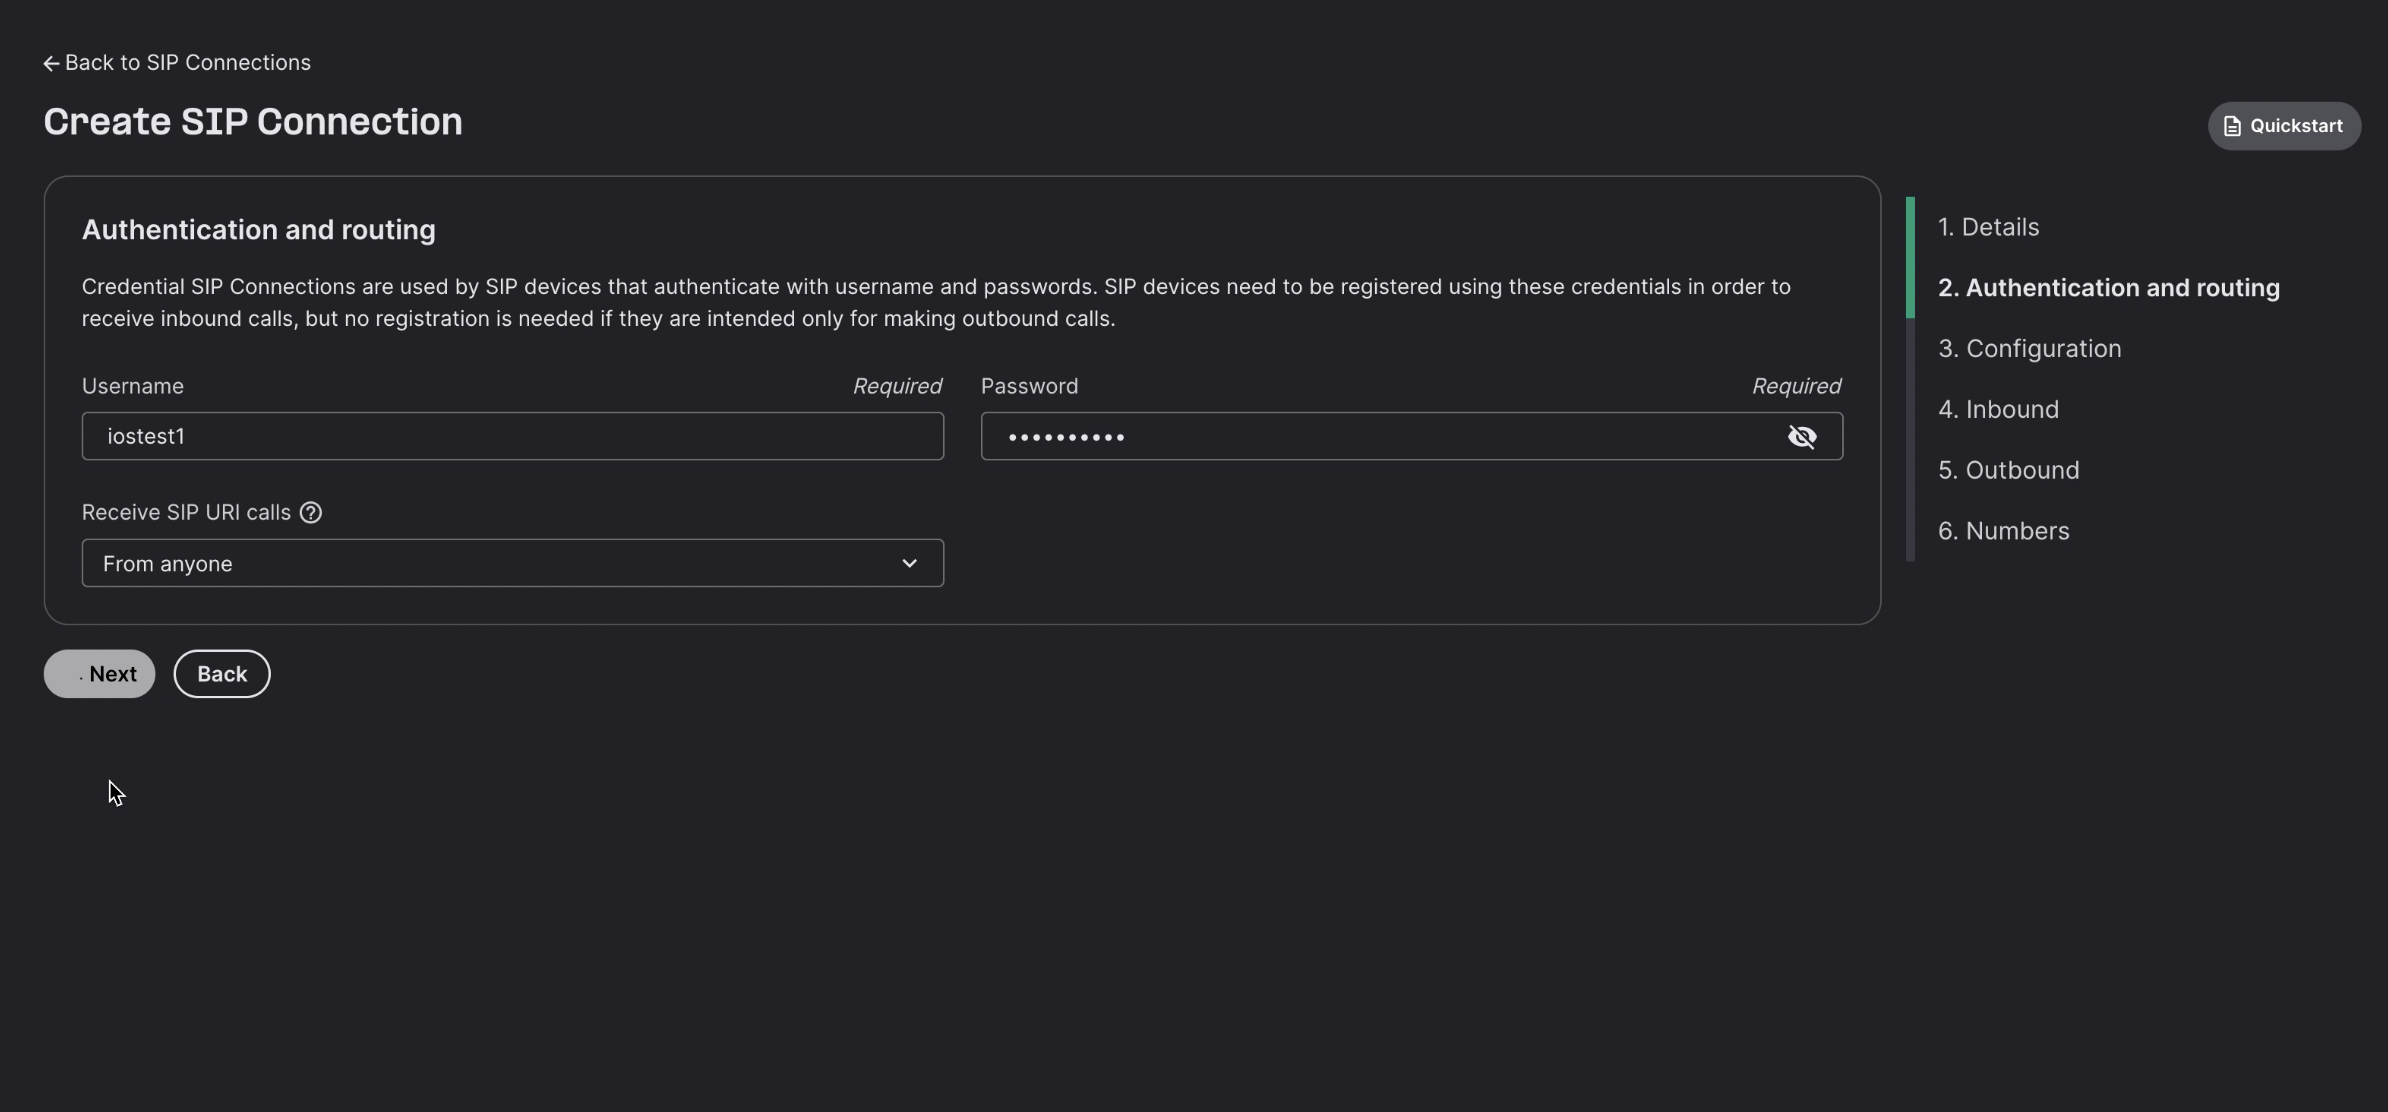
- Assign an Outbound Voice Profile to the connection.
- Assign a Number to the connection (set in step 1).
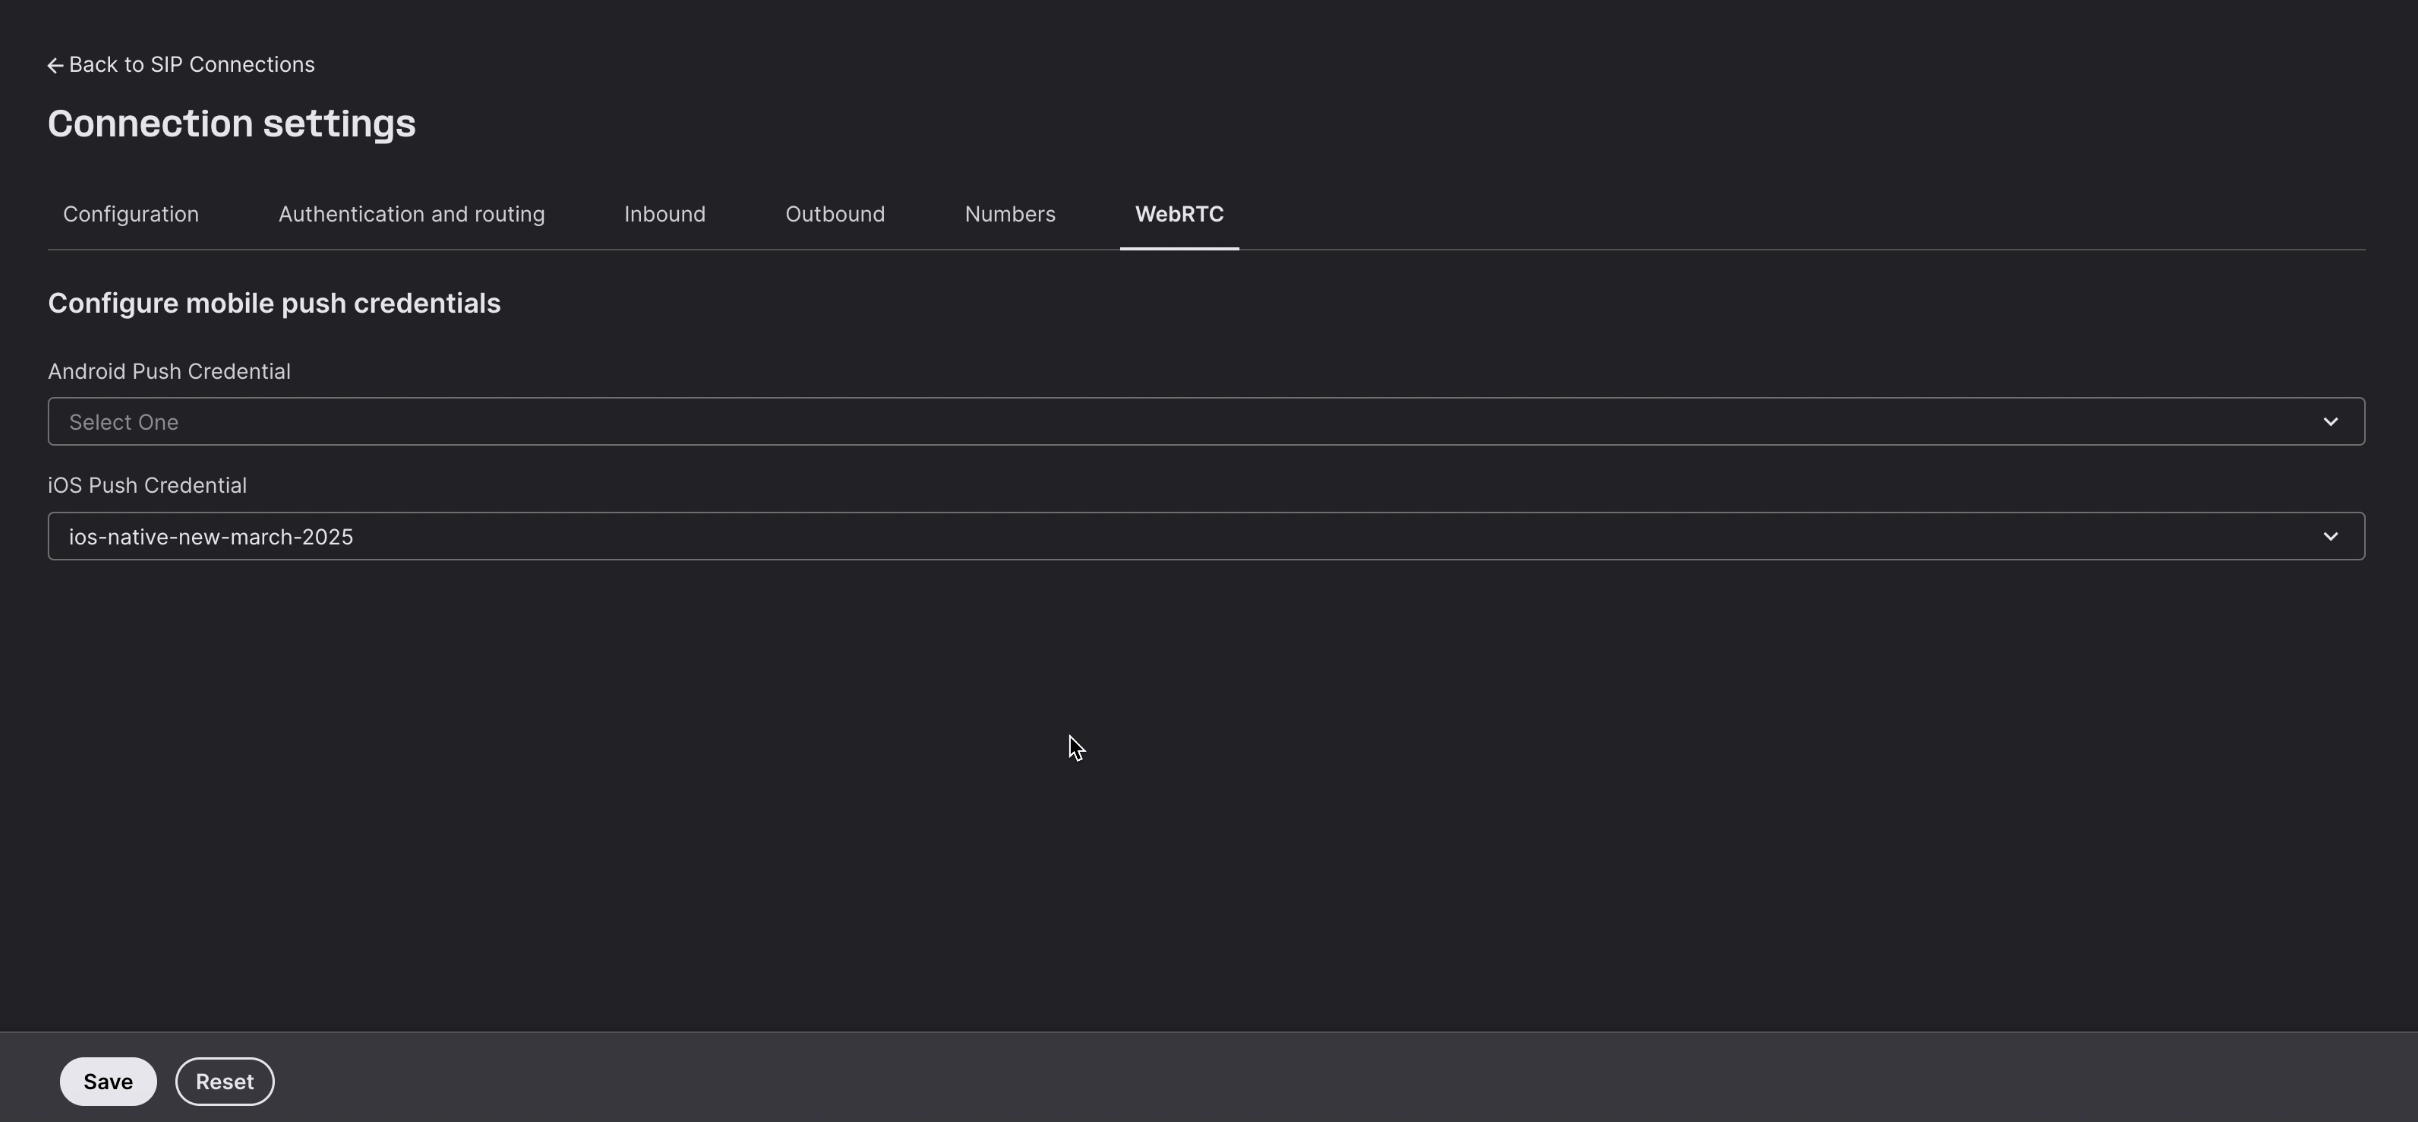
- Configure Push Credentials for inbound call notifications:
- Use one of the public certificates provided by Telnyx for testing push notifications (available for iOS and Android).
3. Download the Mobile Demo Application
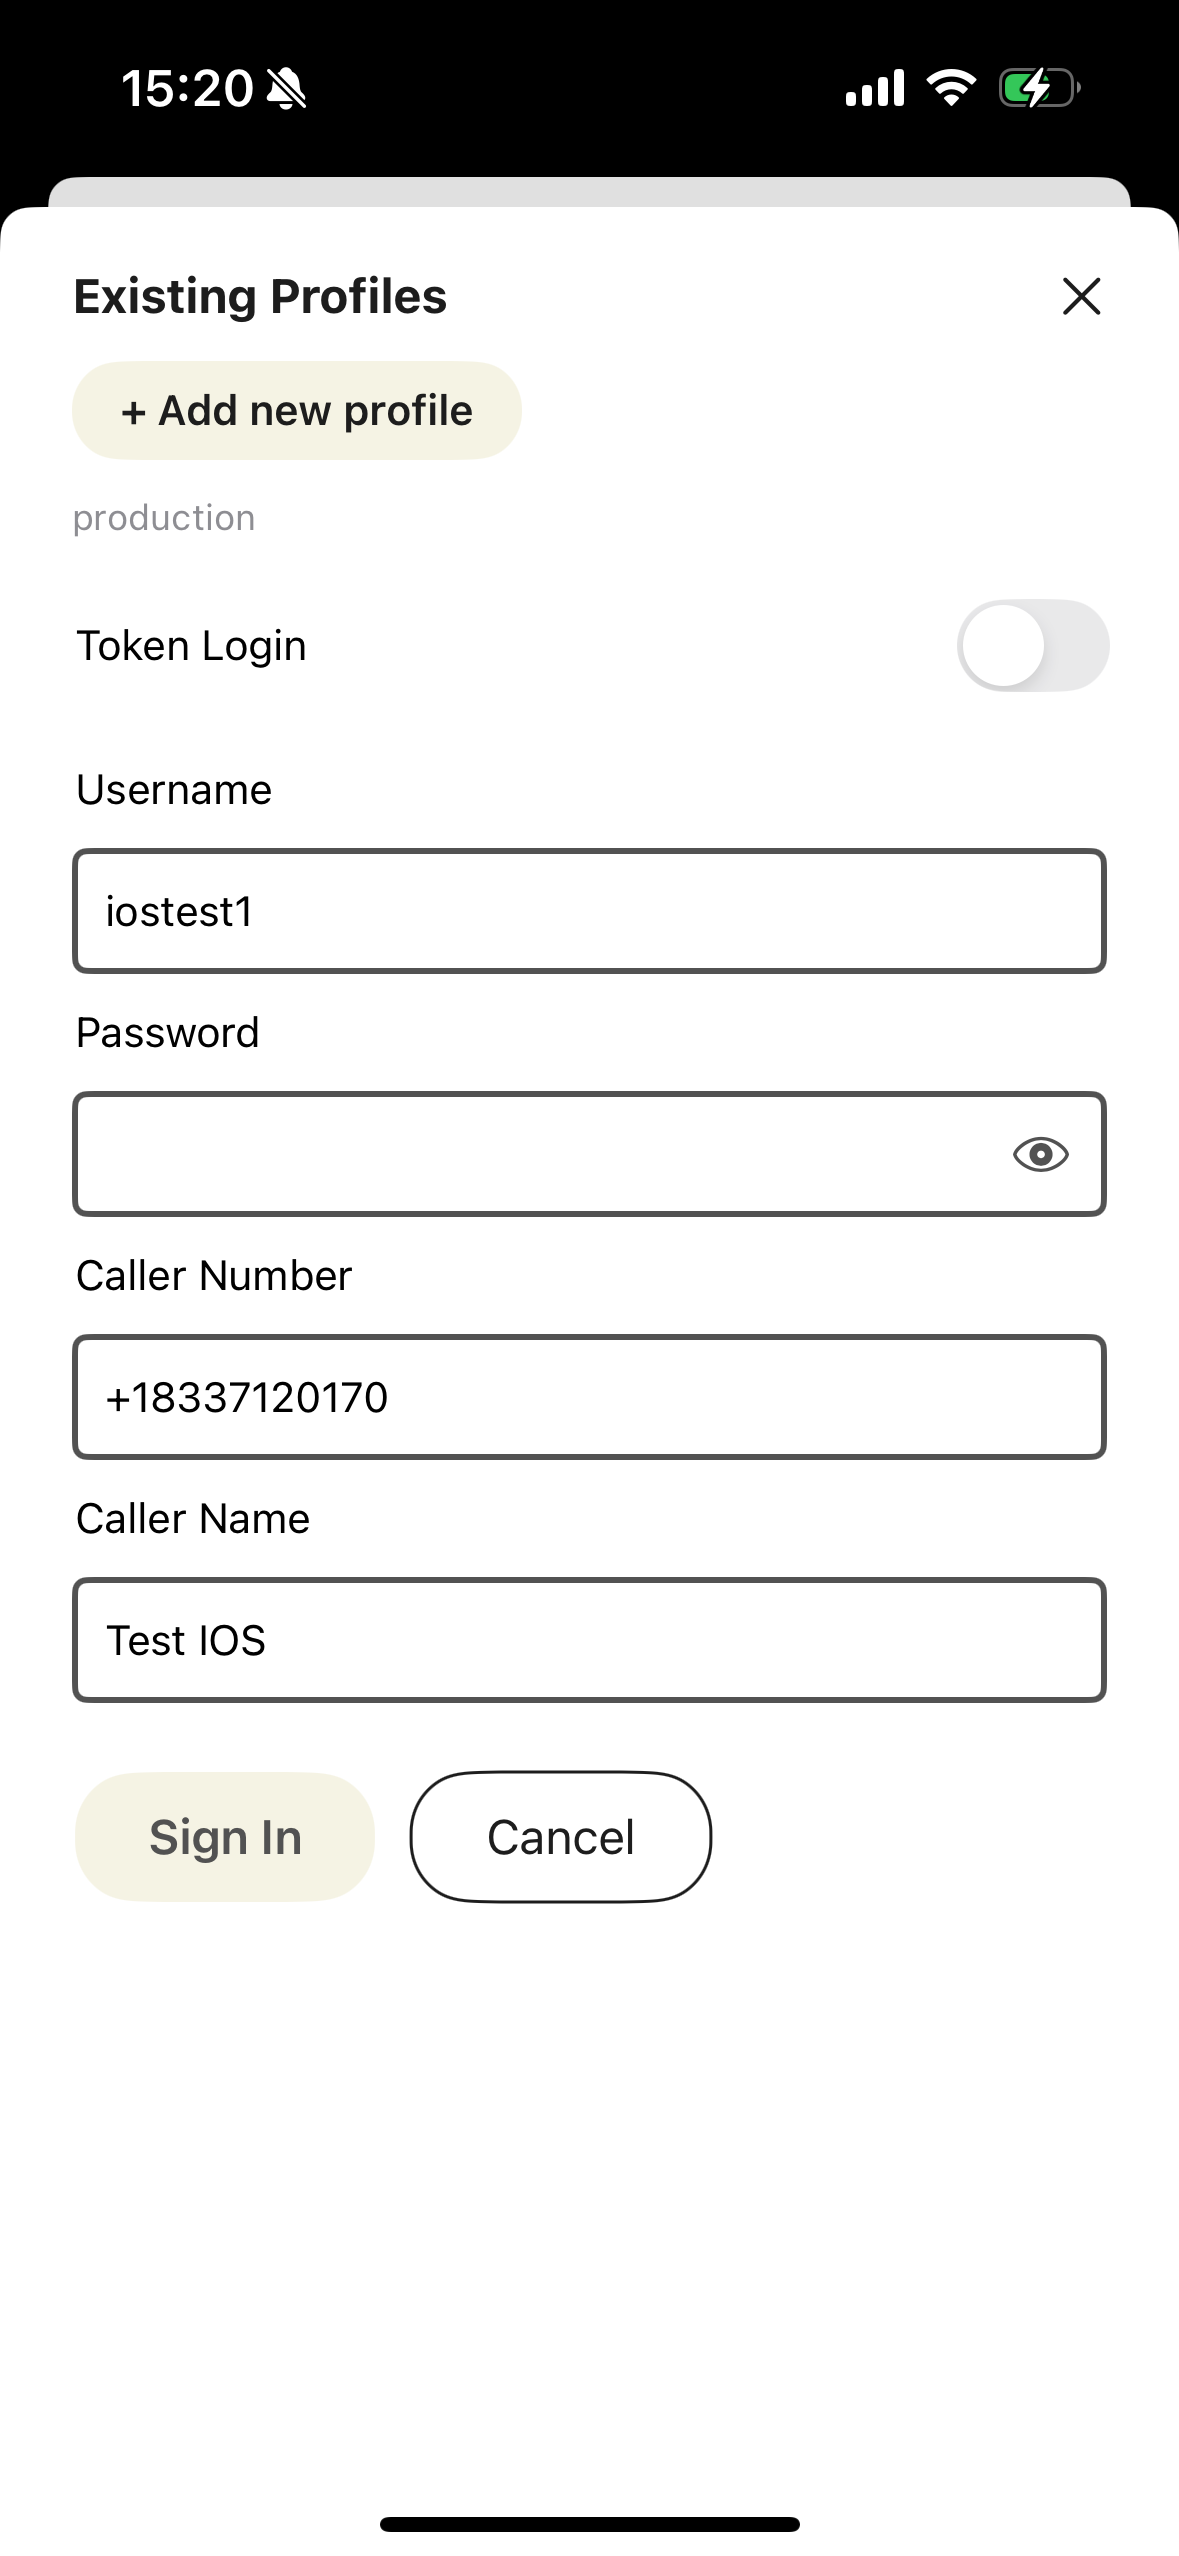
4. Add Your SIP Profile to the Mobile Application
- Open your downloaded demo app.
- Go to Profiles.
- Create a new profile by entering your SIP Username and Password (set in step 2).
- Save the profile.
5. Make a Connection (Mobile)
- Select and activate your newly created SIP profile in the app.
- Establish your initial connection to register your device with Telnyx. (Required to enable push notifications.)
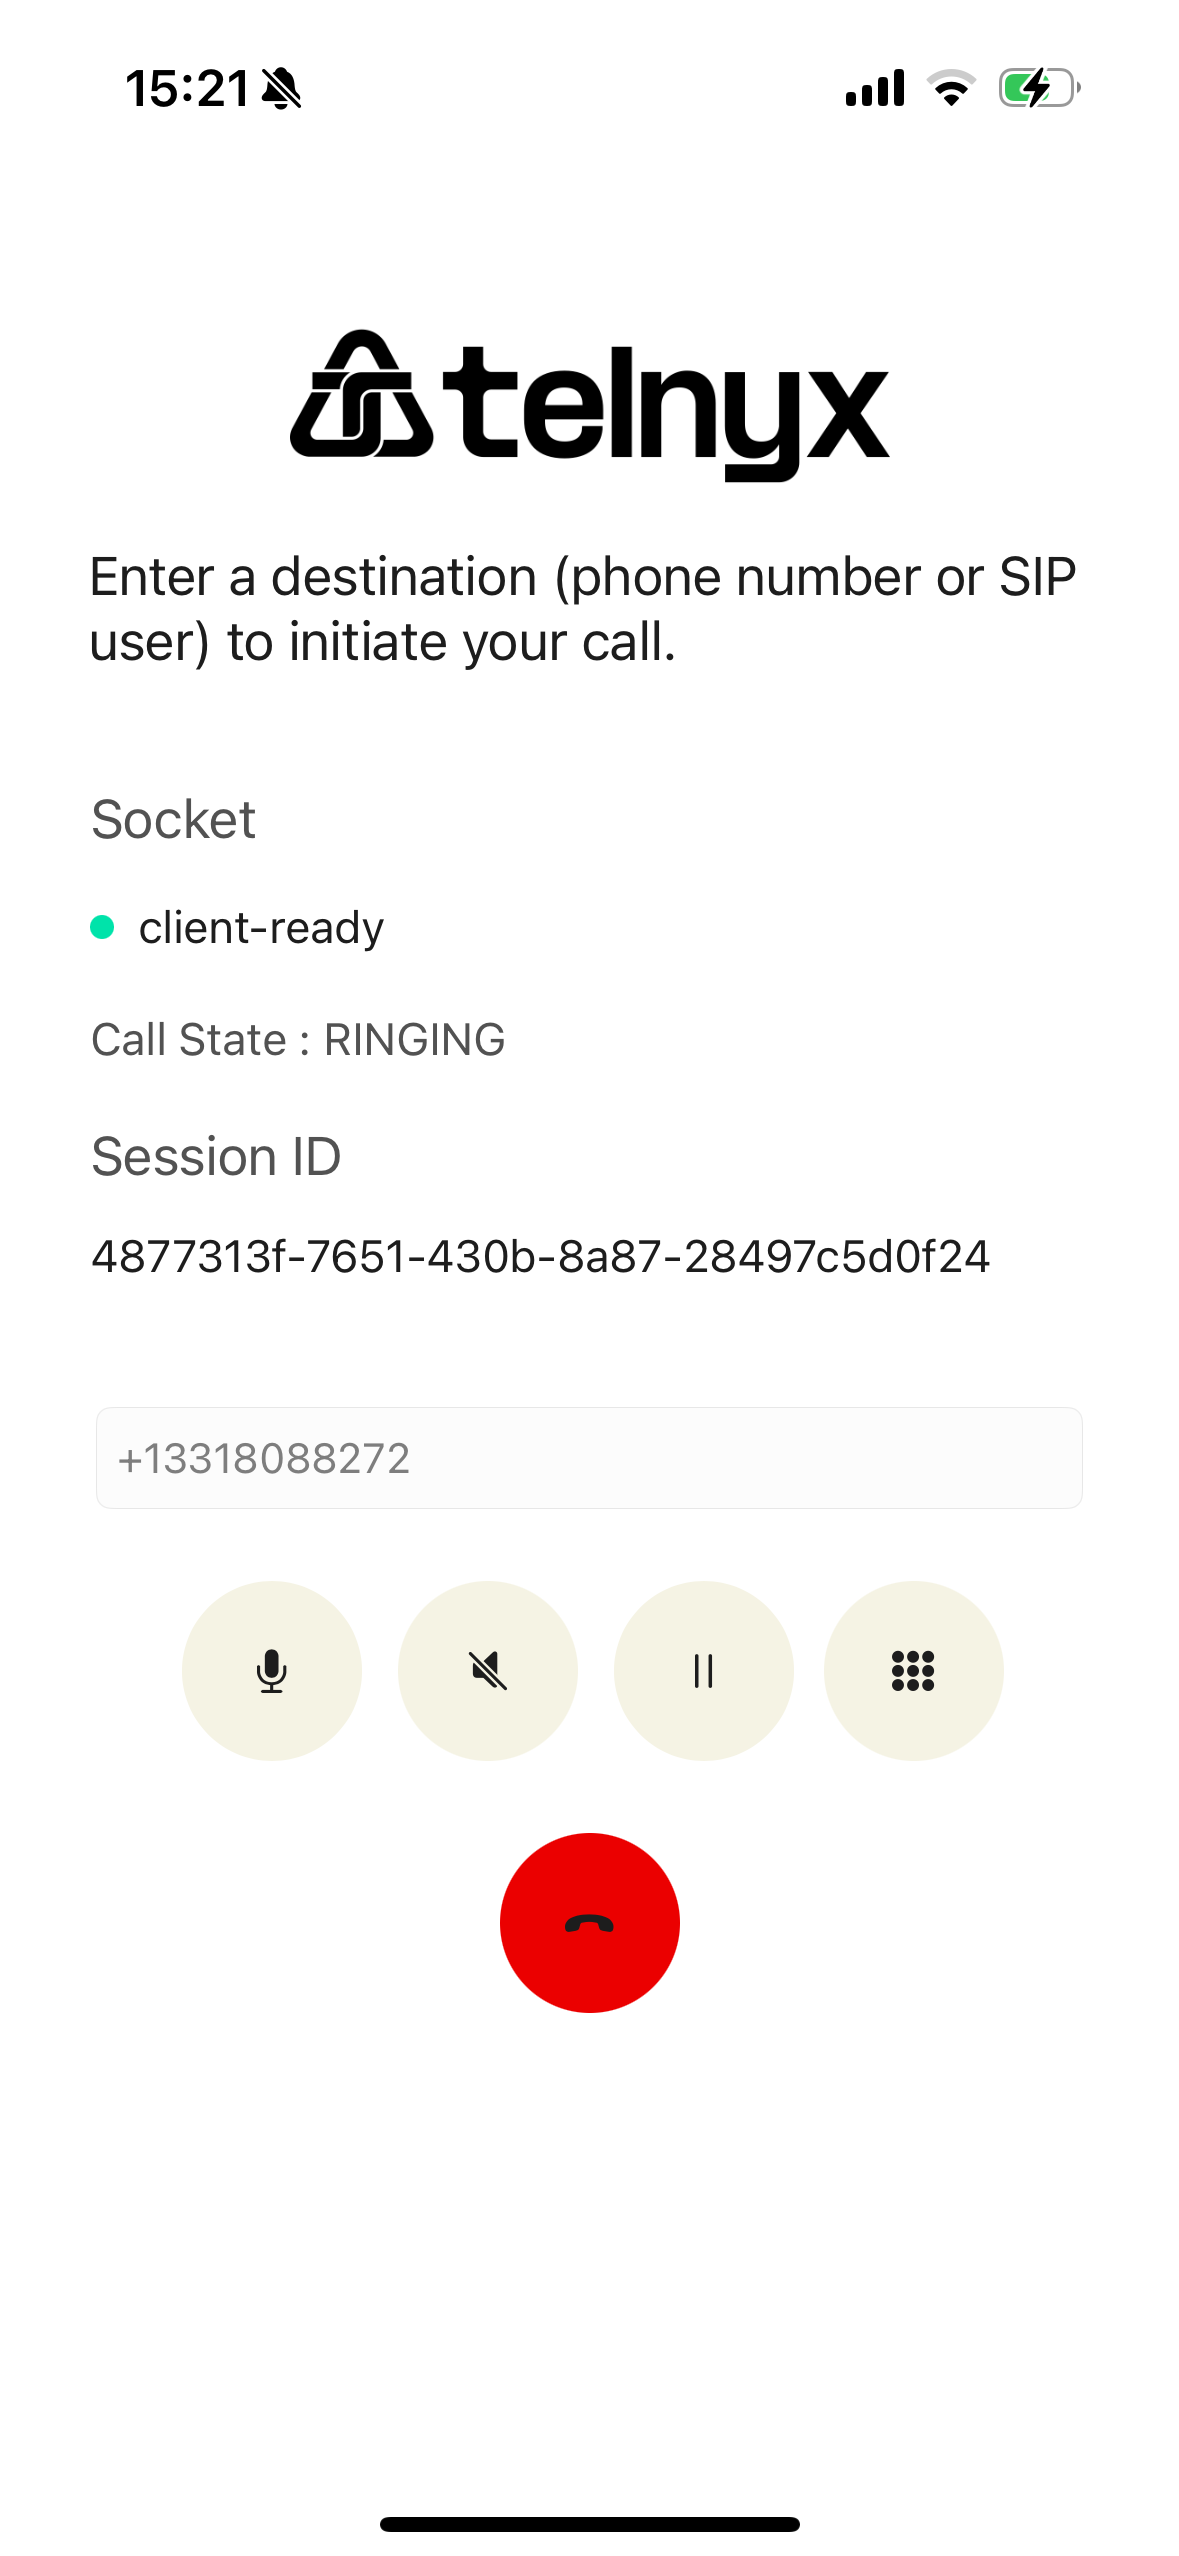
6. Make an Outbound Call (Mobile)
- Enter the destination number in E.164 format (e.g.,
+12345678900) within the app. - Tap the call button to initiate your call.
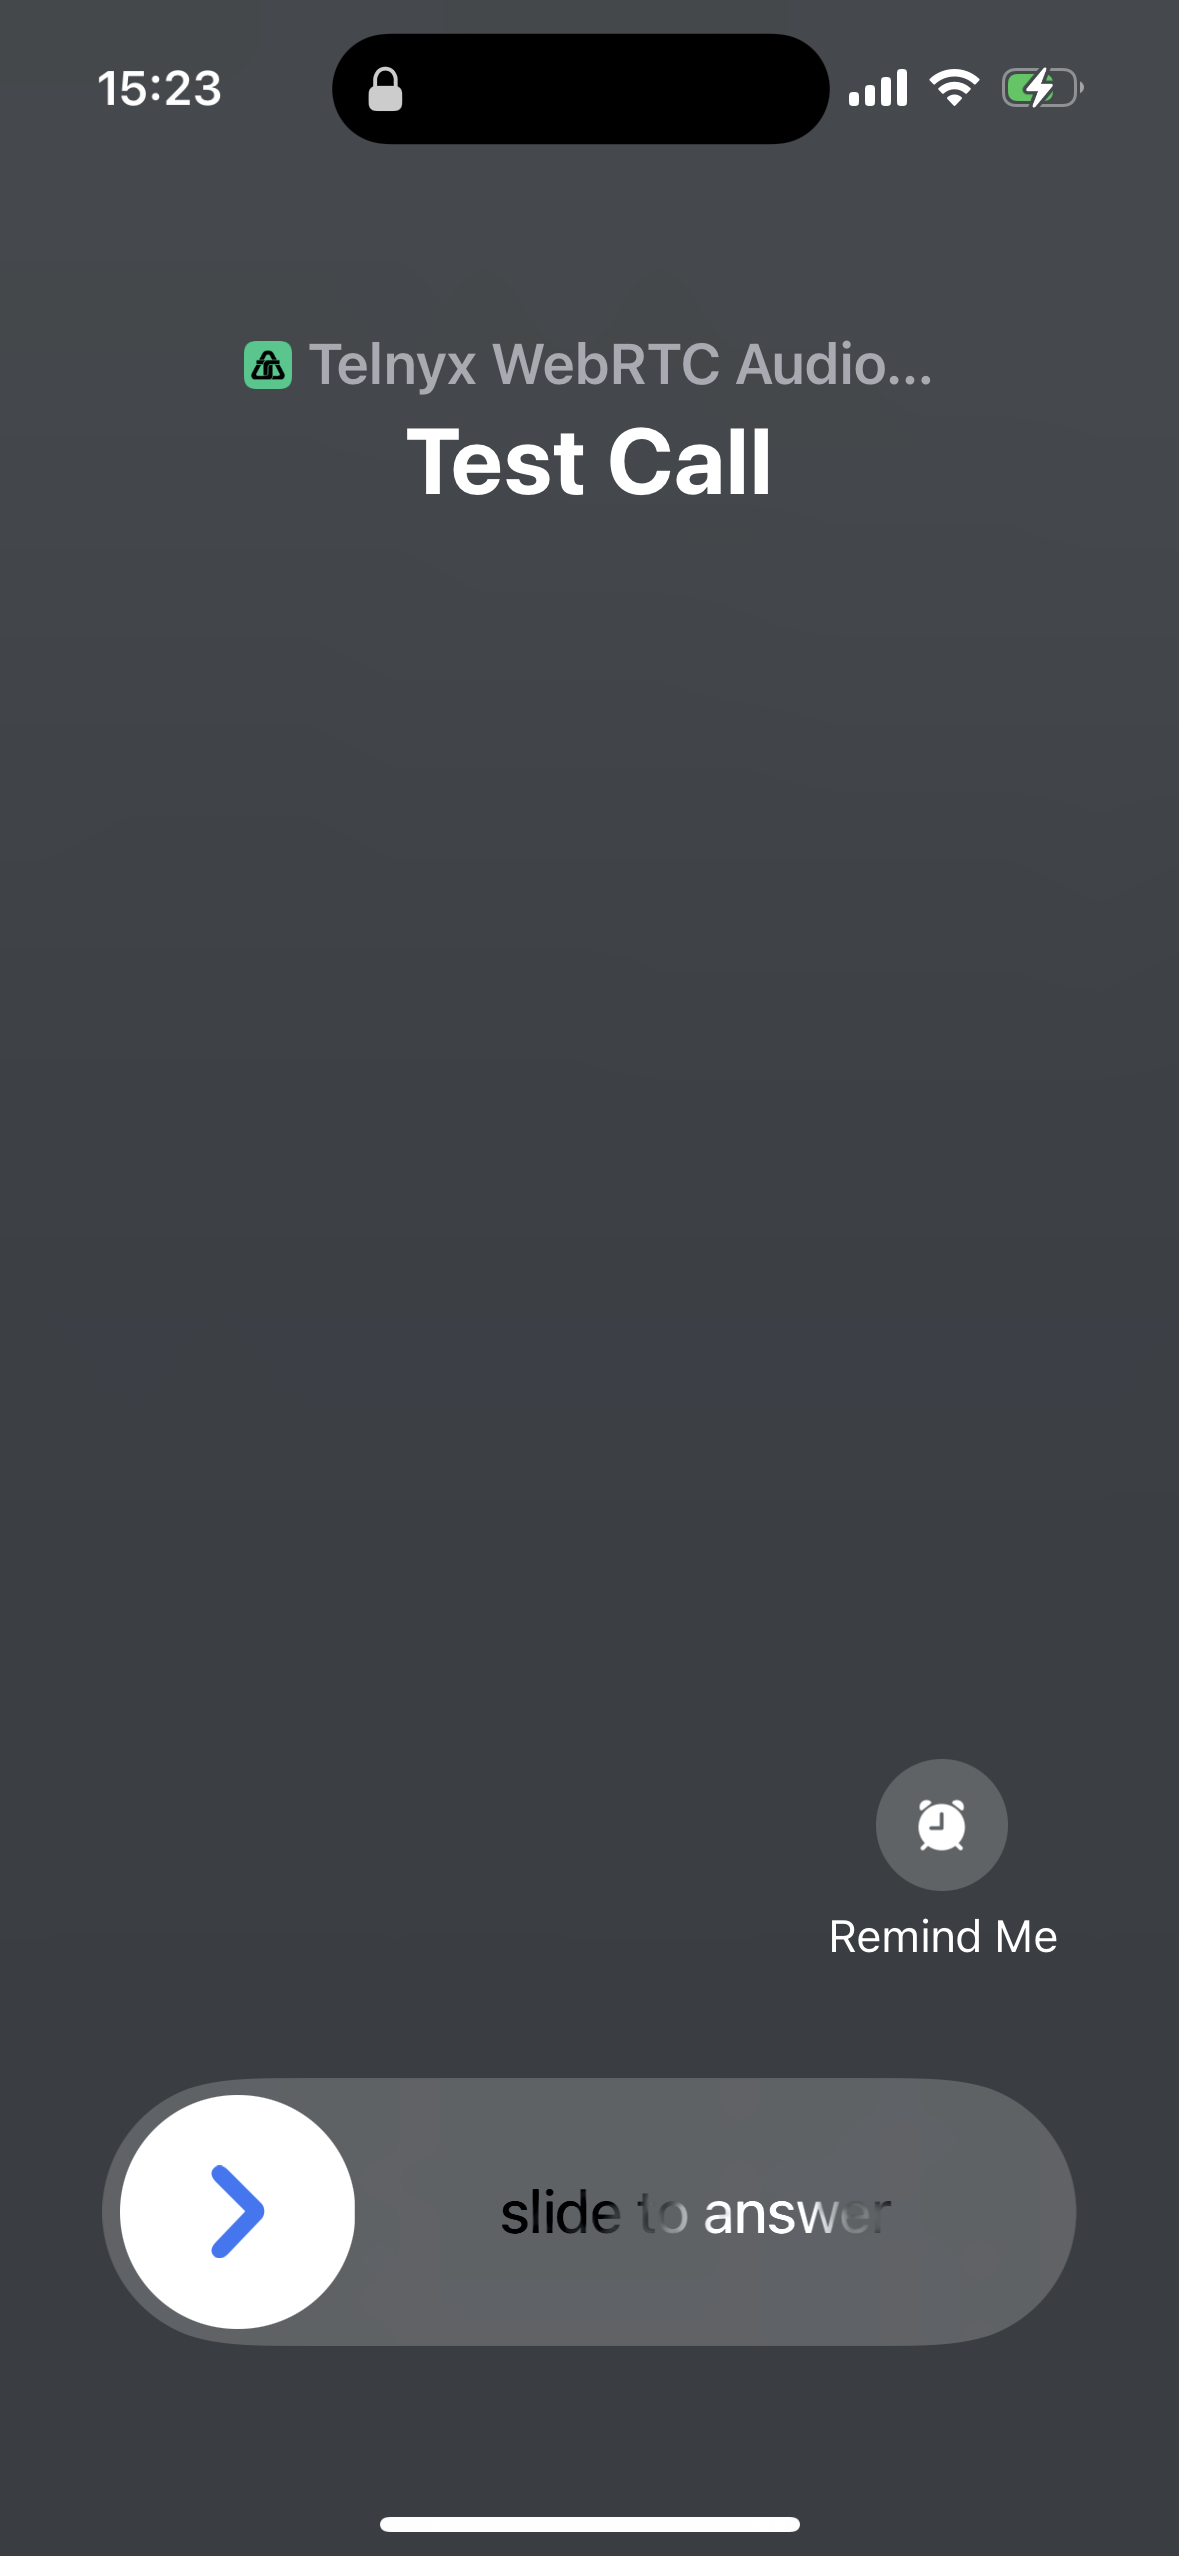
7. Receive an Inbound Call (Mobile)
- After the first successful connection, incoming calls to your Telnyx number trigger push notifications.
- Accept incoming calls directly from notifications.
Part B: Web Demo Application
1. Buy a Phone Number
- (Follow same steps as Mobile—Part A, Step 1.)
2. Create and Configure a SIP Connection
- (Follow same steps as Mobile—Part A, Step 2, but skip push credentials, not required for web.)
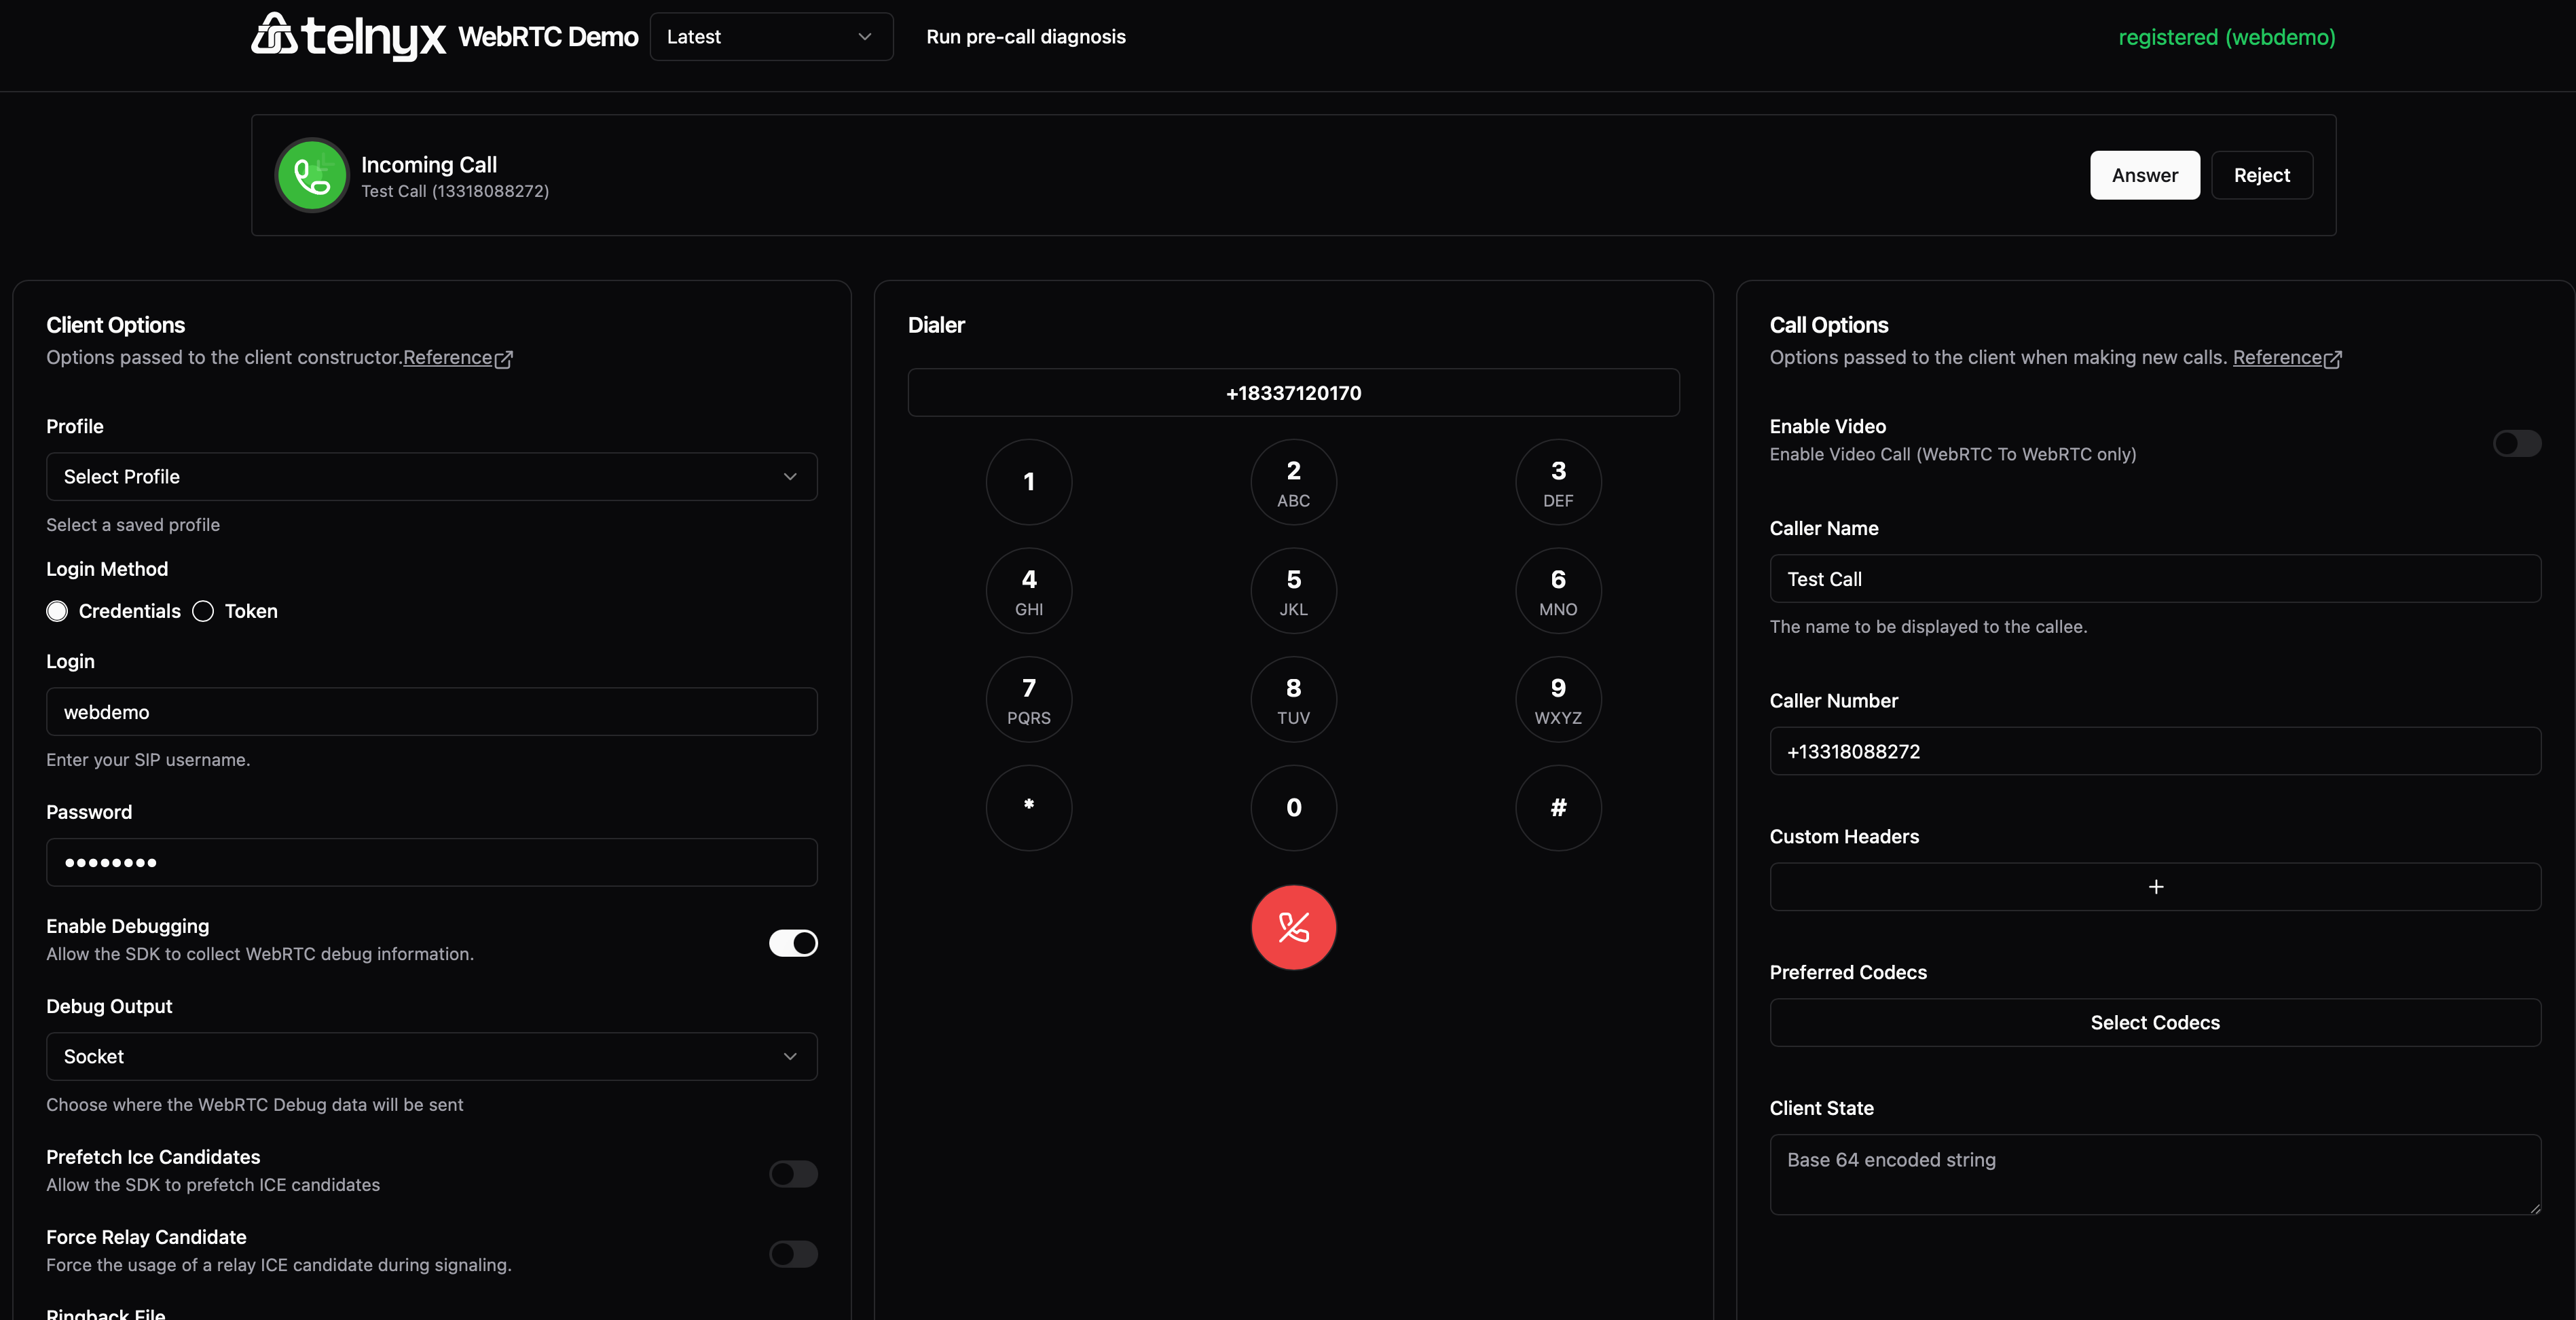
3. Use the Web Demo Application
- Open the Telnyx WebRTC Web Demo: https://webrtc.telnyx.com/
- Register your web client with the following information:
- Username: Your SIP Username (configured in step 2).
- Password: Your SIP Password (configured in step 2).
- Call Number: Your Telnyx phone number in E.164 format (
+12345678900). - Caller Name: (Optional) Enter your preferred caller name or leave blank for the default name.
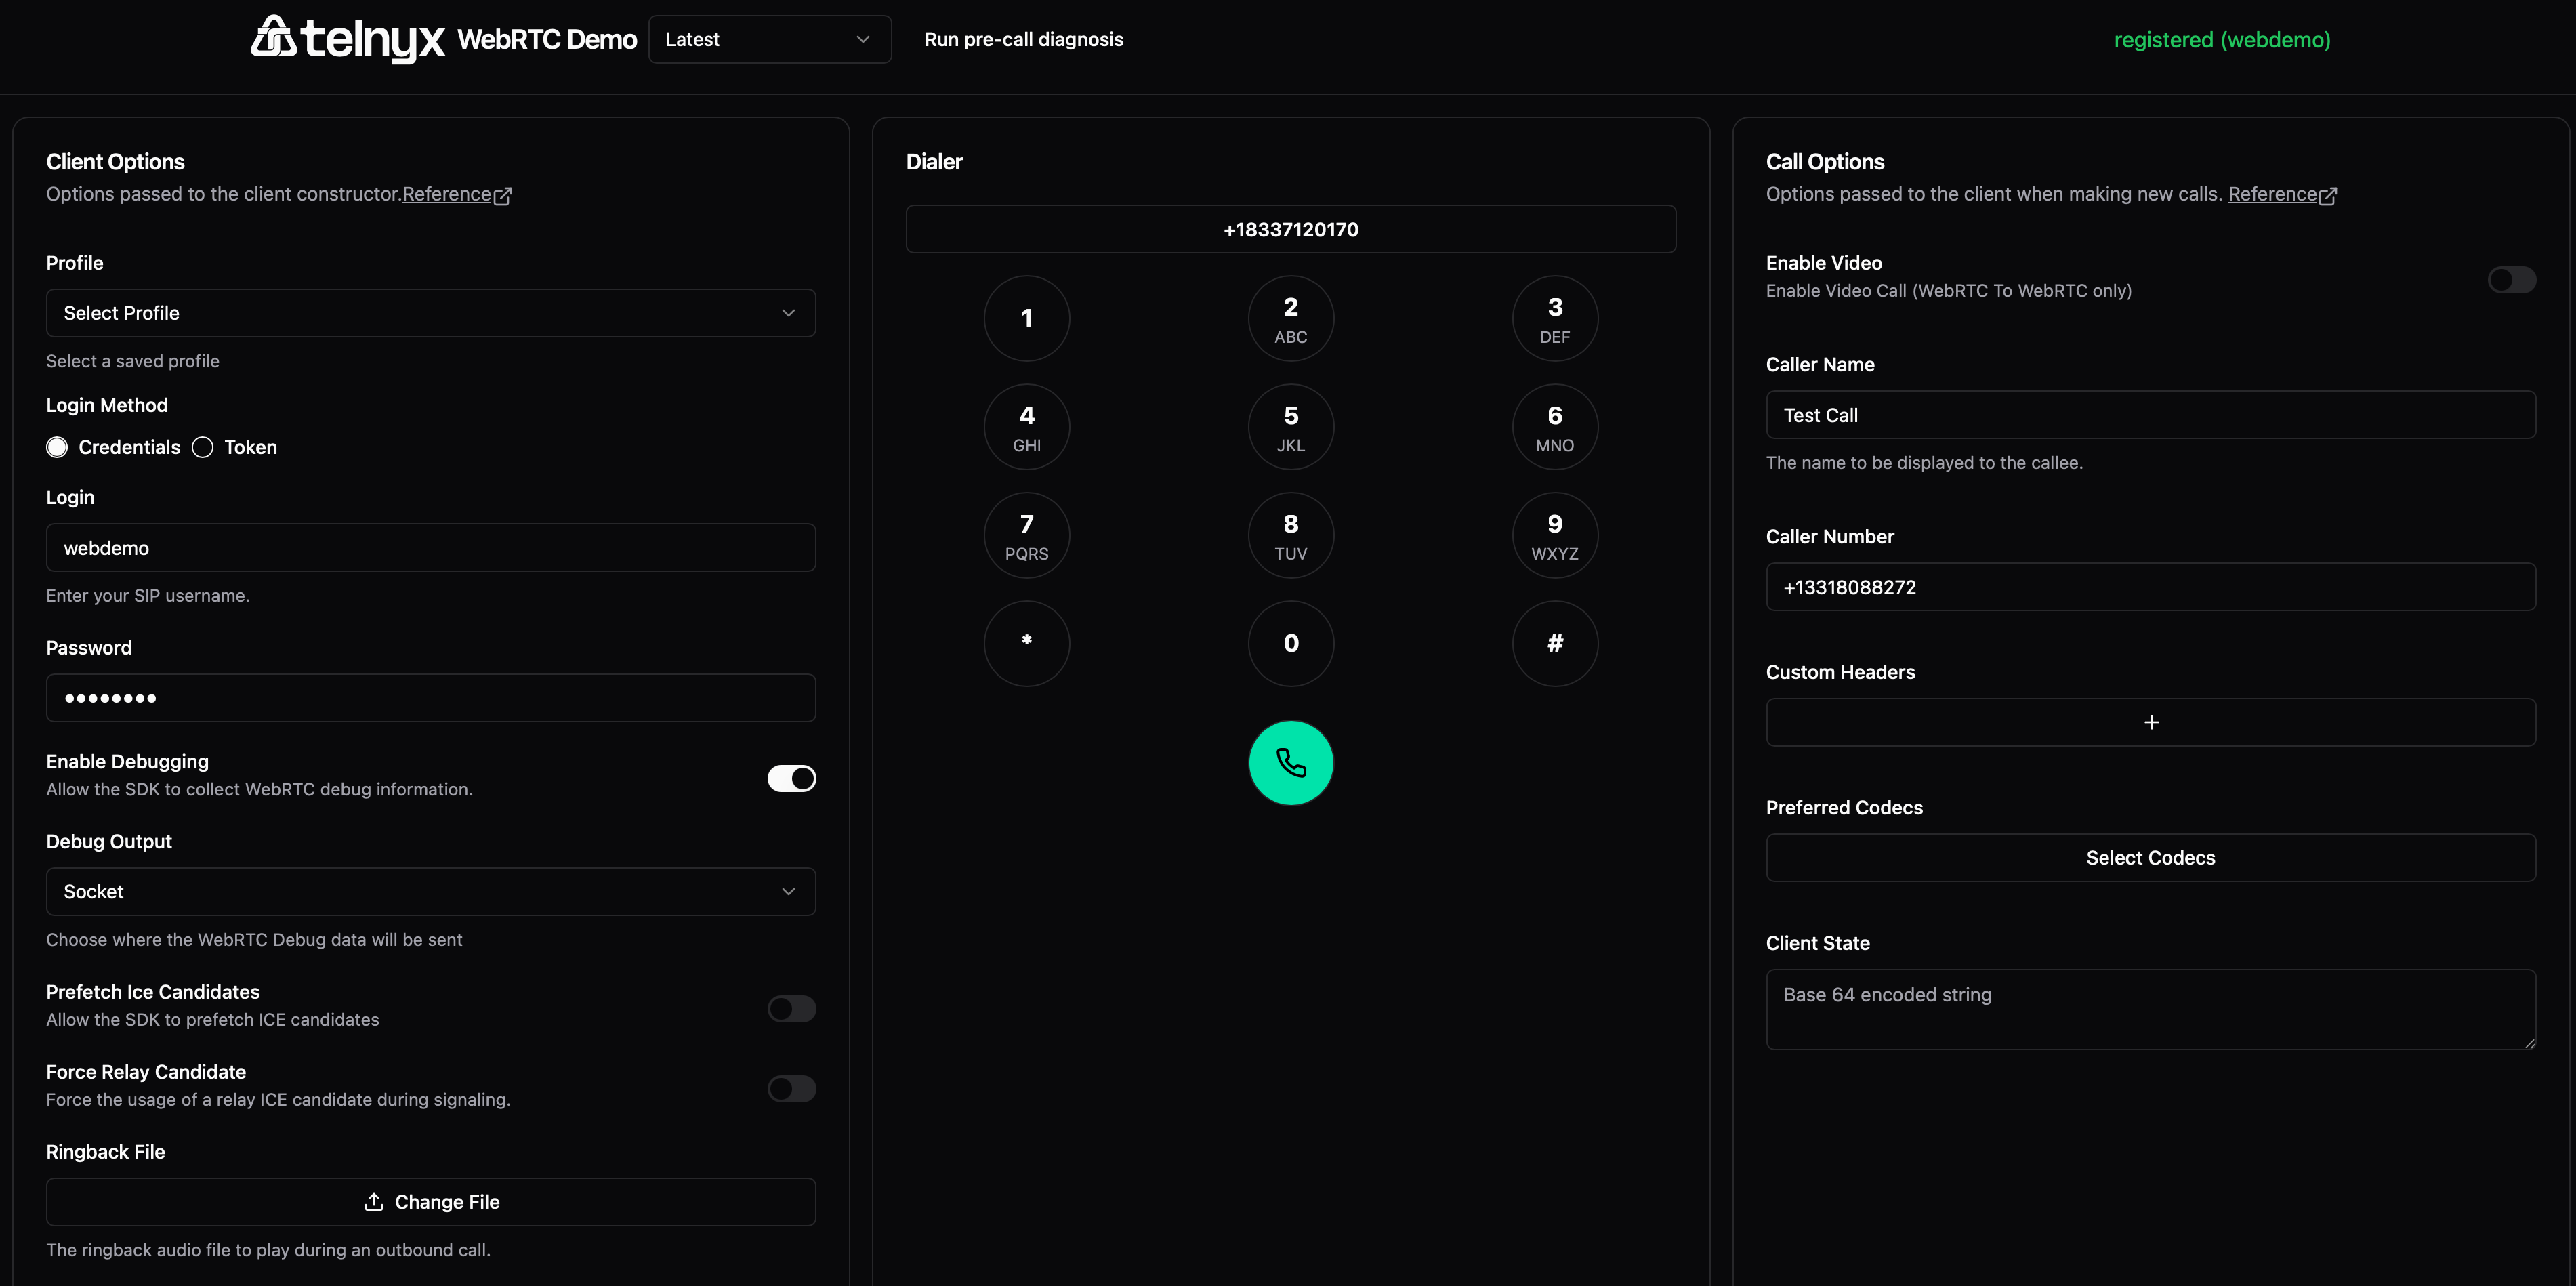
4. Make an Outbound Call (Web)
- Enter the destination phone number in E.164 format.
- Click “Call” to initiate your call.
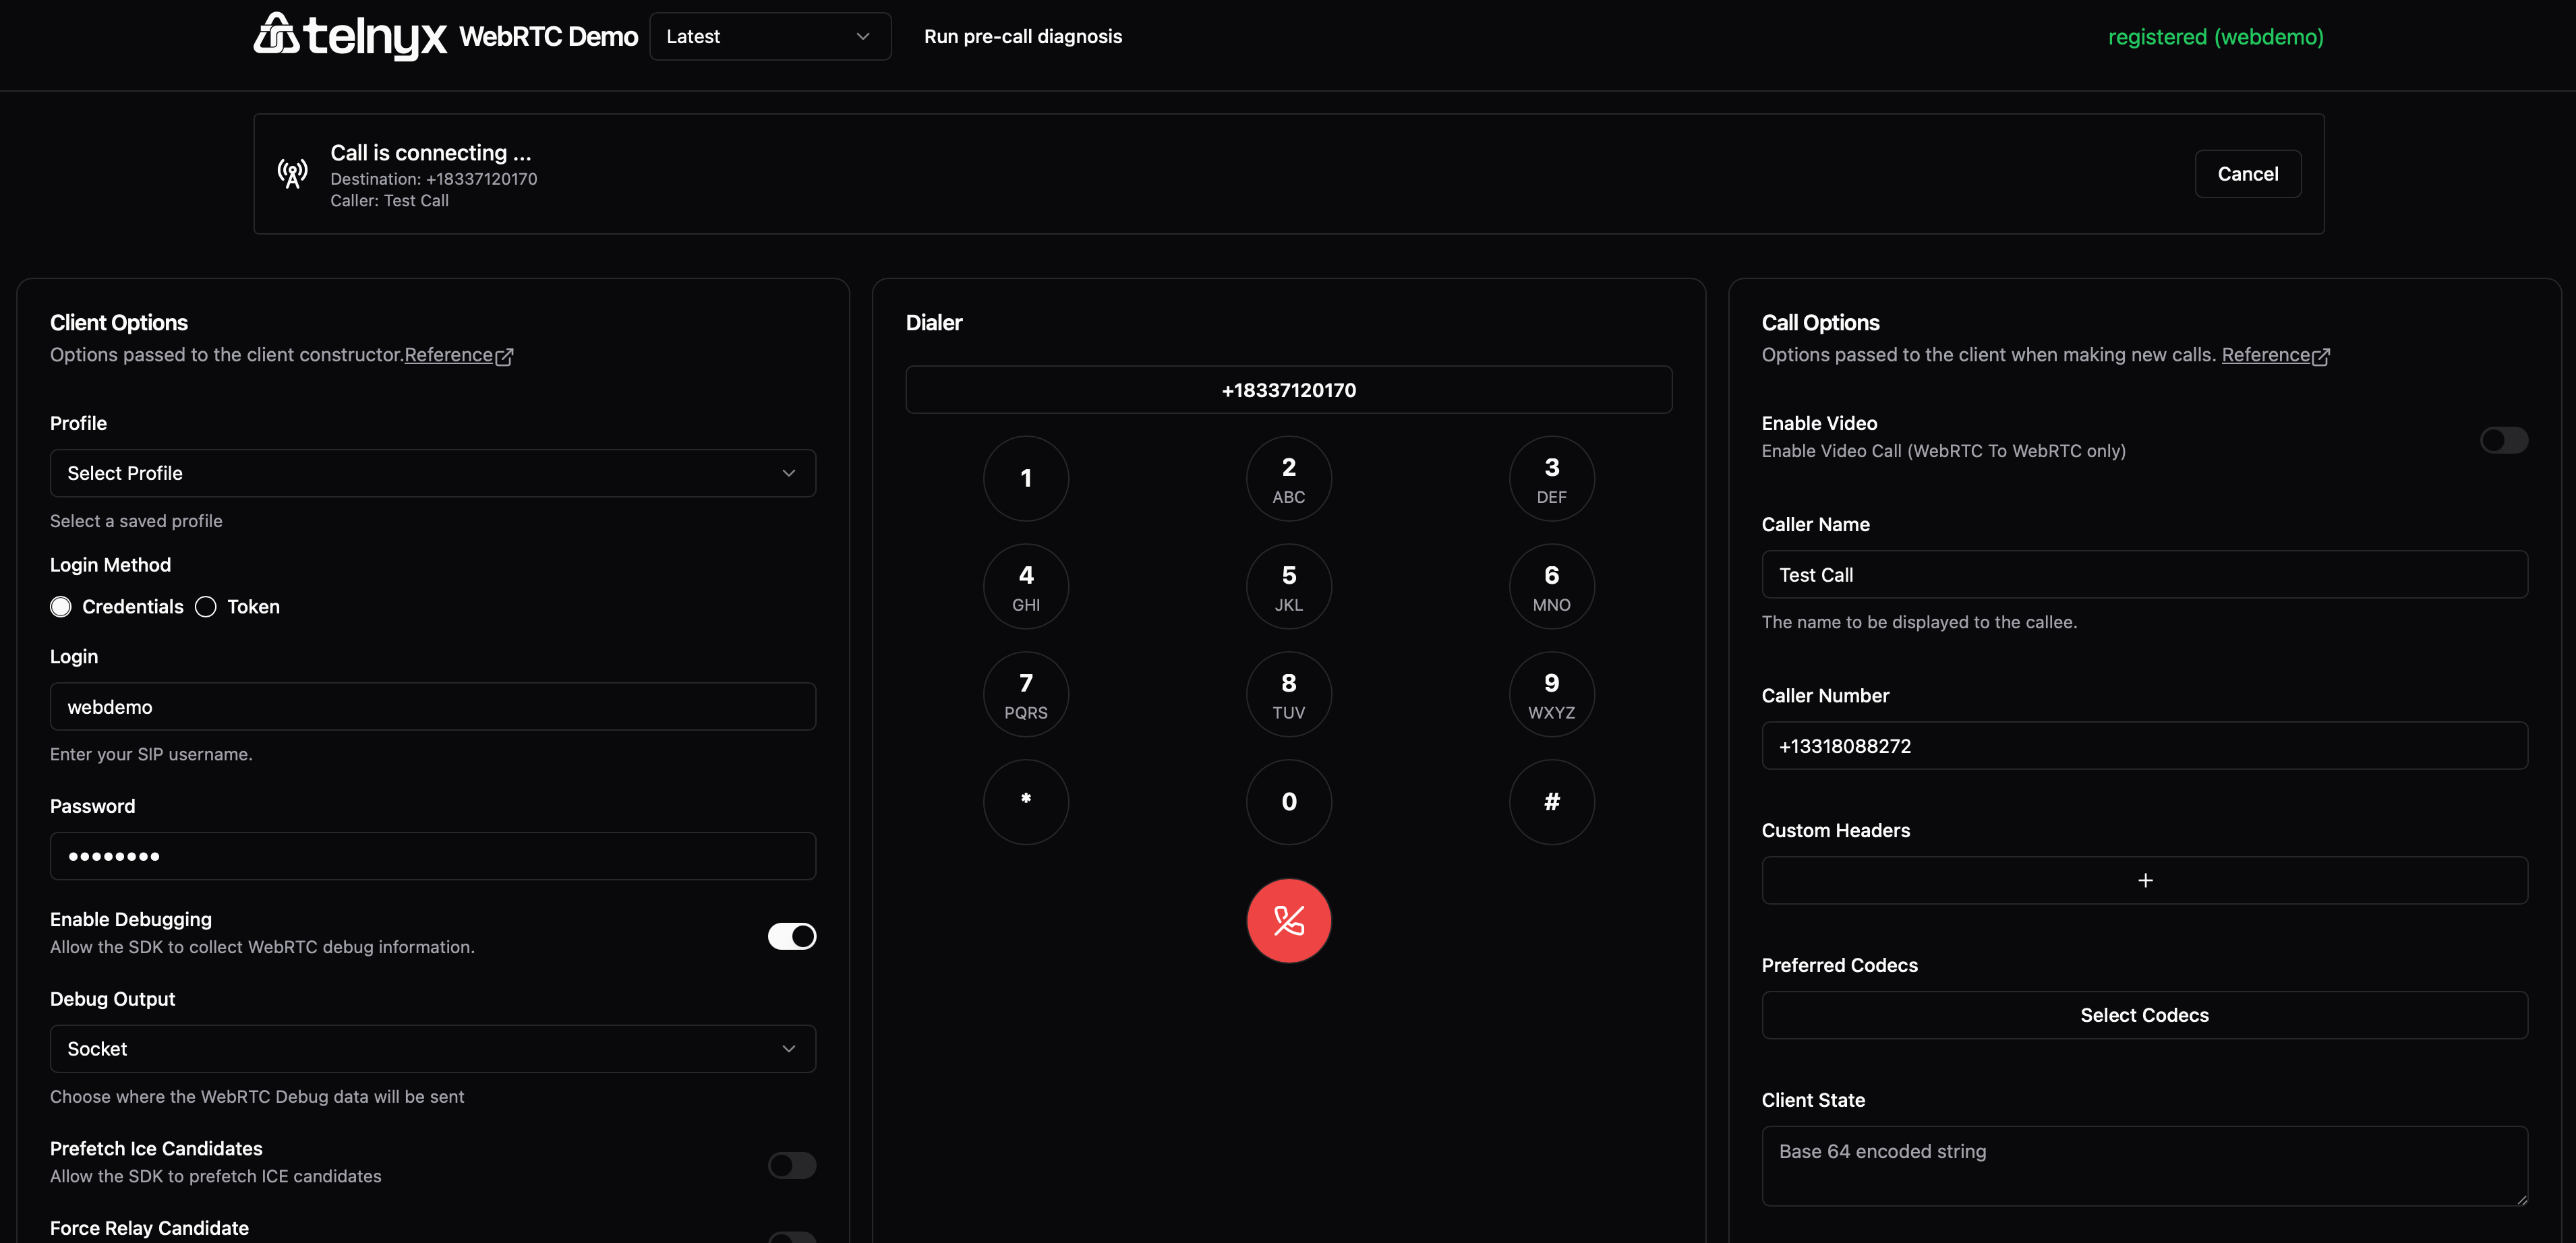
5. Receive an Inbound Call (Web)
- Incoming calls to your Telnyx number appear as notifications in your web app.