Make a call to a web browser
How to receive calls into your web app
During this guide you will learn how to:
- Setup the WebRTC JS SDK into your app.
- Use the necessary SDK APIs to connect and receive calls into your web application.
Requirements
- Have a portal account
- Configure your portal account for voice
- Have 2 SIP Connections: To learn how to setup a SIP connection, please visit our Quick Start Guide. We are going to use one SIP connection for the caller and another for the callee.
Building the app
- Add the WebRTC adapter as a script
   <script
     type="text/javascript"
     src="https://webrtc.github.io/adapter/adapter-latest.js">
   </script>
NoteAfter pasting the above content, Kindly check and remove any new line added
- Add the Telnyx RTC SDK as a script
   <script
     type="text/javascript"
     src="https://unpkg.com/@telnyx/webrtc@2.9.0/lib/bundle.js">
   </script>
NoteAfter pasting the above content, Kindly check and remove any new line added
- Initialize the client using your SIP credentials
  const client = new TelnyxWebRTC.TelnyxRTC({
         login: “SIP USER”,
         password: “SIP USER PASSWORD”,
  });
NoteAfter pasting the above content, Kindly check and remove any new line added
- Attach the event listeners to receive updates from the SDK
  client
       .on('telnyx.ready', () => console.log('ready to call'))
       .on('telnyx.notification', (notification) => {
         console.log('notification:', notification)
  });
NoteAfter pasting the above content, Kindly check and remove any new line added
- Inside the
telnyx.notificationevent you can detect the incoming call and answer it. On this example we are anwering it as soon as we get the incoming call notification
  client.on('telnyx.notification', (notification) => {
      const call = notification.call;

      // Check the type of the notification
      if (notification.type === 'callUpdate' && call.state === 'ringing') {
          // Answer the call as soon as the notification is received.
          call.answer();
      }
  });
NoteAfter pasting the above content, Kindly check and remove any new line added
- Enable the microphone
client.enableMicrophone();
NoteAfter pasting the above content, Kindly check and remove any new line added
- Connect the client
client.connect();
NoteAfter pasting the above content, Kindly check and remove any new line added
- Now your application is capable of receiving voice calls.
How to test it
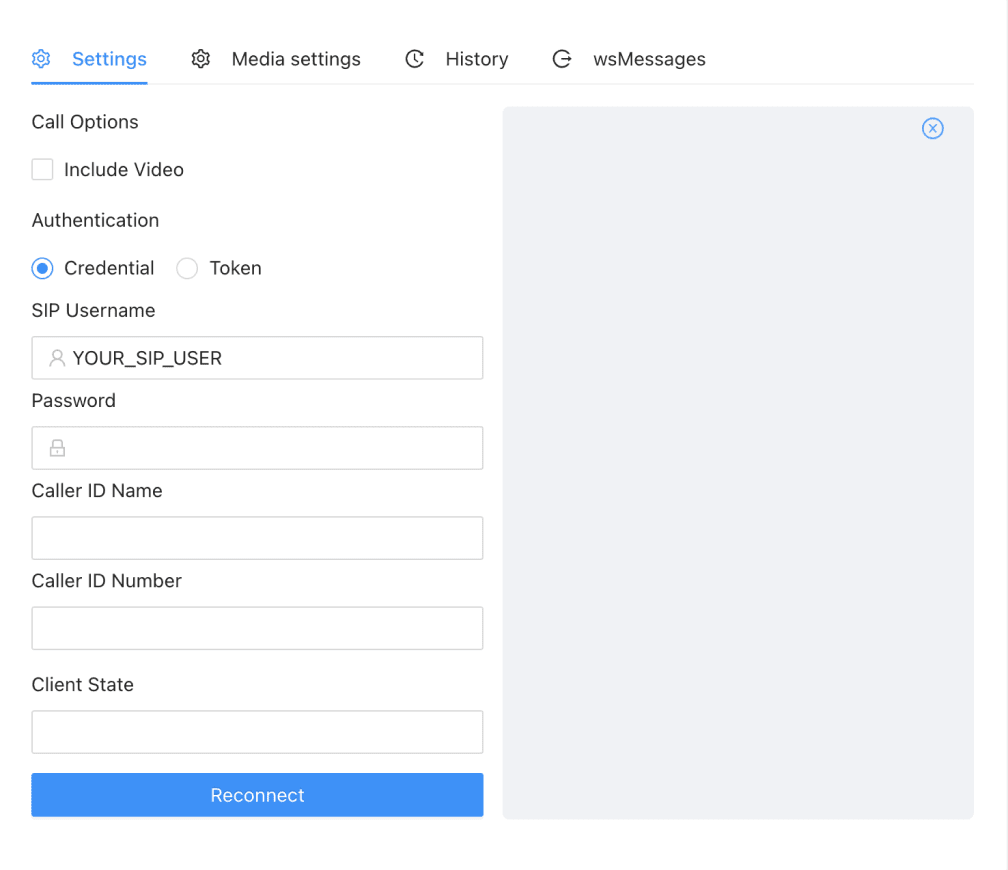
- Go to https://webrtc.telnyx.com/
- Login with SIP credentials (caller SIP credentials). At this point you should have created 2 SIP connections one for the caller and another for the callee.
- Enter the destination
SIP username(callee SIP connection) and press the call button.
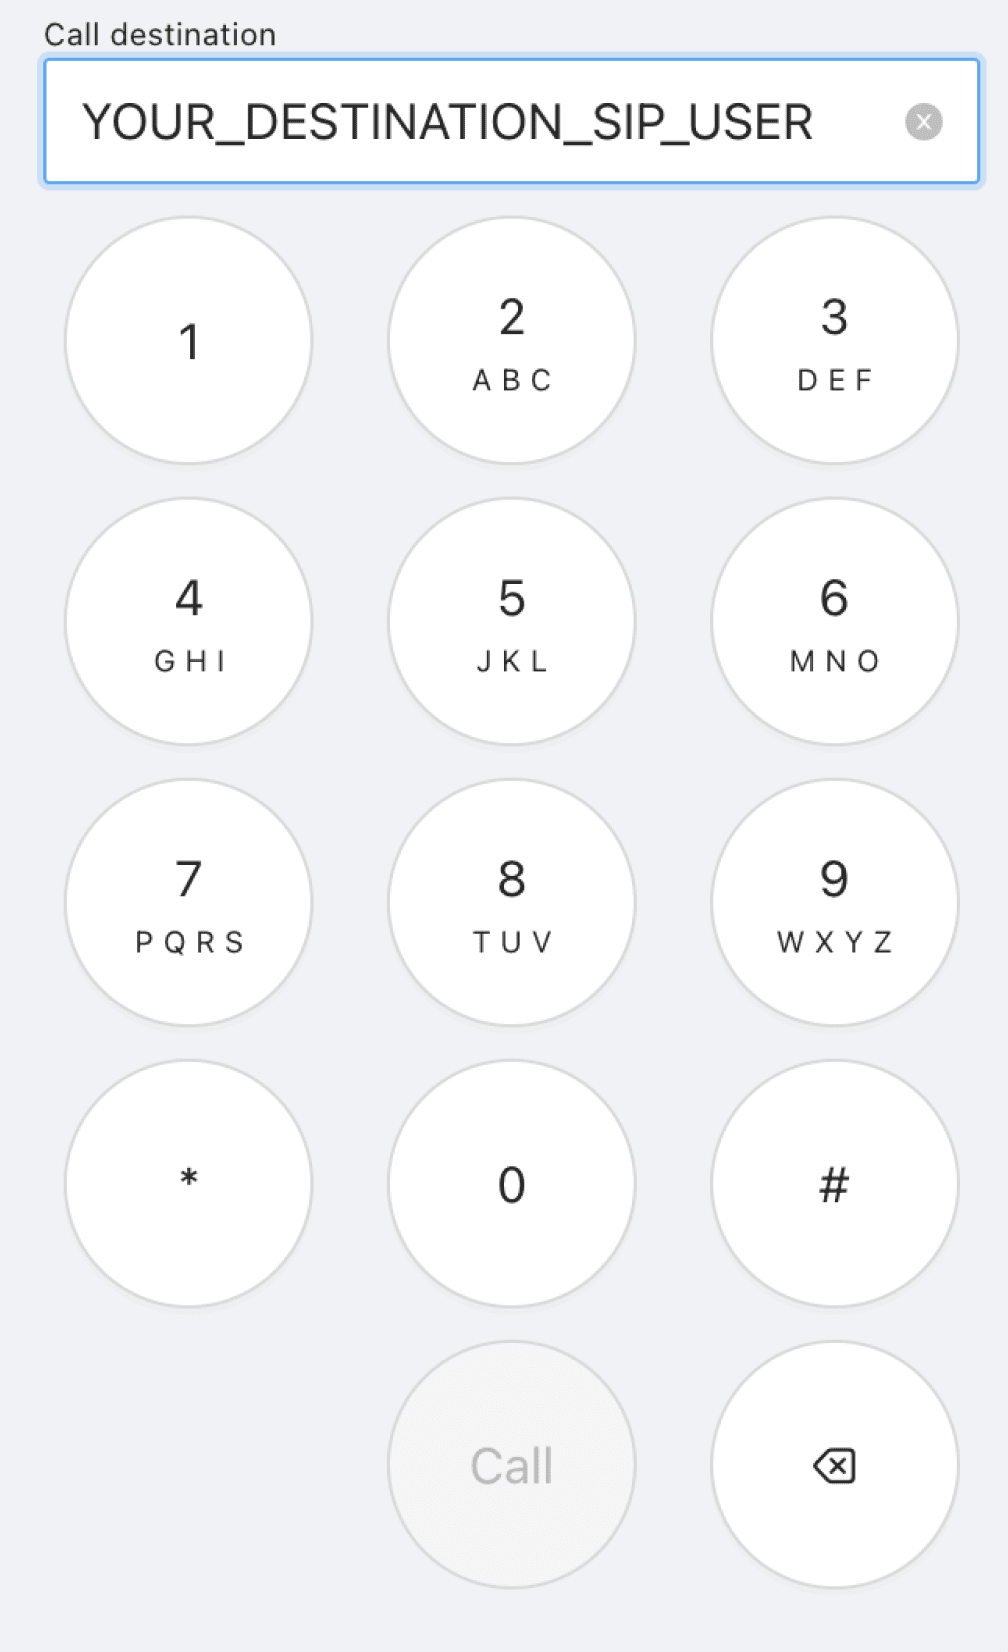
- The telnyx.notification listener will be fired and the call will automatically be answered.
Test the vanilla example
- Open CodeSandbox