Sending HTTP requests in TeXML - tutorial
In the previous tutorial, we explained how to use dynamic parameters in the TeXML instructions.
In this tutorial, we’ll cover how to integrate your systems using HTTP requests from a TeXML file without needing your own server-side application, as well as retrieve required information for call flows from external systems and send notifications to any REST API.
Sending HTTP request
The requests can be sent using <HTTPRequest> verb in the following way:
    <Response>
        <HttpRequest>
            <Request url="https://example.com" method="POST">
                <Headers>
                    <Header>
                        <Key>Authorization</Key>
                        <Value>Bearer API_key</Value>
                    </Header>
                    <Header>
                        <Key>Content-Type</Key>
                        <Value>application/json</Value>
                    </Header>
                </Headers>
                <Body>
                <![CDATA[
                        {
                            "key":"value"
                        }
                        ]]>
                </Body>
            </Request>
        </HttpRequest>
    </Response>
As part of the verb structure you can define the following aspects of the request:
- Headers
- The method for the request (GET or POST)
- And the body
Synchronous requests
The requests are sent asynchronously by default. The TeXML process does not wait for the result of the request and immediately executes the next instruction from the TeXML file.
It is possible to change that behavior by using the async attribute and setting it to true. In that case, the TeXML process will wait for the HTTP response and send a callback to the action URL immediately afterward.
    <Response>
    <HttpRequest>
        <Request url="https://example.com" method="POST" async=”true”>
        <Headers>
            <Header>
                <Key>Authorization</Key>
                <Value>Bearer API_key</Value>
            </Header>
            <Header>
                <Key>Content-Type</Key>
                <Value>application/json</Value>
            </Header>
        </Headers>
        <Body>
        <![CDATA[
                {
                    "from":{{From}}
                }
                ]]>
        </Body>
        </Request>
    </HttpRequest>
    </Response>
You can define new variables that will be sent with the callbacks using the values from the HTTP response.
    <Response>
        <HttpRequest>
            <Request url="https://example.com" method="POST" async=”true”>
            <Headers>
                <Header>
                    <Key>Authorization</Key>
                    <Value>Bearer API_key</Value>
                </Header>
                <Header>
                    <Key>Content-Type</Key>
                    <Value>application/json</Value>
                </Header>
            </Headers>
            <Body>
            <![CDATA[
                    {
                        "from":{{From}}
                    }
                    ]]>
            </Body>
            </Request>
            <Response>
                <Type>JSON</Type>
                <StatusCode>200</StatusCode>
                <Content>
                    <Field>
                        <Name>contact.name.first</Name>
                        <Value>first_name</Value>
                    </Field>
                    <Field>
                        <Name>contact.name.last</Name>
                        <Value>last_name</Value>
                    </Field>
                </Content>
                </Response>
        </HttpRequest>
    </Response>
Using secrets
API keys or any other secrets can be stored in the secure storage. You can upload them using a dedicated REST endpoint.
    curl --location --request POST 'https://api.telnyx.com/v2/texml/secrets/' \
    --header 'Authorization: Bearer api_key' \
    --header 'Content-Type: application/json' \
    --data-raw '{
        "name":"your_secret_name",
        "value":"your_secret_value"
    }'
Stored secrets can be used in the TeXML definitions. They will be redacted from all logs and won’t be sent in the callbacks as well.
    <Response>
        <HttpRequest>
            <Request url="https://example.com" method="POST" async=”true”>
            <Headers>
                <Header>
                    <Key>Authorization</Key>
                    <Value>Bearer {{#secret}}your_secret_name{{/secret}}</Value>
                </Header>
                <Header>
                    <Key>Content-Type</Key>
                    <Value>application/json</Value>
                </Header>
            </Headers>
            <Body>
            <![CDATA[
                    {
                        "from":{{From}}
                    }
                    ]]>
            </Body>
            </Request>
        </HttpRequest>
    </Response>
Sending notifications about the call to your Slack workspace using information about the caller retrieved from Salesforce database
In this section we will present how to retrieve the information about the caller from the Salesforce database and send it as a message to the Slack channel.
- Upload an api_key to your Slack workspace under the name slack_api_key
        curl --location --request POST 'https://api.telnyx.com/v2/texml/secrets/' \
        --header 'Authorization: Bearer api_key' \
        --header 'Content-Type: application/json' \
        --data-raw '{
            "name":"slack_api_key",
            "value":"your_api_key_value"
        }'
- Upload a token to the Salesforce API under the name salesforce_token
        curl --location --request POST 'https://api.telnyx.com/v2/texml/secrets/' \
        --header 'Authorization: Bearer api_key' \
        --header 'Content-Type: application/json' \
        --data-raw '{
            "name":"salesforce_token",
            "value":"your_token_value"
        }'
- Create a TeXML file that will send a message to the Slack channel and make a call to your sip account and name it slack_http_request
        <Response>
            <HttpRequest async="true">
                <Request url="https://slack.com/api/chat.postMessage" method="POST">
                    <Headers>
                        <Header>
                            <Key>Authorization</Key>
                            <Value>Bearer {{#secret}}slack_api_key{{/secret}}</Value>
                        </Header>
                        <Header>
                            <Key>Content-Type</Key>
                            <Value>application/json</Value>
                        </Header>
                        </Headers>
                    <Body>
                    <![CDATA[
                                {
                                    "Channel": channel_id,
                                    "text":"You have a call from {{caller_name}}!"
                                }
                                ]]>
                    </Body>
                </Request>
            </HttpRequest>
            <Dial>
                <Sip>
                    sip:jack@example.com
                </Sip>
            </Dial>
        </Response>
- Create a TeXML file that will retrieve the information about the caller and their name from Salesforce.
        <Response>
            <HttpRequest action="https://api.telnyx.com/v2/media/slack_http_request.xml" async="false">
                <Request url="https://your_salesforce _domain.my.salesforce.com/services/data/v56.0/query?q=SELECT%20name%20from%20Account%20WHERE%20Phone%3D%27{{#url_encode}}{{From}}{{/url_encode}}%27" method="GET" >
                    <Headers>
                    <Header>
                        <Key>Authorization</Key>
                        <Value>Bearer {{#secret}}salesforce_token{{/secret}}</Value>
                    </Header>
                    <Header>
                        <Key>Content-Type</Key>
                        <Value>application/json</Value>
                    </Header>
                    </Headers>
                    <Body>
                    </Body>
                </Request>
                <Response>
                    <Type>JSON</Type>
                    <StatusCode>200</StatusCode>
                    <Content>
                    <Field>
                        <Name>records[0].Name</Name>
                        <Value>caller_name</Value>
                    </Field>
                    </Content>
                </Response>
            </HttpRequest>
        </Response>
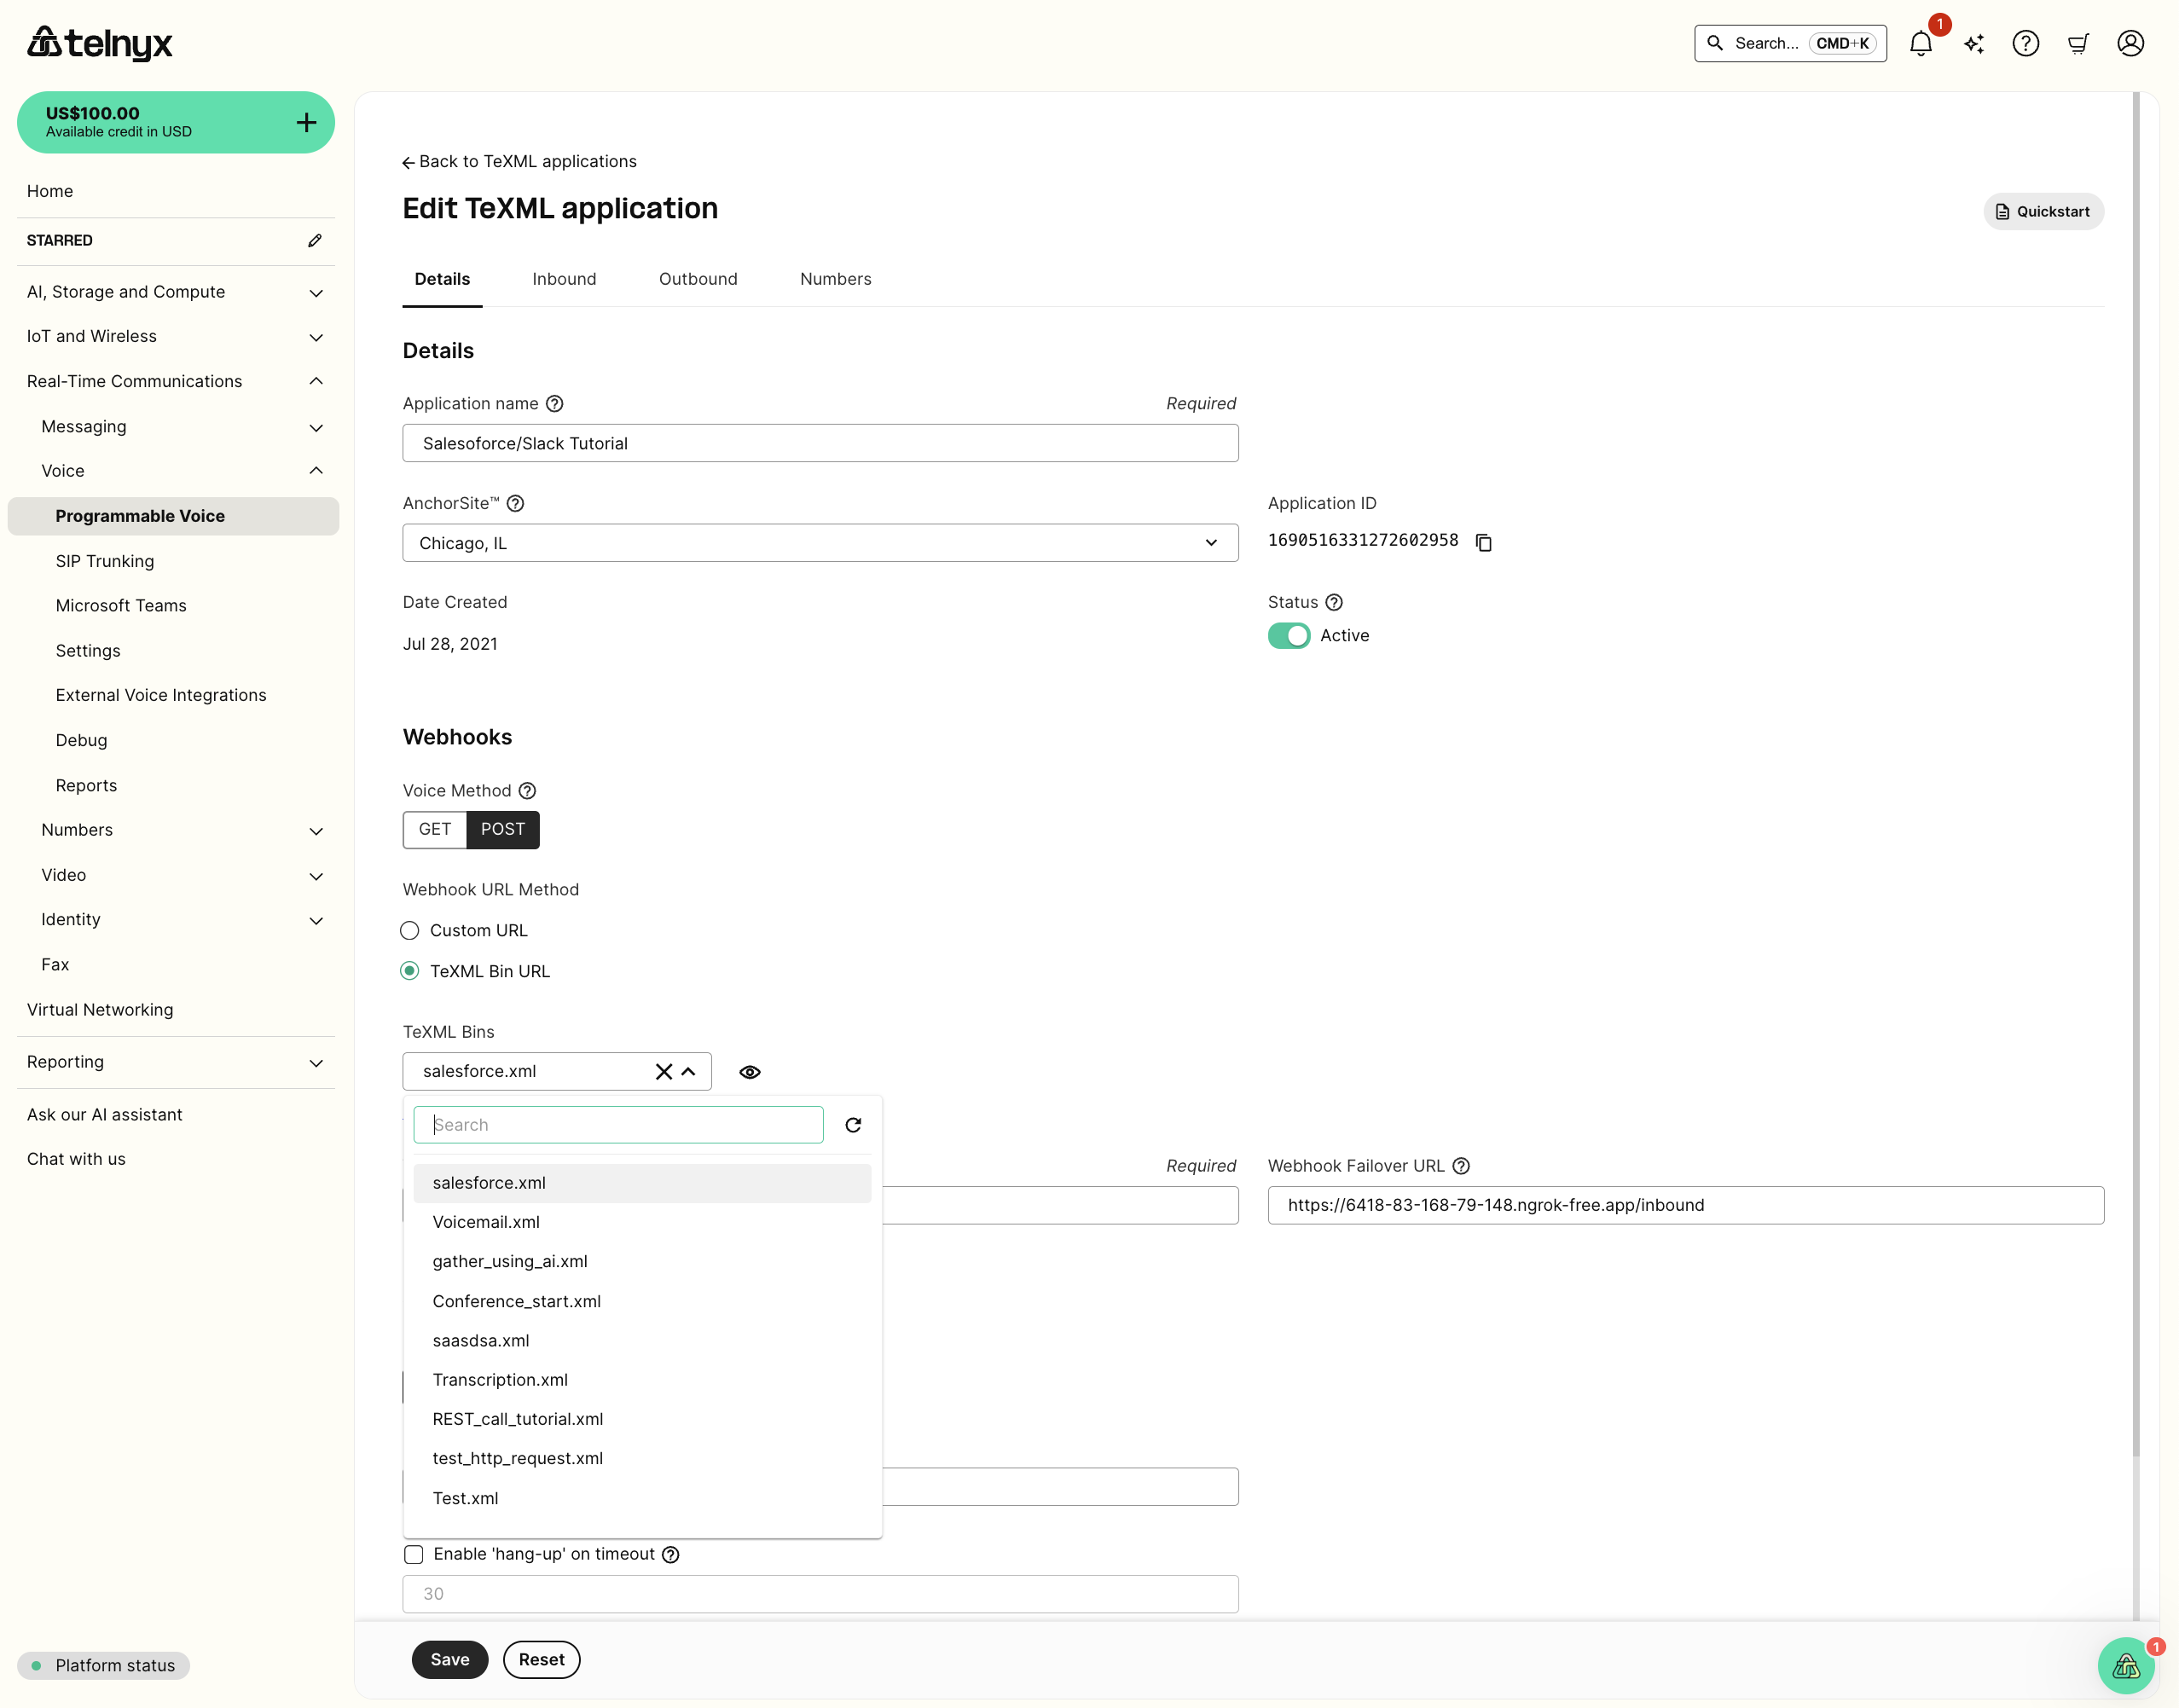
- Update your TeXML application webhook URL (If you need to create your application, please take a look at this tutorial)

- Make a call to the number associated with the TeXML application and observe the notification in your Slack workspace