Weather Update
Setup Weather Forecast Messages
⏱ 15 minutes build time || Difficulty Level: BeginnerPlease note that this integration is still in Beta. Settings and functionality are subject to change as we work to improve the integration and onboarding process.In this guide, you’ll learn how to get started using Telnyx Messaging with Zapier. Zapier is a service that helps automate work. You can set up certain triggers that launch preset actions. We’ll walk through a simple setup process for both receiving and sending a message. To follow along, make sure you have signed up for a Zapier account (they’re free!). Make sure you also have a Telnyx account and a messaging-enabled phone number. If you don’t, take a few minutes to follow the Portal Setup guide to get started.
In this tutorial we’ll set up a Zapier Zap that automatically sends the weather forecast to your phone each morning via an SMS message.
Get set up with the Telnyx integration on Zapier
Ensure you’ve signed up for a Zapier account and that you have at least one phone number that is messaging enabled before proceeding.Follow this link to find the Telnyx Zapier integration and click the connect button to get started.
Make your forecast Zap
- Make sure you’re at the Zapier homepage. In the top right corner, click the Make a Zap! button.
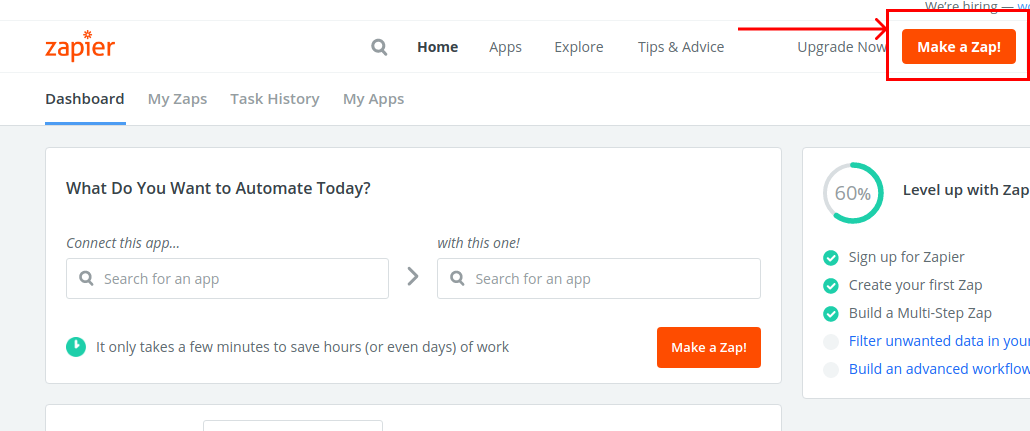
- You should now be in Zapier’s editing tool. From here, you can choose a trigger.
A trigger is an event that, when activated, will allow your Zap to move onto the action step.
- For this example, we’ll be choosing the “Weather by Zapier” trigger. Find it in the list of triggers and then click on it. If it’s not already in your list of triggers, you can search for it.
- Click on the “Choose Trigger Event” dropdown and select “Today’s Forecast”.
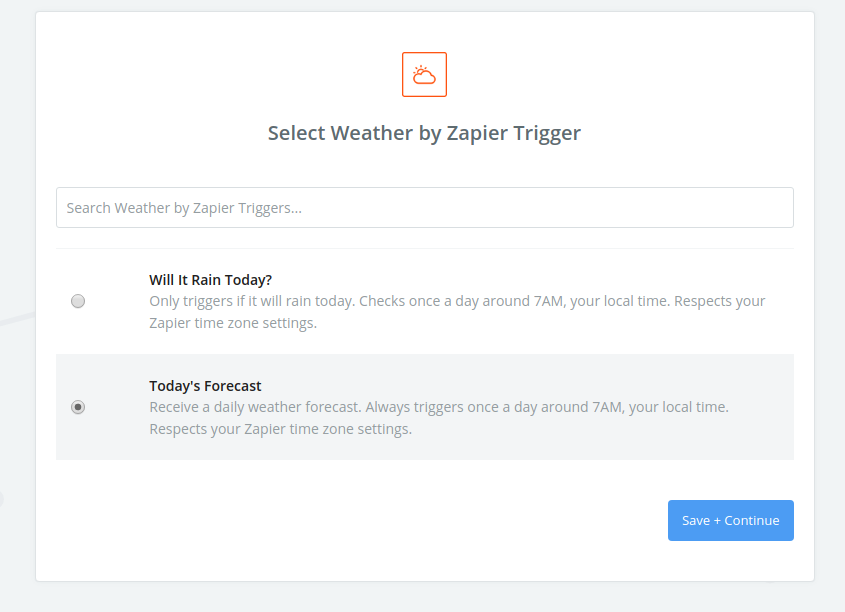
- Click Continue.
- Enter Latitude and Longitude to make sure you’re getting the right weather forecast.
If you don’t know them, you can look them up by clicking the links below the Latitude and Longitude fields. This will redirect you to a separate website where you can look up your coordinates.
- Click Continue.
- Click Find Forecast to test your connection. If successful, you’ll move on to the Action step (“Do This …”).
- For the Action, we want Zapier to send us a text message with the weather forecast information from the trigger. Search for Telnyx in the app search field and then click on the Telnyx app icon to select it as the action.
- Click Send SMS under the “Choose Action Event” dropdown.
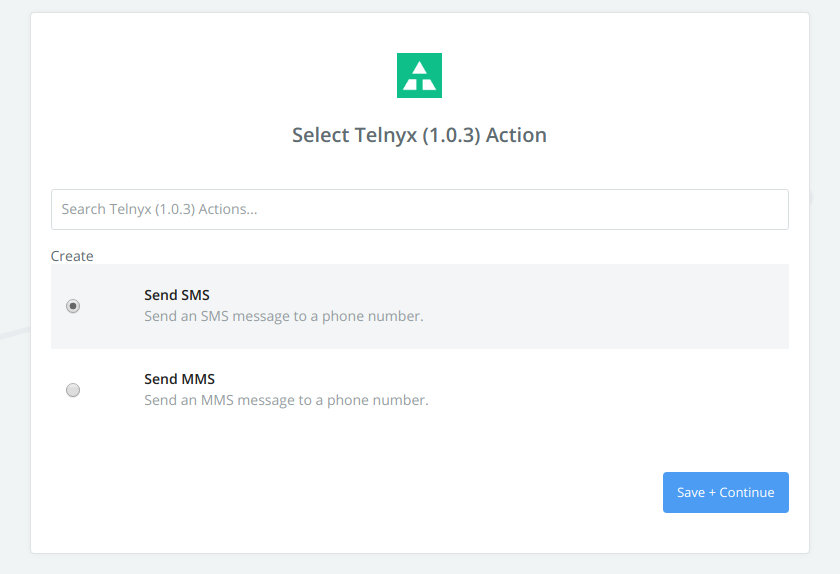
- Click Continue.
Integrate your forecast Zap with Telnyx
- Click Sign in to Telnyx.
- In the pop-up window, enter your v2 API Key acquired from your Mission Control Portal .
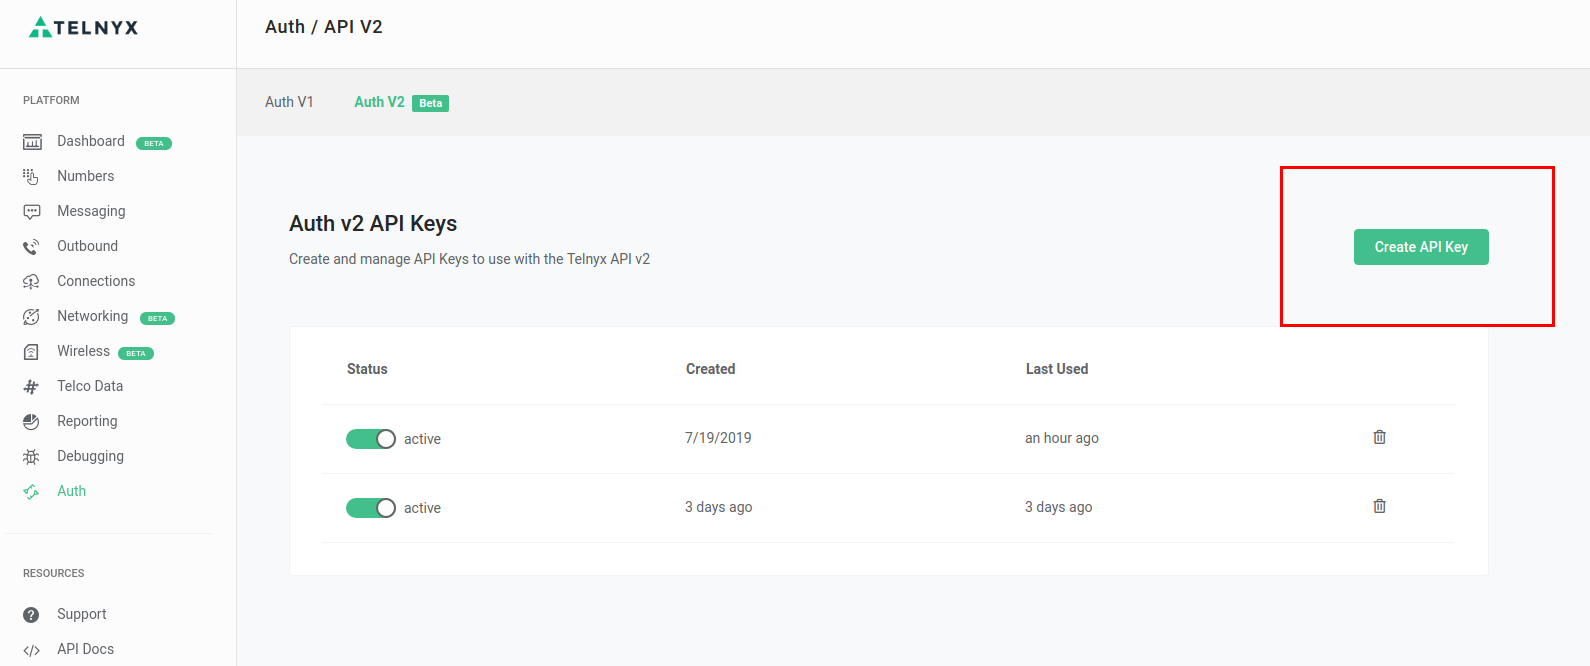
- Click Yes, Continue.
- Return to the action step in your Zapier Window and click Continue.
- For the next step, Customize SMS, enter the Telnyx number you’d like to send from in the “Source Number” field.
The “send” number must be a messaging-enabled number associated with the messaging profile you’ve entered. You can find this in the My Numbers section of the Portal.
- Enter your personal phone number in the “Destination Number” field.
- For the Message Content, click on the “Insert a Field” dropdown on the right-hand side of the text field to add real weather information we pulled from the trigger. Add the weather updates you’d like to receive in the morning.
- Click Continue.
Test your forecast Zap
- Review the information on the next page. When you’re ready, click Send Test to send today’s weather summary straight to your phone.
If your test was unsuccessful (returning an error message), return to the previous step and ensure that your Source and Destination numbers follow the proper number formats (including adding +1 before the number).
- If your test was successful, click Done Editing.
- Turn on your Zap.
SMS forwarding
⏱ 15 minutes build time || Difficulty Level: BeginnerPlease note that this integration is still in Beta. Settings and functionality are subject to change as we work to improve the integration and onboarding process.In this guide, you’ll learn how to get started using Telnyx Messaging with Zapier. Zapier is a service that helps automate work. You can set up certain triggers that launch preset actions. We’ll walk through a simple setup process for both receiving and sending a message. To follow along, make sure you have signed up for a Zapier account (they’re free!). Make sure you also have a Telnyx account and a messaging-enabled phone number. If you don’t, take a few minutes to follow the Portal Setup guide to get started.
In this tutorial, we’ll set up a Zap to forward all inbound messages received by your Telnyx number to your personal number. This can be helpful if you want to see in real time what people are texting your Telnyx number.
Step 1: Get set up with the Telnyx Integration on Zapier
Ensure you’ve signed up for a Zapier account and that you have at least one phone number that is messaging enabled before proceeding.Follow this link to find the Telnyx Zapier integration and click the connect button to get started.
Step 2: Make your first Zap
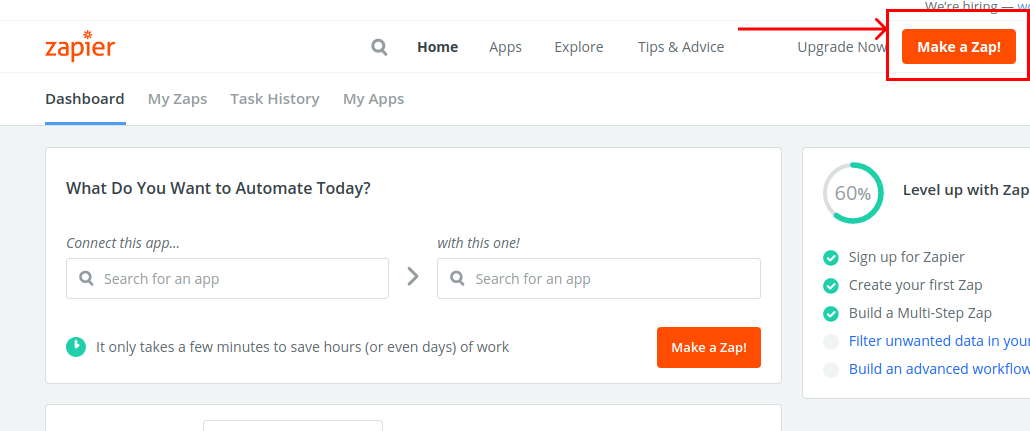
Let’s go ahead and Make a Zap!- Make sure you’re at the Zapier homepage. In the top right corner, click the Make a Zap! button.
- Choose Telnyx as the trigger App. If it’s not already in your list of triggers, you can search for it.
- Click on the “Choose Trigger Event” dropdown and select “Receive a Message”.
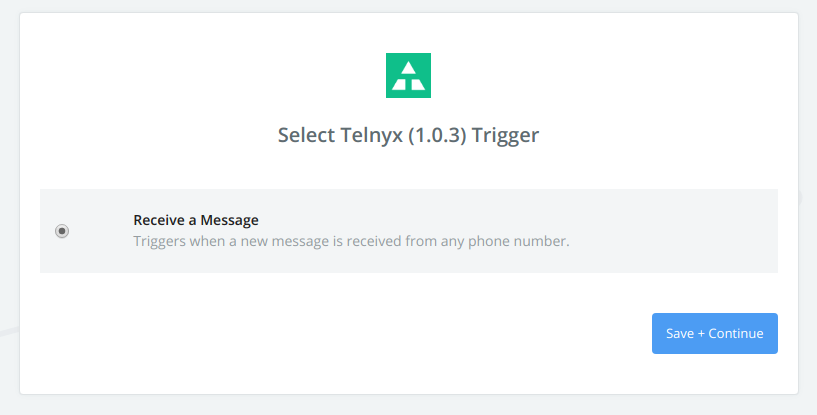
- Click Continue.
- In the “Choose Account” dropdown menu, select the account you’d like to use for receiving messages.
All numbers associated with the messaging profile will be used for this Zap. For this reason, we highly recommend only attaching a single number to a messaging profile you use for Zaps.
- Click Continue.
- Click Find Message to test your connection and pull in a sample inbound message webhook to set up the action stage. If successful, you’ll move on to the Action step (“Do This …”).
- In the “Do This …” step, click on the Telnyx app icon to select it as the action. If it’s not already in your list of actions, you can search for it.
- Click Send SMS under the “Choose Action Event” dropdown.
- Click Continue.
Step 3: Integrate your Zap with Telnyx
- Click Sign in to Telnyx.
- In the pop-up window, enter your v2 API Key acquired from your Mission Control Portal .
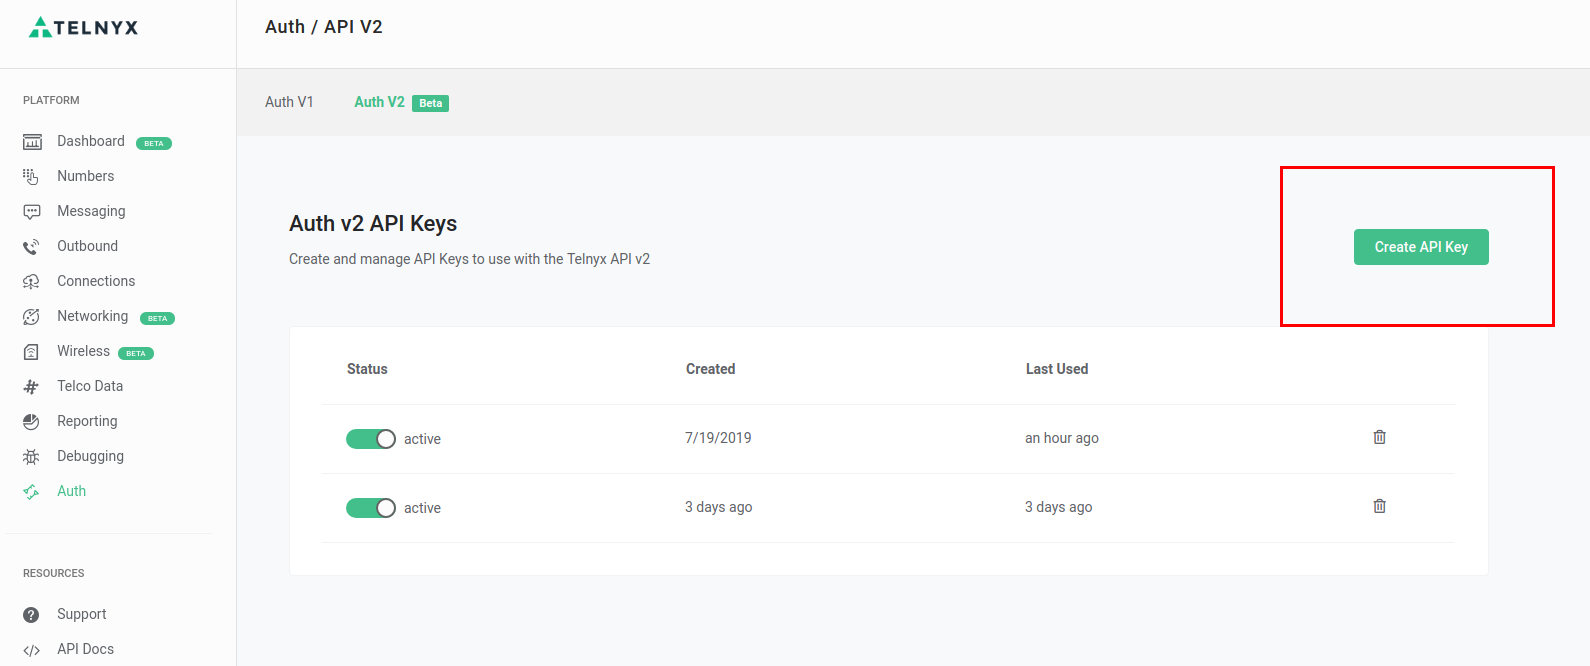
- Click Yes, Continue.
- Return to the action step in your Zapier Window and click Continue.
- For the next step, Customize SMS, enter the Telnyx number you’d like to send from in the “Source Number” field.
The “send” number must be a messaging-enabled number associated with the messaging profile you’ve entered. You can find this in the My Numbers section of the Portal.
- Enter your personal phone number in the “Destination Number” field.
- Fill in the “Message Content” with details from the message that triggered this Zap.
After pasting the above content, Kindly check and remove any new line added
“From-Phone-Number” and “Text” are dynamic fields that Zapier can populate from the trigger. Make sure you use the dropdown on the right-hand side of the “Message Content” text field to insert those into the message body.
- Click Continue.
Step 4: Test your Zap
- Click Send Test. You should see the following text come in:
After pasting the above content, Kindly check and remove any new line added
If your test was unsuccessful (returning an error message), return to the previous step and ensure that your Source and Destination numbers follow the example number formats (including adding +1 before the number).
- If your test was successful, click Done Editing.
- Turn on your Zap.
Auto response
⏱ 15 minutes build time || Difficulty Level: BeginnerPlease note that this integration is still in Beta. Settings and functionality are subject to change as we work to improve the integration and onboarding process.In this guide, you’ll learn how to get started using Telnyx Messaging with Zapier. Zapier is a service that helps automate work. You can set up certain triggers that launch preset actions. We’ll walk through a simple setup process for both receiving and sending a message. To follow along, make sure you have signed up for a Zapier account (they’re free!). Make sure you also have a Telnyx account and a messaging-enabled phone number. If you don’t, take a few minutes to follow the Mission Control Portal Setup guide to get started.
In this tutorial, we’ll setup a very basic auto-reply for incoming messages to your Telnyx phone number.
Step 1: Get set up with the Telnyx integration on Zapier
Ensure you’ve signed up for a Zapier account and that you have at least one Telnyx phone number that is messaging enabled before proceeding.Follow this link to find the Telnyx Zapier integration and click the connect button to get started.
Step 2: Make your first Zap
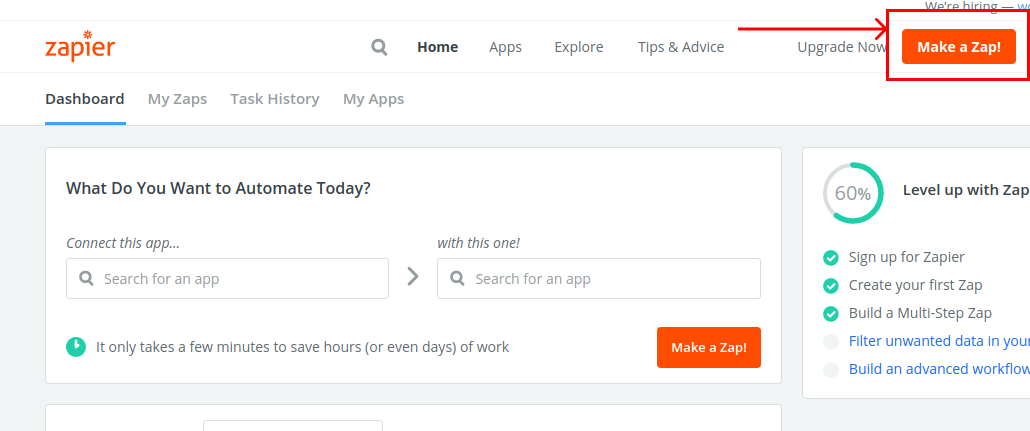
Let’s go ahead and Make a Zap!:- Make sure you’re at the Zapier homepage. In the top right corner, click the Make a Zap! button.
- Choose Telnyx as the trigger App. If it’s not already in your list of triggers, you can search for it.
- Click on the “Choose Trigger Event” dropdown and select “Receive a Message.”
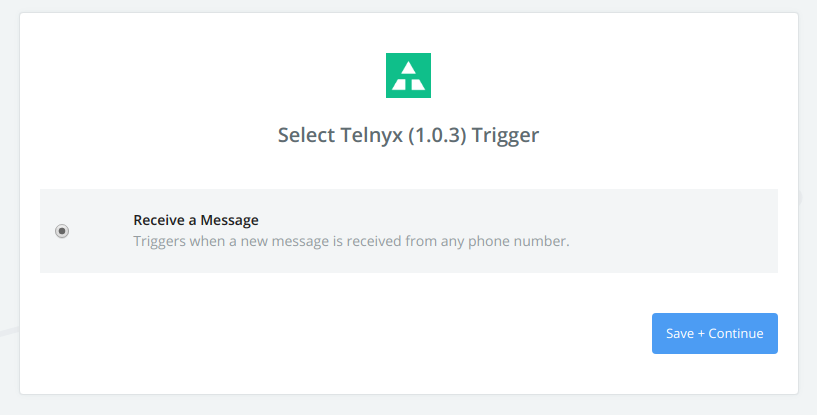
- Click Continue.
- In the “Choose Account” dropdown menu, select the account you’d like to use for receiving messages.
All numbers associated with the messaging profile will be used for this Zap. For this reason, we highly recommend only attaching a single number to a messaging profile you use for Zaps.
- Click Continue.
- Click Find Message to test your connection and pull in a sample inbound message webhook to set up the action stage. If successful, you’ll move on to the Action step (“Do This …”).
- In the “Do This …” step, click on the Telnyx app icon to select it as the action. If it’s not already in your list of actions, you can search for it.
- Click Send SMS under the “Choose Action Event” dropdown.
- Click Continue.
Step 3: Integrate your Zap with Telnyx
- Click on the dropdown menu under “Choose Account” to select the Telnyx account you’d like to use for sending the message.
- In the pop-up window, enter your v2 API Key acquired from your Mission Control Portal .
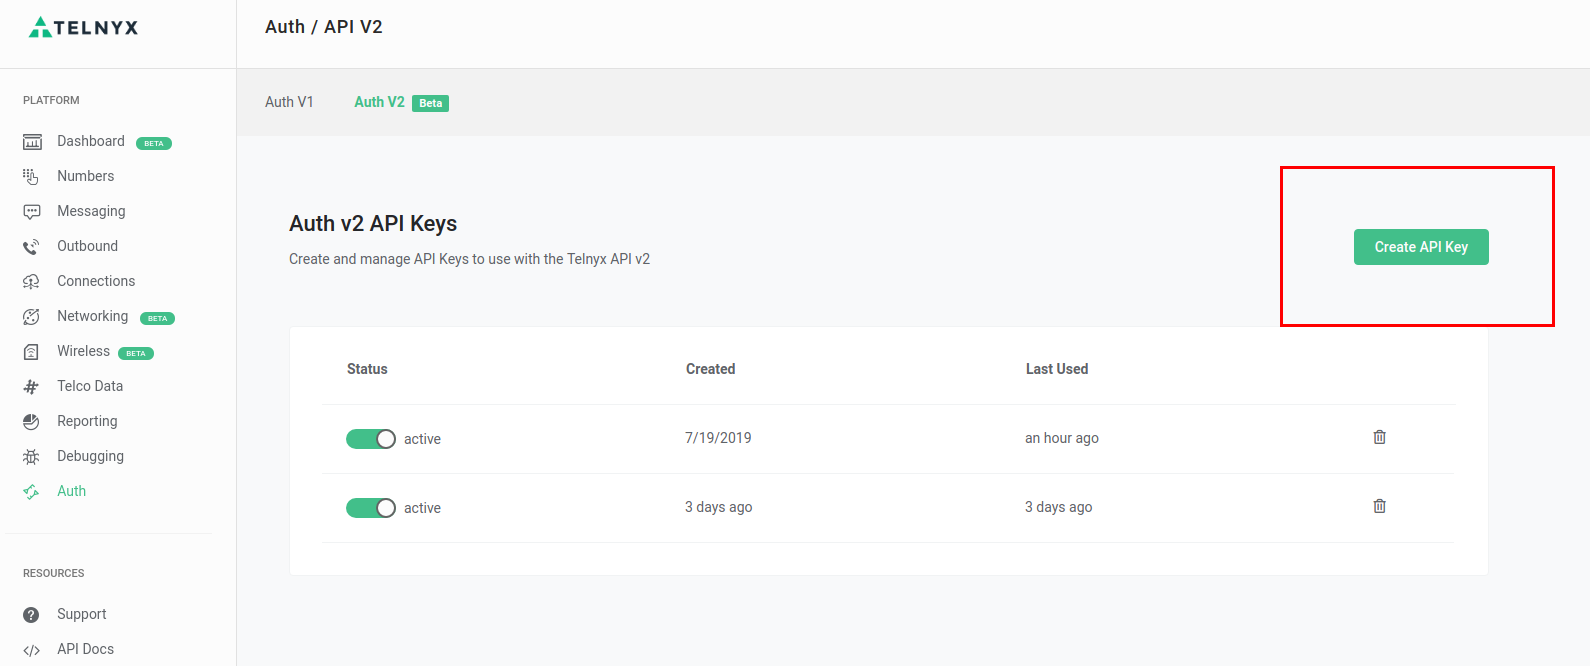
- Click Yes, Continue.
- Now we’ll use information from the incoming message again to populate some of these fields. For this step, Customize SMS, enter the Telnyx number you’d like to send from in the “Source Number” field.
The “send” number must be a messaging-enabled number associated with the messaging profile you’ve entered. You can find this in the My Numbers section of the Portal.
- Under “Destination Number,” click the dropdown and click on From Phone Number. This makes the source number the receiver of the message we’re going to send now.
- Under “Message Content,” enter the automated message you’d like to send out:
After pasting the above content, Kindly check and remove any new line added
- Click Continue.
Step 4: Test your Zap
- Click Send Test.
If your test was unsuccessful (returning an error message), return to the previous step and ensure that your Source and Destination numbers follow the example number formats (including adding +1 before the number).
- Turn on your Zap.
- Go ahead and send a message to the Telnyx number you entered in the Source Number Field. You should see your reply come through automatically.

