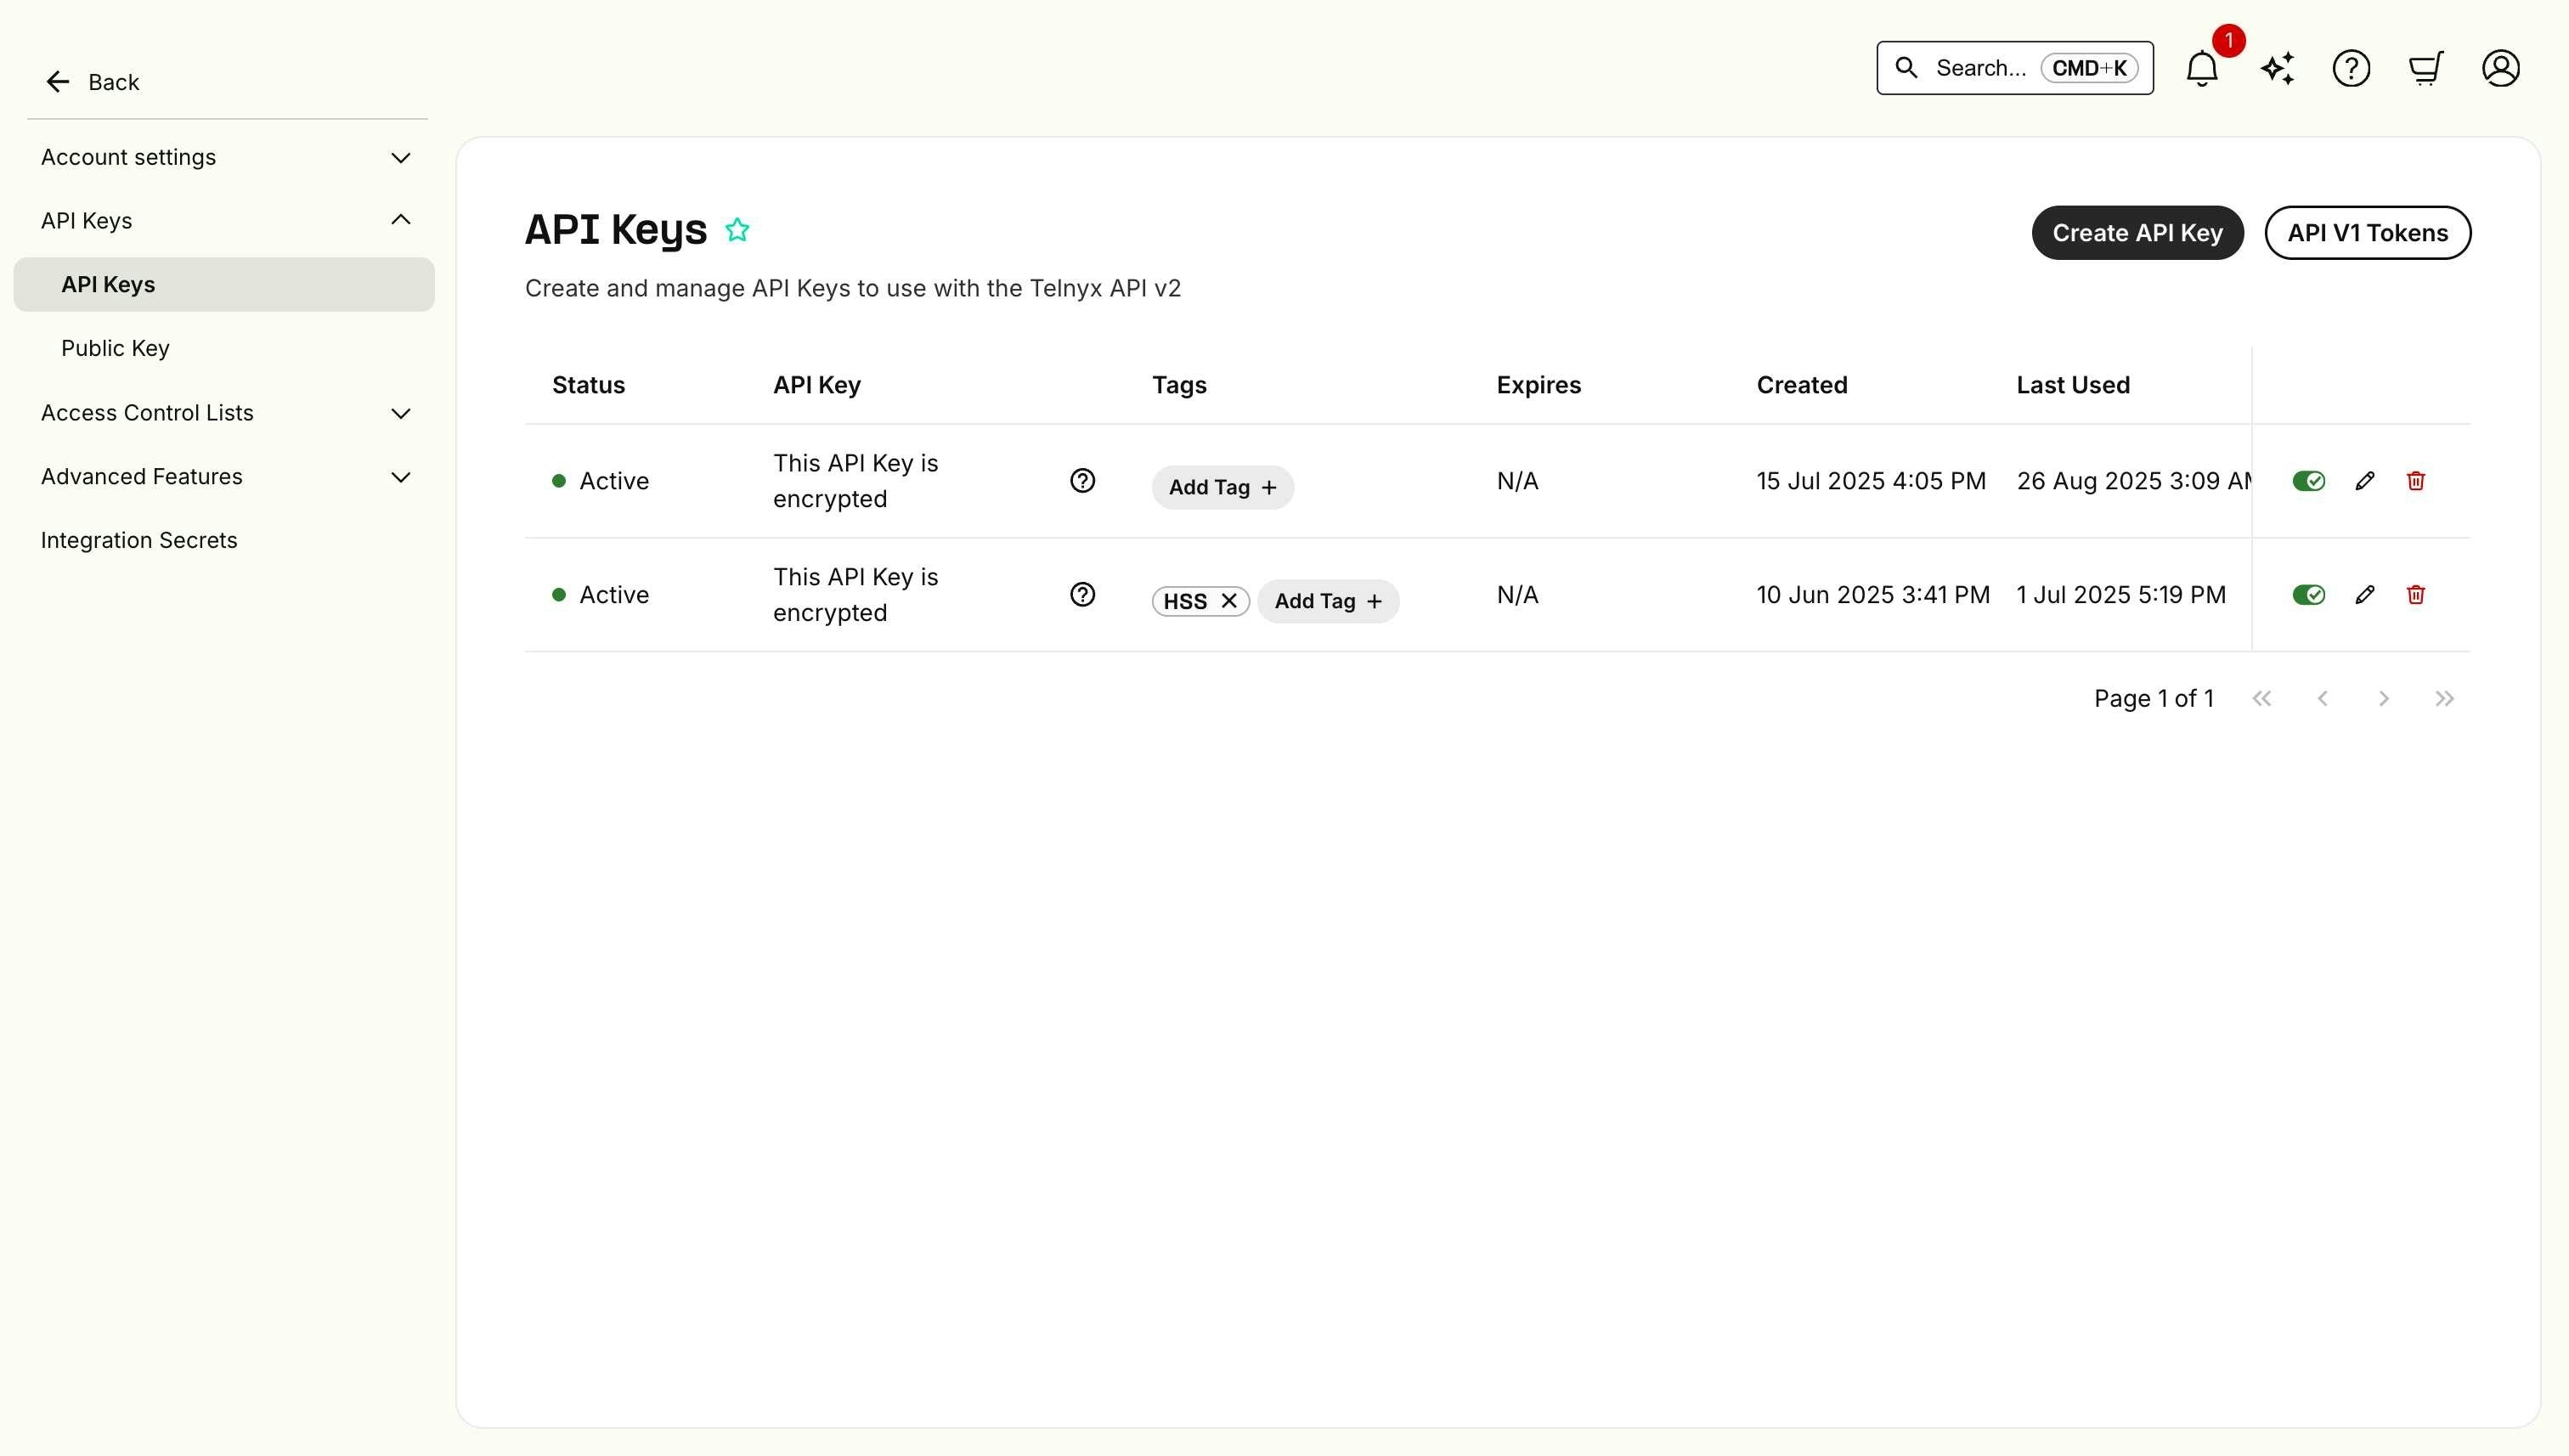
Creating Your API Key
- In the Mission Control Portal, click on your name in the upper right corner, and click API Keys.
- Click the Create API Key button.
- In the Create API Key dialog, add a descriptive tag (e.g., “Voice API Development”, “SMS Production”, etc.) and choose your expiration settings.

- Click Create.
Important: Save Your API Key Securely
We’ll show the full API key value only once at creation. If you lose the key, you’ll need to generate a new one.We recommend using a secure password manager or secrets vault once you’ve created it. We’re doing this to reduce the risk of accidental key leaks and help keep your account secure. This approach aligns with our best-in-class security standards and helps prevent accidental key exposures.
Storing Your API Key
Best Practices:- Never commit API keys to version control (Git, SVN, etc.).
- Use environment variables in your applications.
- Rotate keys regularly for production applications.
- Use separate keys for development and production.